Now, you need to configure each deployed anchor individually in the software and ensure it operates correctly within the UWB network.
By following the steps below, you can complete the setup and enable accurate and stable indoor location tracking (RTLS).
Anchor Software Configuration
Each anchor must be individually configured by inputting measured distance data and ensuring proper network operation.
USB Connection & PAN ID Configuration
- Connect the UWB anchor to your PC using a USB cable.
2. Launch the UWB setup software and select the COM port.
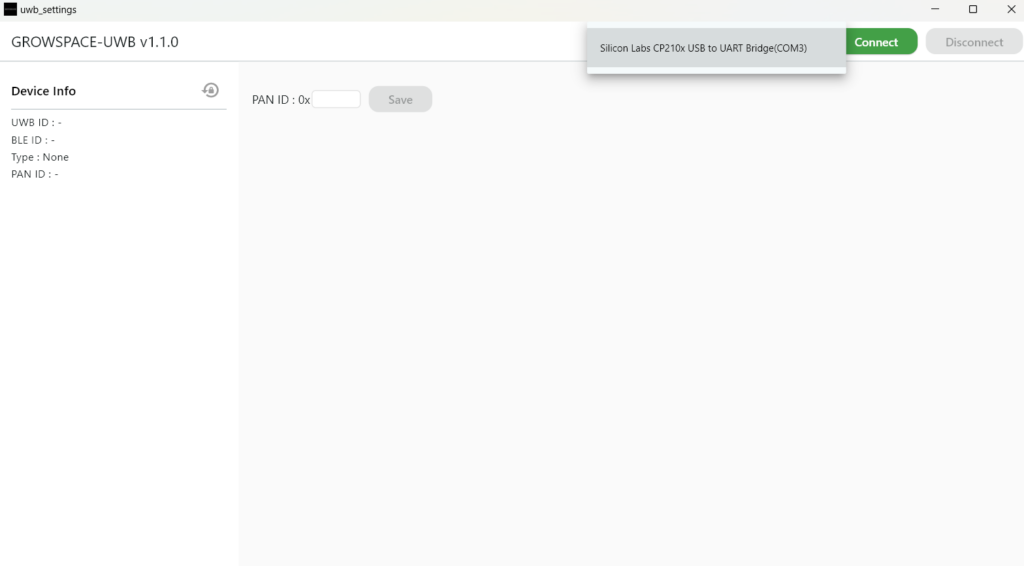
3. Click the [Connect] button to establish a connection.
4. Set the PAN ID field to 0x0000.
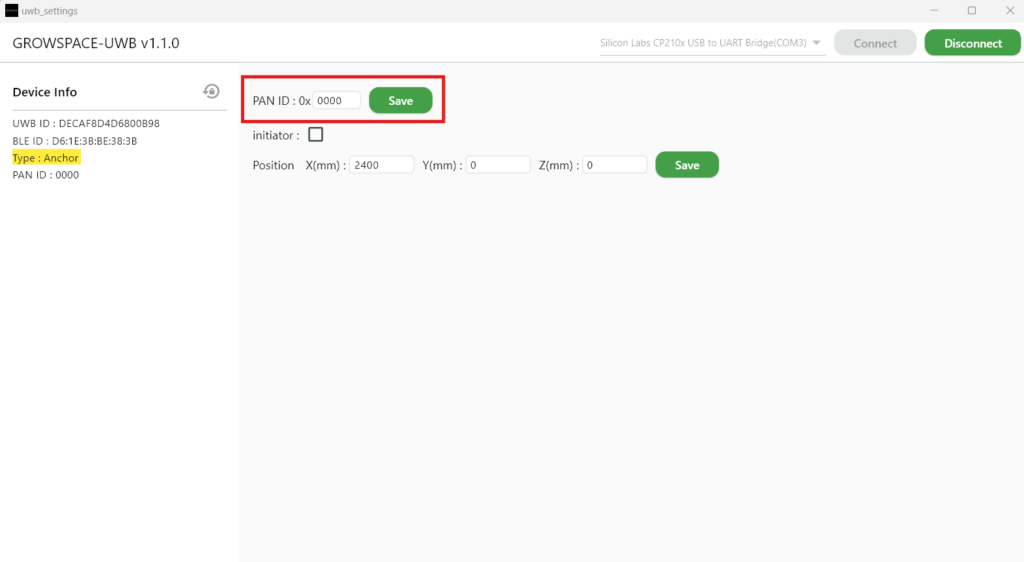
📌 Why should the PAN ID be set to 0x0000?
- PAN ID (Private Area Network ID) is used to distinguish different network groups.
- All anchors must share the same PAN ID to operate in the same network group.
- Setting it to 0x0000 during initial configuration ensures seamless communication among all devices.
Inputting Anchor Coordinates & Completing Configuration
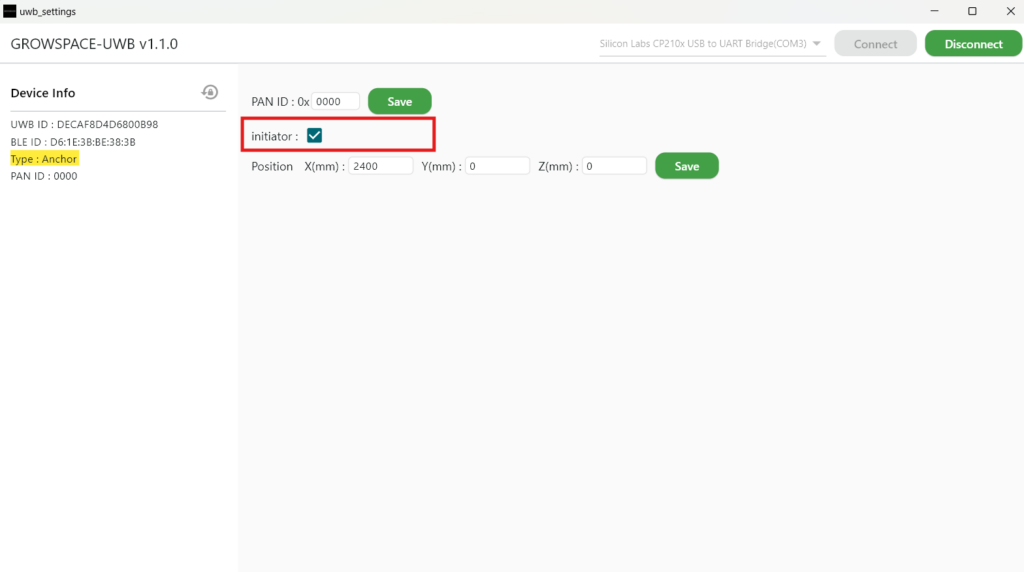
- Enter the measured X, Y, and Z coordinates in the UWB setup software under the
position xyzfield. - The reference anchor must have the “Initiator” option checked.
- Once the configuration is complete, click the
[Disconnect]button, then connect the next anchor and repeat the process.
If you disconnect the cable without clicking [Disconnect], restart the program and reconnect the device.
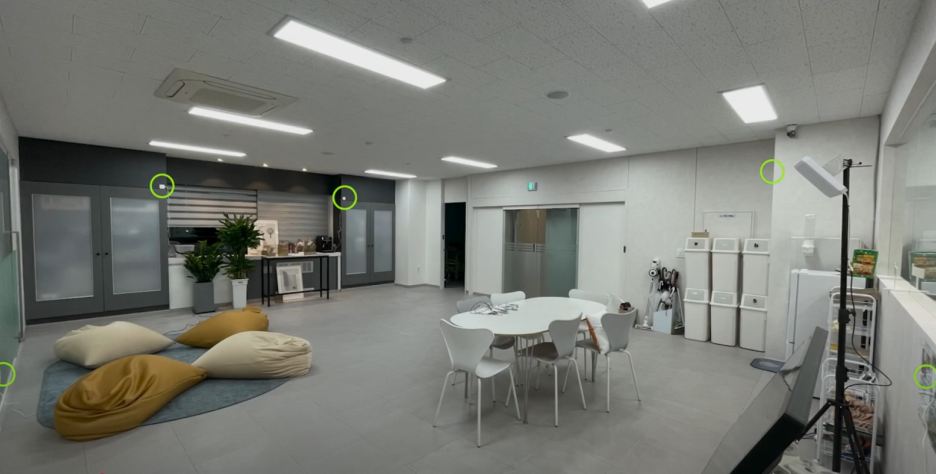
Installing the Anchors
Now it’s time to physically install the anchors.
Choose the appropriate mounting method based on the installation environment.
✅ Wall Mounting (Standard Installation Method)
- Secure the anchor using a drill and screws.
- Use a level to ensure it is installed without tilting.
- Organize the power and data cables neatly.
✅ Ceiling Mounting (For Factories, Warehouses)
- Use cable ties or brackets for firm attachment.
- Ensure the ceiling structure does not obstruct the signal.
- Maintain an installation height of 2–5m for optimal signal reception.
✅ Pillar Mounting (For Limited Space)
- Use screws or strong double-sided tape to attach the anchor to a pillar.
- Adjust the angle to focus signals in a specific direction.
- Minimize interference from surrounding obstacles.
Powering the Anchors
To ensure proper operation, UWB anchors require a stable power supply.
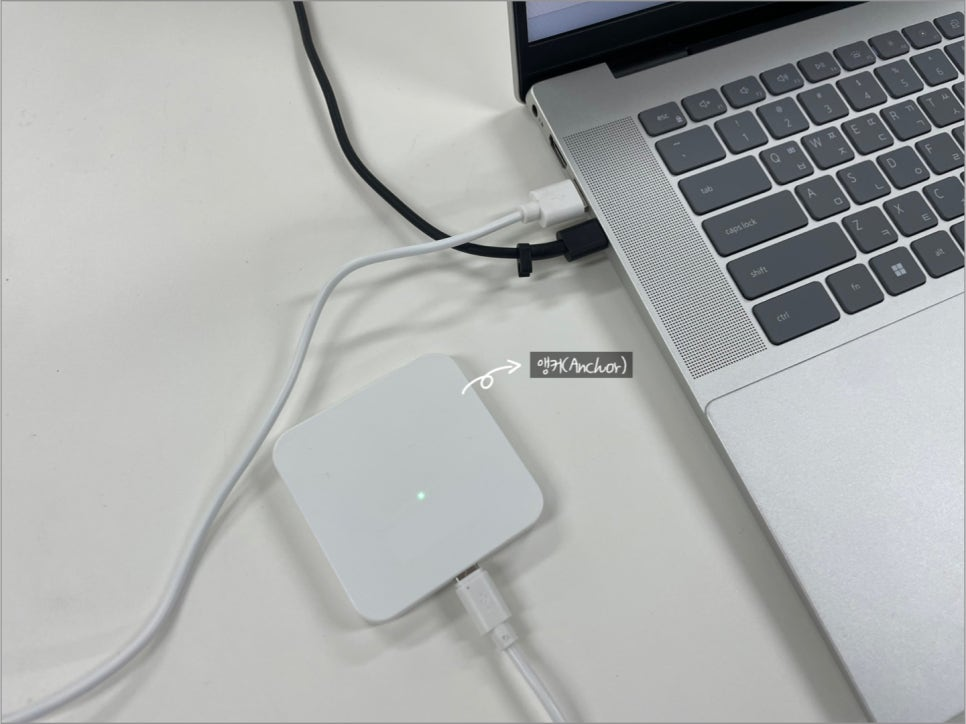
Connect the power using a C-Type adapter.
✅ Power Connection Steps
- Prepare a C-Type adapter.
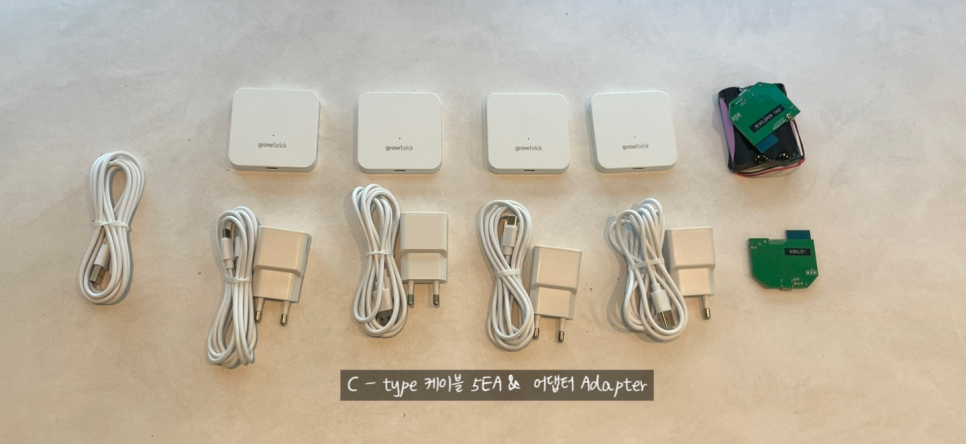
- Use a C-Type cable to connect to the anchor’s power port.
📌 Check the Anchor LED Status
🟢 Green Light → Operating normally
🔴 Red Light → Network error (Check settings)
⚫ No Light → Power connection issue (Check cable)
Final Inspection
After installation, verify that the system operates correctly.
✅ Installation Checklist
- Are all anchors being recognized correctly?
- Are the correct X, Y, and Z coordinates entered in the UWB software?
- Is the LED status indicating normal operation?
- Is the tag’s movement being tracked in real-time?
🎉 Installation Complete!
Now, your GrowSpace UWB system is ready! 🎉