In this guide, we’ll explain in detail how to set up the GrowSpace UWB Tag.
The UWB tag is a key device for measuring the real-time position of users or assets.
Accurately setting up your tags is essential for precise indoor positioning.
Now, let’s go through the setup process step by step.
Preparations Before Installation
Before setting up the tag, please verify the following preparations.
Required Hardware
- GrowSpace UWB Tag
- Windows-based PC (Windows 10 or higher)
- USB cable (for connecting the tag)
Required Software
- GrowSpace UWB Development Software (Configuration Software)
- USB to UART driver (required if the tag is not recognized)
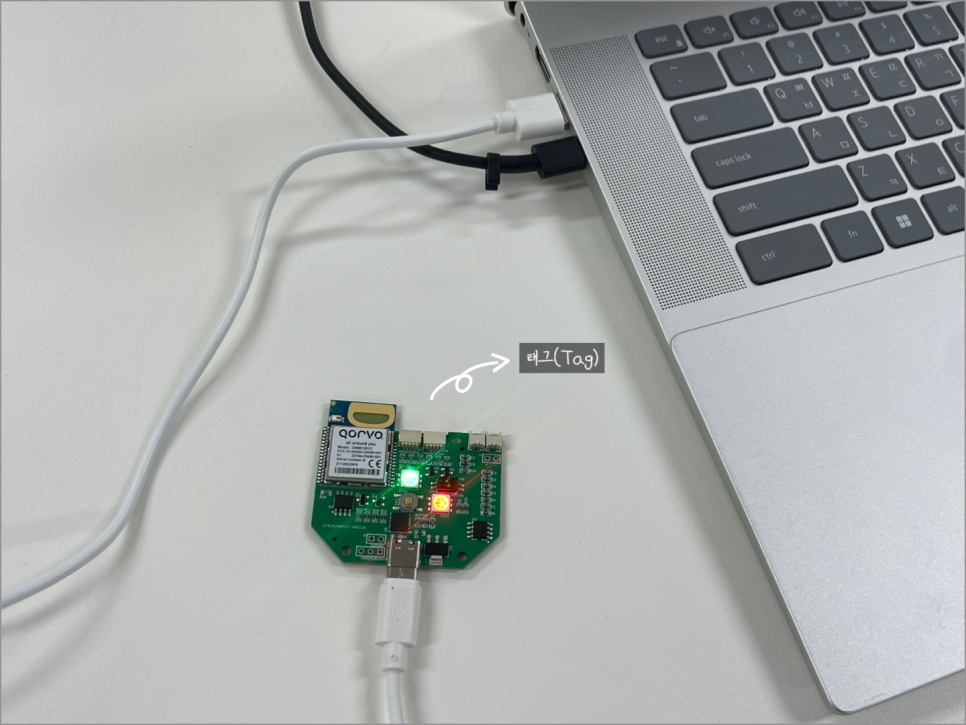
Connecting the UWB Tag to Your Computer
Connect the tag to your PC using a USB cable.
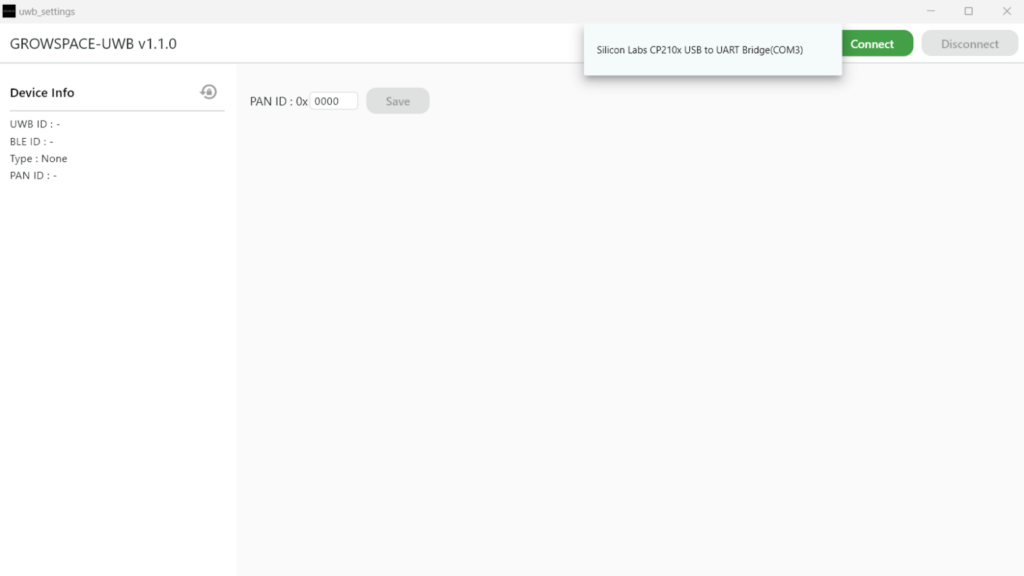
Open the GrowSpace Development Software, select the appropriate COM port (e.g., Silicon Labs CP210x USB to UART Bridge (COM3)), then click the [Connect] button.
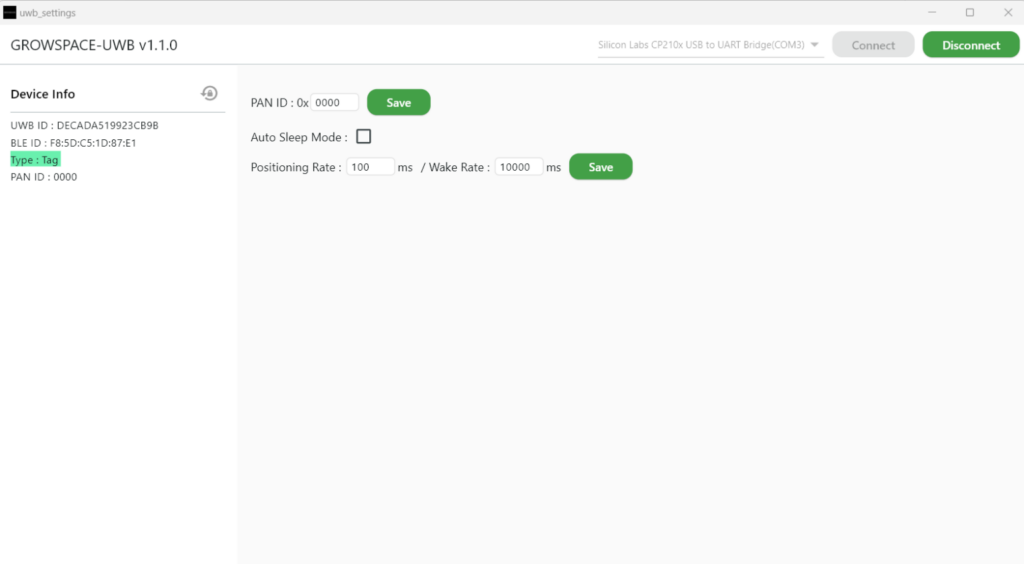
If successfully connected, the Device Info will display the UWB ID, BLE ID, and tag type.
When the tag type is shown as Type: “Tag”, your tag is correctly recognized.
What if the tag isn’t recognized?
- The USB to UART driver might not be installed.
- Refer to the driver installation guide and complete the installation.
- Ensure the USB cable is connected properly.
- Try connecting to a different USB port.
PAN ID (Network Group) Configuration
The PAN ID (Personal Area Network ID) distinguishes UWB network groups.
All anchors, tags, and listeners must have the same PAN ID for seamless data communication.
What if the PAN IDs differ?
The tag won’t connect to the network and cannot transmit location data.
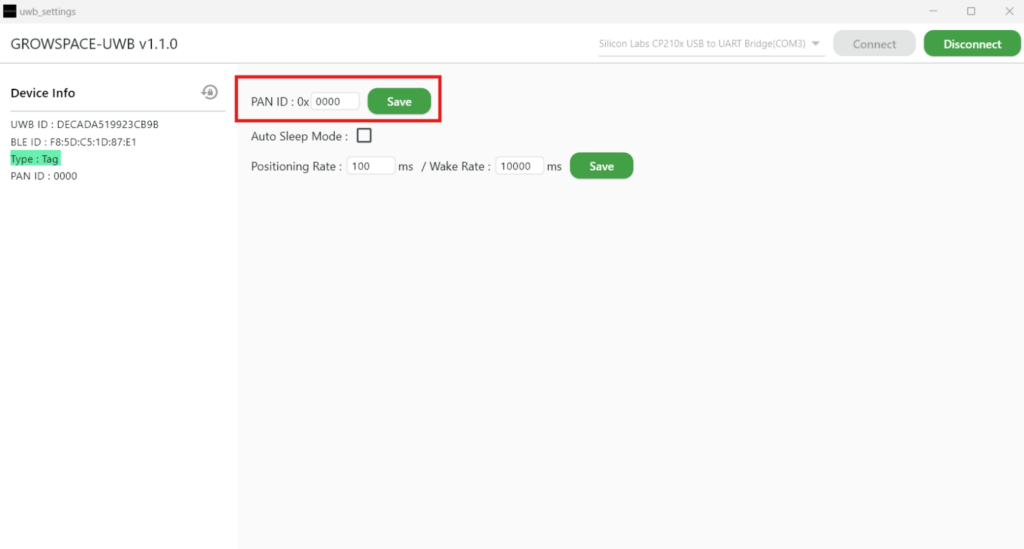
✅ How to configure PAN ID
- Check the PAN ID input field. (Default: 0x0000)
- Enter the same PAN ID used by the anchors.
- Click the [Save] button to store the settings.
- Confirm successful configuration and proceed to the next step.
Auto Sleep Mode Configuration
Auto Sleep Mode reduces battery usage by pausing tag signal transmissions after a set duration.
You can enable or disable Auto Sleep Mode as needed.
✅ How to configure Auto Sleep Mode
Toggle the Auto Sleep Mode checkbox to enable or disable it.
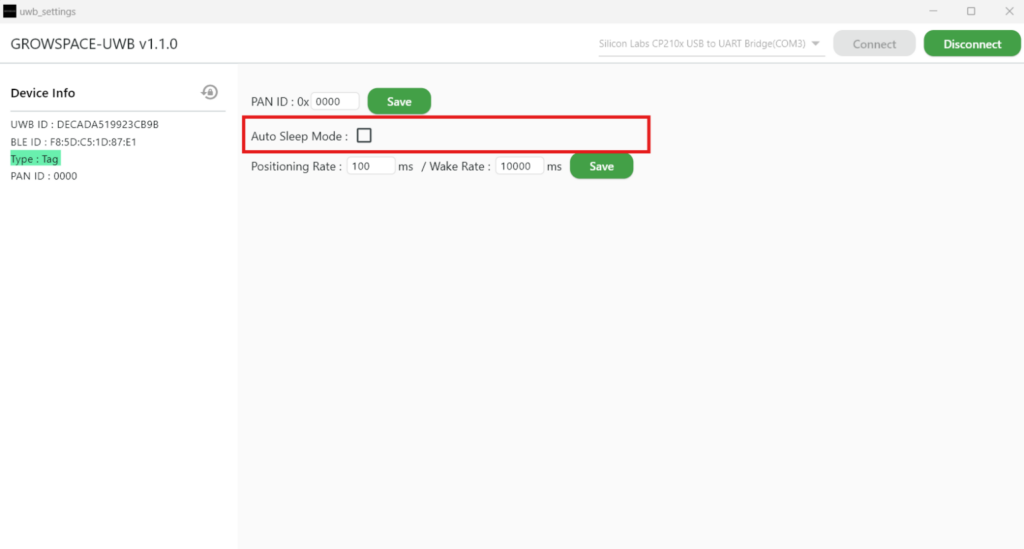
- Checked → Sleep mode enabled (battery saving)
- Unchecked → Sleep mode disabled (continuous positioning)
📌 Recommended Settings
- Battery life prioritized → Sleep Mode Enabled
- Real-time tracking prioritized → Sleep Mode Disabled
Adjust Positioning Data Transmission Rate (Positioning Rate & Wake Rate)
Now, as a final step, adjust the data transmission rate.
This determines how frequently the tag sends positioning data.
✅ How to configure data transmission rate
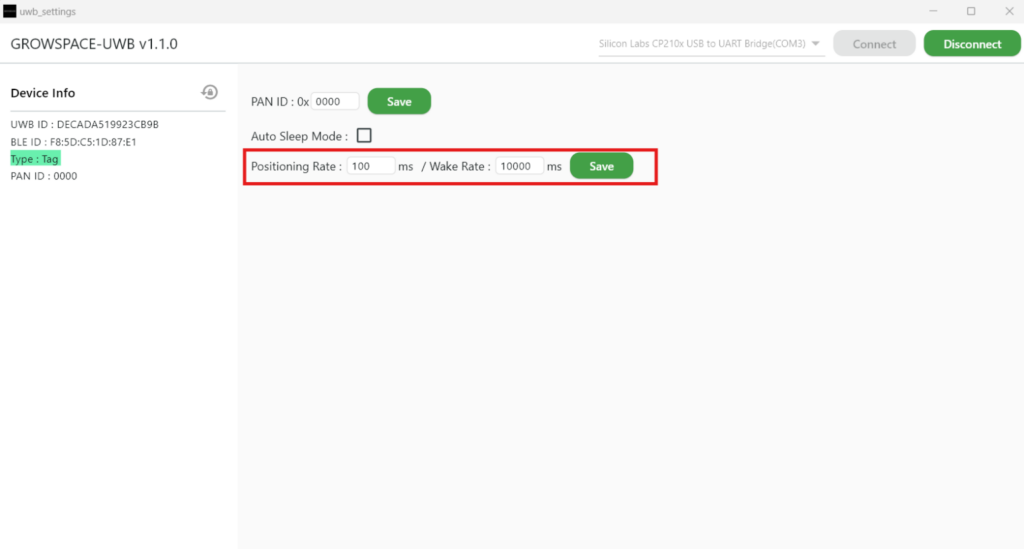
✔ Positioning Rate Input
- Default:
100ms(Tag transmits every 100ms) - Lower values → more frequent transmissions, higher battery use
- Higher values → less frequent transmissions, battery saving