This guide explains how to connect a GrowSpace UWB Developer Tag to an Arduino Mega 2560 via serial communication, send lec / lep commands, and parse real-time location data using example code.
It is designed to provide developers with a practical, step-by-step reference for handling UWB position data within an Arduino environment.
1. Required Components
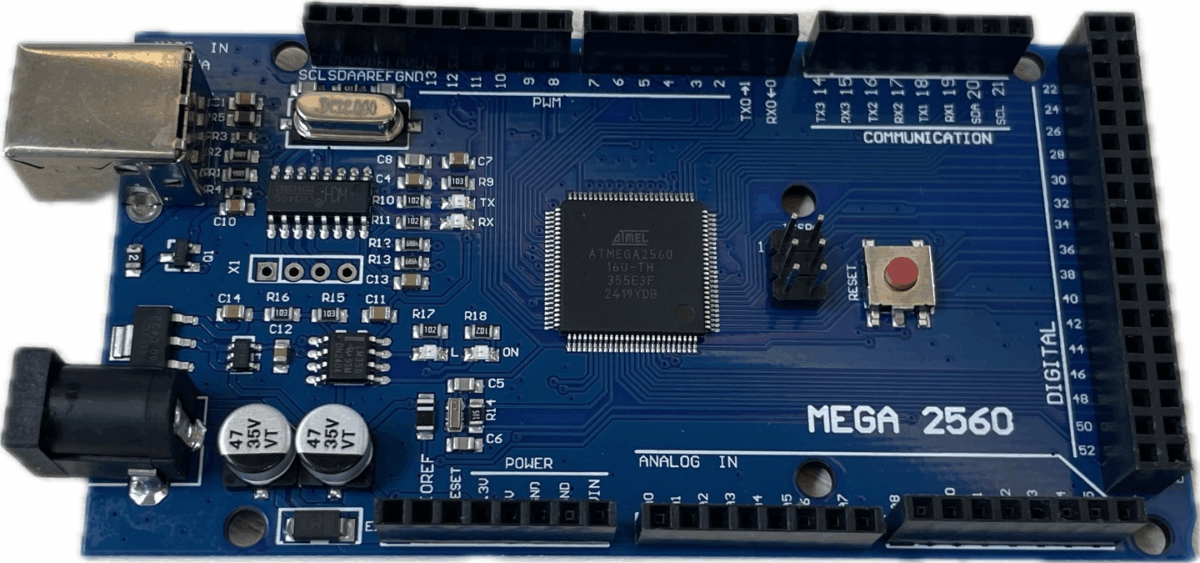
- Arduino Mega 2560 board
- Arduino IDE software
- GrowSpace UWB Developer Tag

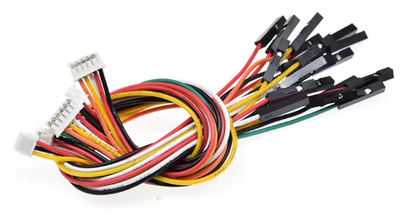
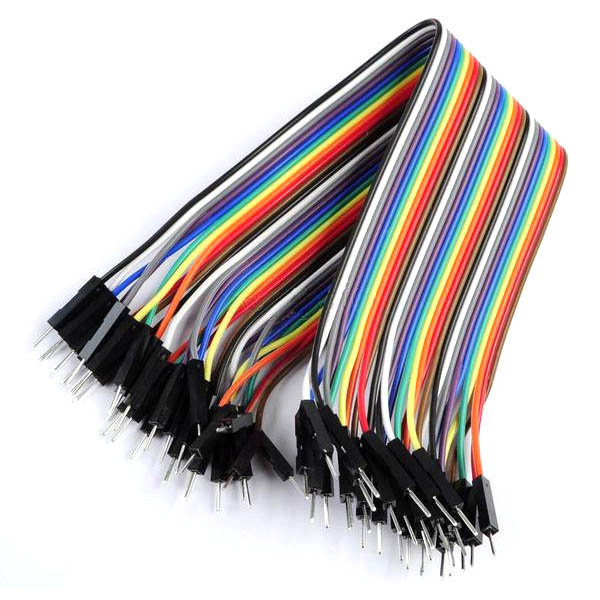
- Jumper wires (TX, RX, 5V, GND)
※ Note: The Arduino UNO board only has one serial port and is not stable at 115200 bps.
In contrast, the Mega 2560 supports multiple hardware serial ports (Serial1~3), allowing faster and more stable communication.
2. Installing the Arduino IDE
- Download the installer compatible with your operating system from the official Arduino website
- Proceed with the installation (this guide assumes MSI installer on Windows)
Why Use Mega 2560 Instead of UNO?
Most users are familiar with Arduino UNO, but it only has a single serial port.
To communicate with the GrowSpace UWB Tag at 115200 bps, UNO requires SoftwareSerial, which often results in data loss or instability.
The Arduino Mega 2560 provides 4 hardware serial ports (Serial0 to Serial3), making it far more suitable for UWB data handling.
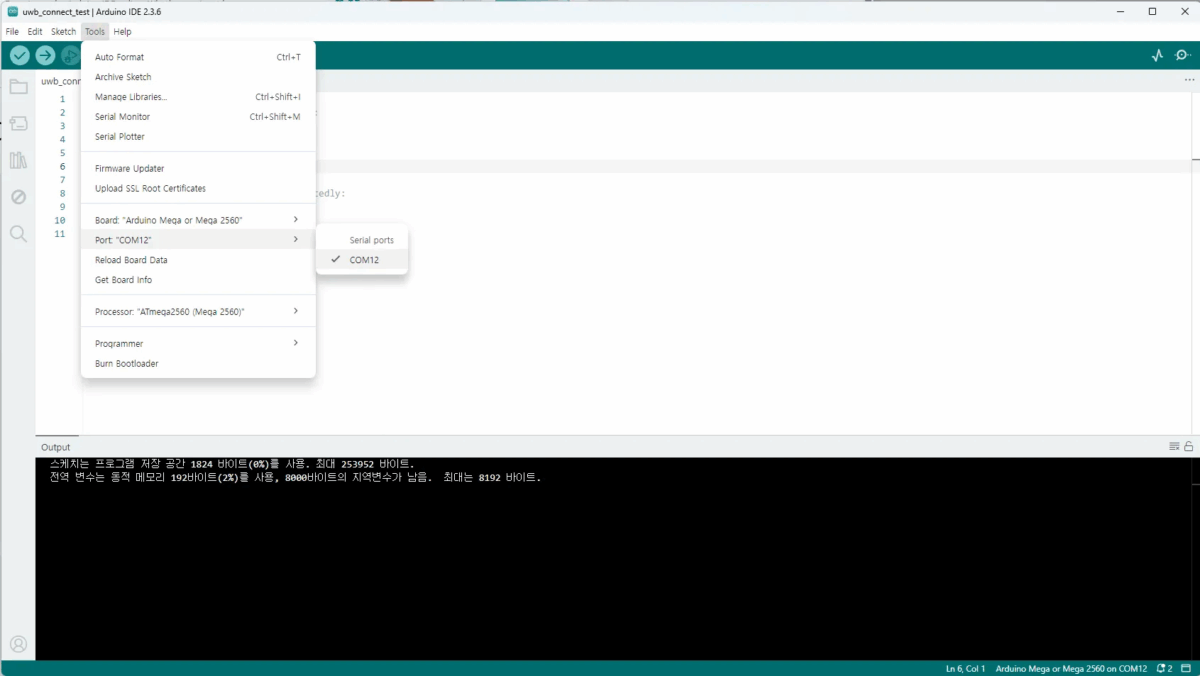
3. Board Connection and IDE Settings
1. Connect the Arduino Mega 2560 to your PC via USB
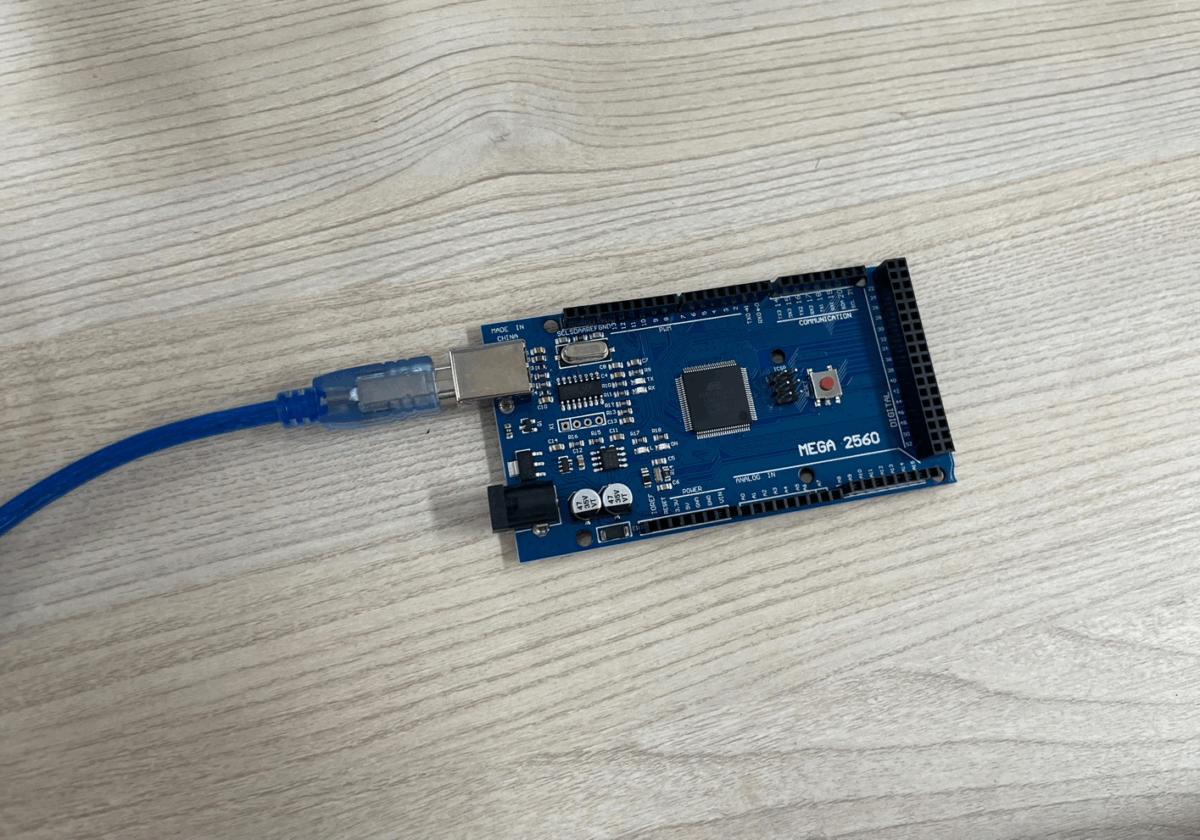
2. Open the Arduino IDE and apply the following settings:
- Tools > Board > Arduino Mega or Mega 2560
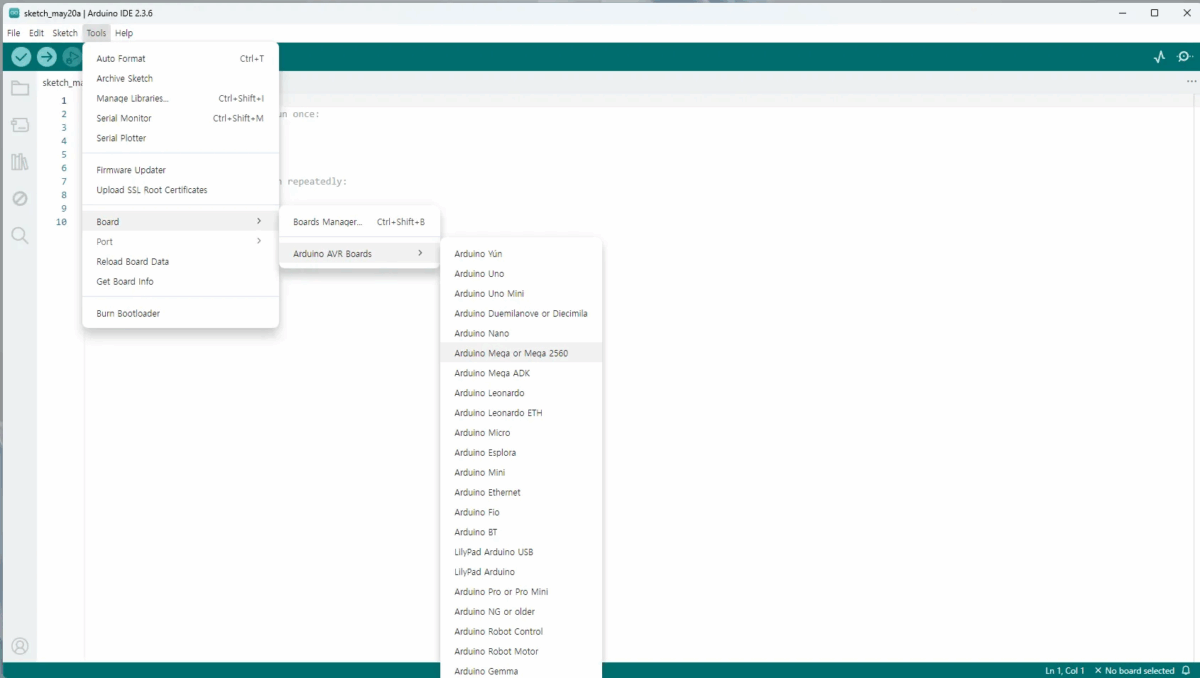
- Tools > Port > Select the correct COM port (e.g., COM3)
4. Hardware Pin Connections
This example uses the right-side connector on the Developer Tag, powered by 5V, and communicates via Serial1.
| UWB Tag Pin | Arduino Mega Pin |
|---|---|
| TX | RX1 (Pin 19) |
| RX | TX1 (Pin 18) |
| 5V | 5V |
| GND | GND |
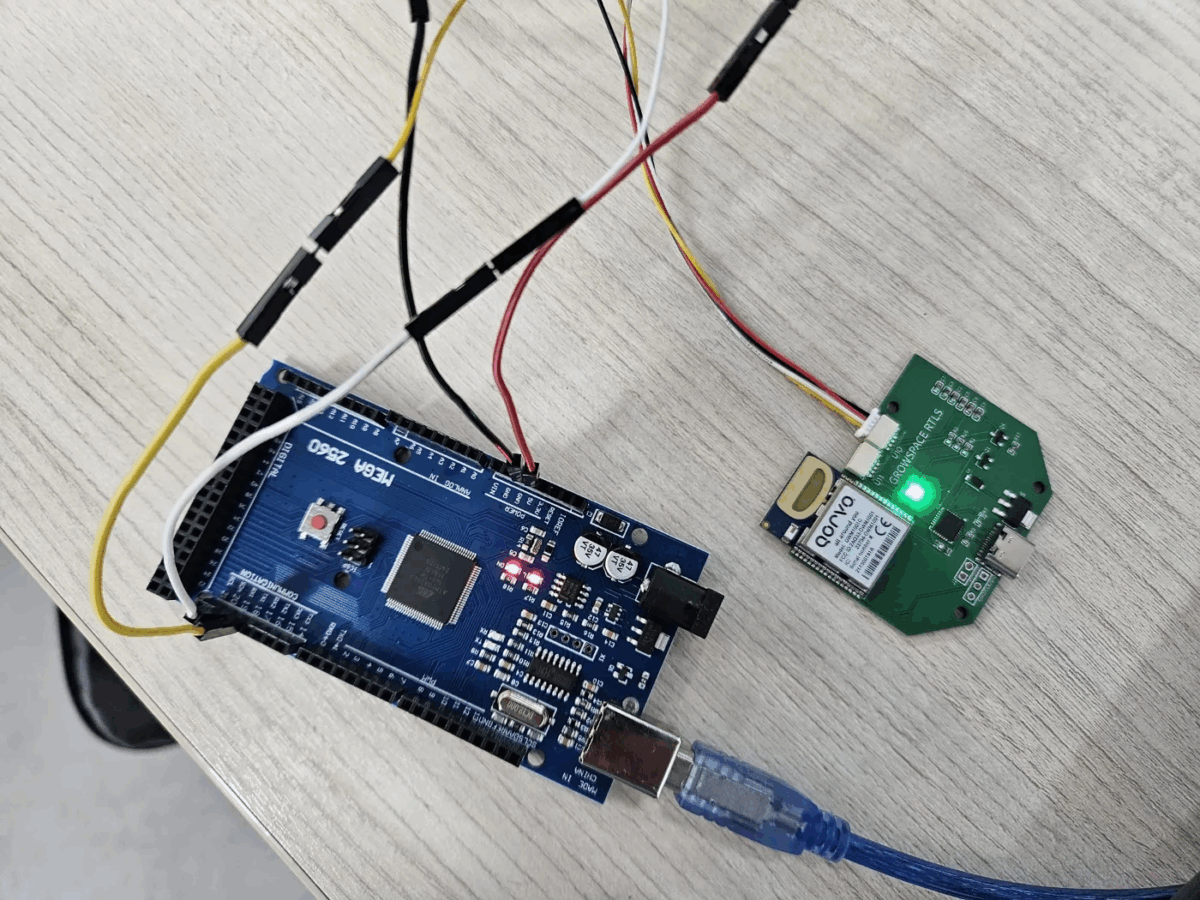
⚠️ TX ↔ RX must be crossed
Connect the tag’s TX to Arduino RX1, and RX to Arduino TX1
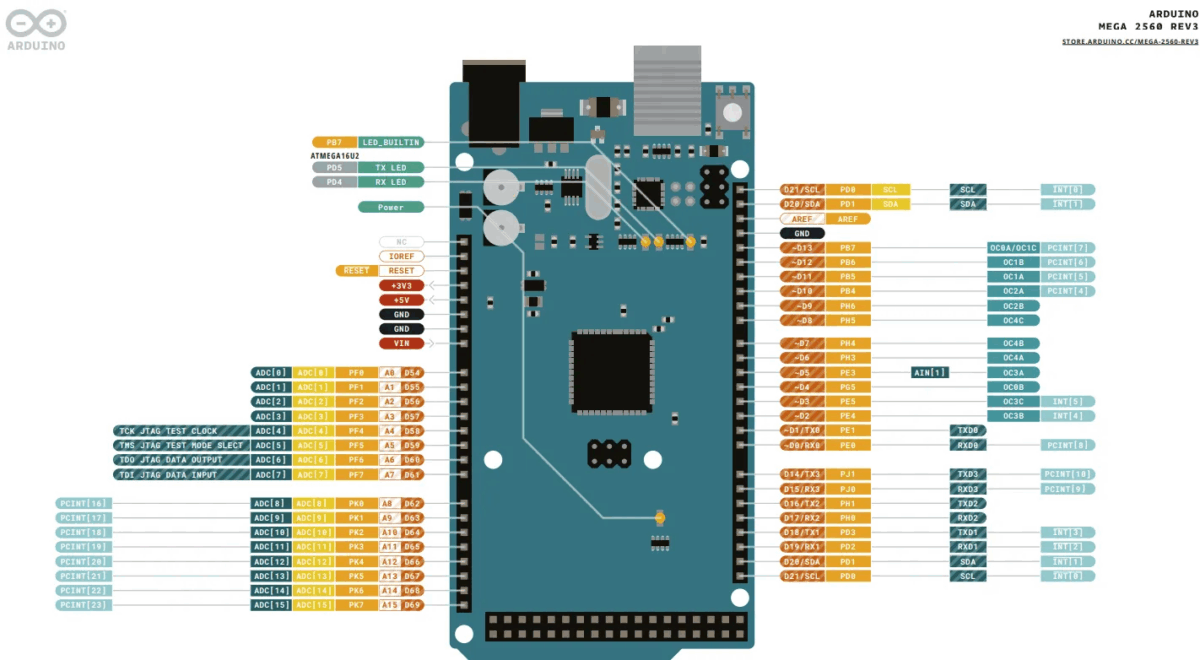
The diagram below shows the full pin layout of the Arduino Mega 2560 board.
For this guide, we are using the Serial1 port, so please refer to the connection points for TX1 (Pin 18) and RX1 (Pin 19).
5. Basic Serial Relay Code
void setup() {
  Serial.begin(115200);    // PC communication
  Serial1.begin(115200);   // UWB Tag communication
}

void serialEvent() {
  static String input = "";
  while (Serial.available()) {
    char c = (char)Serial.read();
    if (c != '\n') input += c;
    else {
      Serial1.print(input);
      Serial1.print('\r'); // Append CR
      input = "";
    }
  }
}

void serialEvent1() {
  static String response = "";
  while (Serial1.available()) {
    char c = (char)Serial1.read();
    response += c;
    if (c == '\n') {
      Serial.print("From Tag: ");
      Serial.println(response);
      response = "";
    }
  }
}
Serialcommunicates with the PCSerial1communicates with the GrowSpace tag- Carriage Return (
\r) is automatically appended after input
Upload the code and open the Serial Monitor (115200 bps).
If the si command returns system info, the connection is working!

6. Parsing lec / lep Data
Below is a full example for parsing lec and lep responses in Arduino code.
Key Features:
lep: Outputs tag position (X, Y, Z) and quality factor (QF)lec: Displays detailed anchor info + final tag position
String bufferSerial0 = "";
String bufferSerial1 = "";

void setup() {
  Serial.begin(115200);
  Serial1.begin(115200);
}

void loop() {
  // Leave empty – serialEvent / serialEvent1 run automatically
}

// PC command input
void serialEvent() {
  while (Serial.available()) {
    char inChar = (char)Serial.read();
    if (inChar != '\n') {
      bufferSerial0 += inChar;
    }

    if (inChar == '\n') {
      bufferSerial0.trim();

      if (bufferSerial0.equalsIgnoreCase("lec") || bufferSerial0.equalsIgnoreCase("lep")) {
        Serial.print("Sending: ");
        Serial.println(bufferSerial0);
        Serial1.print(bufferSerial0);
        Serial1.print('\r');
      } else {
        Serial.println("⚠ Unsupported command.");
      }

      bufferSerial0 = "";
    }
  }
}

// UWB tag response parsing
void serialEvent1() {
  while (Serial1.available()) {
    char inChar = (char)Serial1.read();
    bufferSerial1 += inChar;

    if (inChar == '\n') {
      bufferSerial1.trim();

      if (bufferSerial1.startsWith("POS,")) {
        parseLEP(bufferSerial1);
      } else if (bufferSerial1.startsWith("DIST,")) {
        parseLEC(bufferSerial1);
      } else {
        Serial.println("[Raw] " + bufferSerial1);
      }

      bufferSerial1 = "";
    }
  }
}
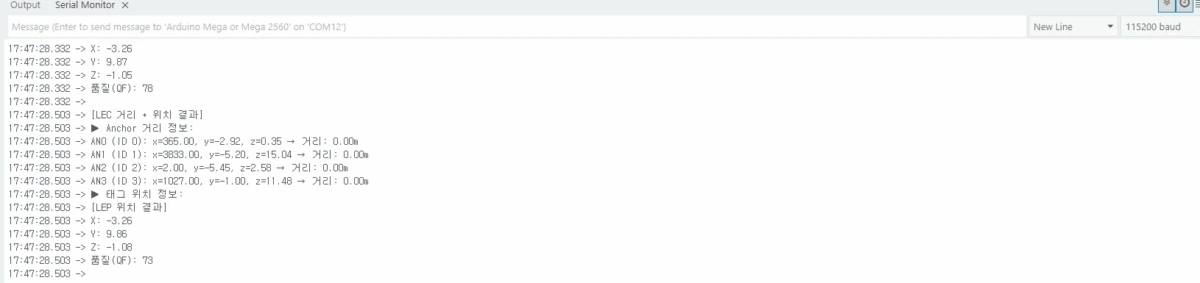
Enter "lec" or "lep" in the Serial Monitor to see the output as shown below.
lep 실행결과

lec 실행결과
Conclusion
In this tutorial, you’ve learned how to:
- Set up serial communication between the GrowSpace UWB Developer Tag and Arduino Mega 2560
- Send
lec/lepcommands - Parse real-time position data directly in Arduino code
This provides a solid starting point for:
- UWB-based location services
- Indoor positioning projects
- Smart space development using sensor fusion