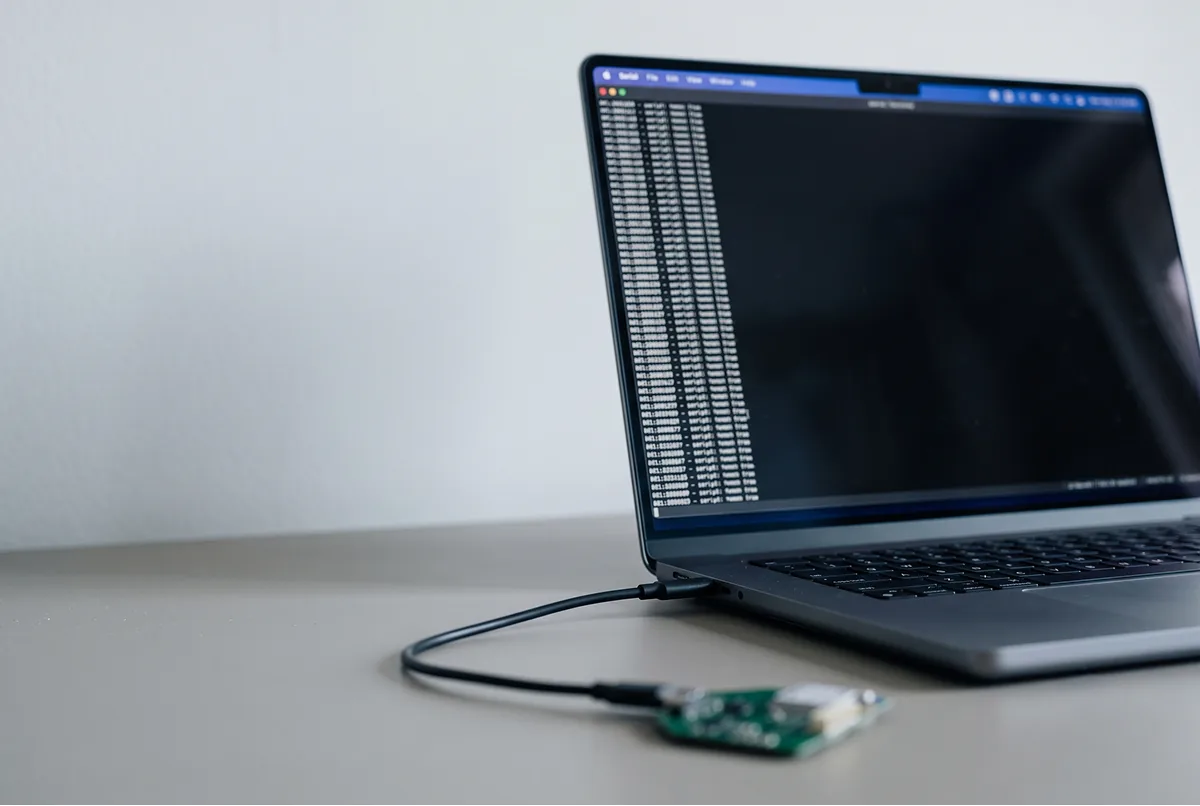
This guide explains how to connect the GrowSpace UWB Developer Tag to a Raspberry Pi 4 Model B and receive real-time position data using lec and lep commands. It also covers how to implement serial communication and parse received data using Python.
GrowSpace UWB Developer Tag: Materials Required
- Raspberry Pi 4 Model B
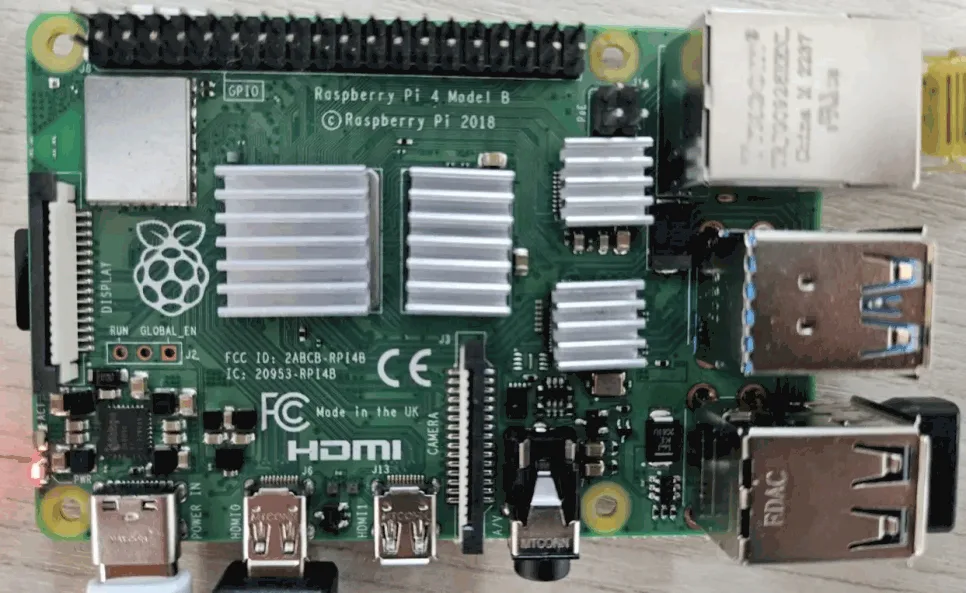
- USB-C power adapter (5V 3A or higher)
- GrowSpace UWB Developer Tag
- Jumper wires (TX, RX, GND, 3.3V)
- Python 3.9.2 or higher
pyserialpackage
Environment Setup
OS: Debian GNU/Linux 11 (bullseye)
Python: 3.9.2
Required package: pyserial
Enabling UART Port
- Run the following in the terminal:
sudo raspi-config
2. Navigate to:
- Interface Options → Serial Port
- Login shell via serial: No
- Enable serial port hardware: Yes
3. Then reboot:
sudo reboot
GrowSpace UWB Developer Tag Serial Pin Configuration
The GrowSpace Developer Tag uses the left-side connector, which operates at 3.3V logic level, for UART communication with the Raspberry Pi’s Serial0 port.
| Developer Tag Pin | Raspberry Pi Pin | GPIO |
|---|---|---|
| TX | Pin 10 (RXD) | GPIO15 |
| RX | Pin 8 (TXD) | GPIO14 |
| 3.3V | Pin 1 | — |
| GND | Pin 6 | — |
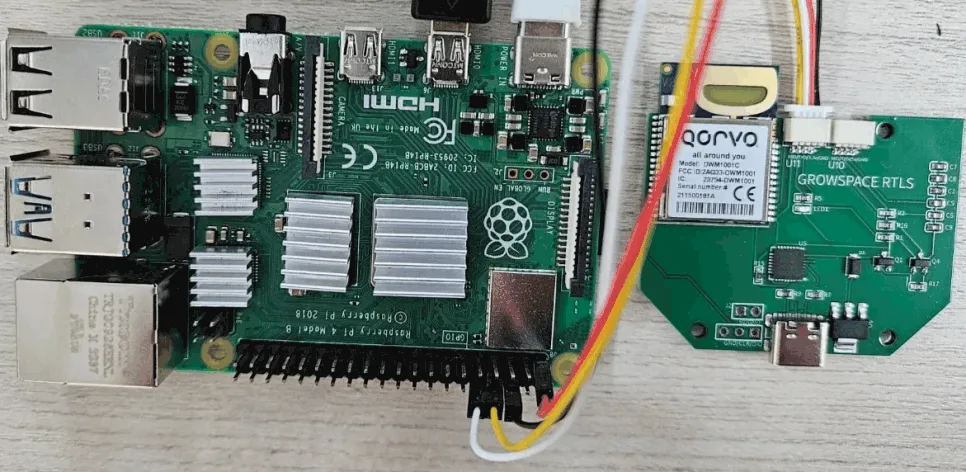
주의: Note: TX ↔ RX must be crossed
Tag TX → Pi RXTag RX → Pi TX
Make sure to check the Raspberry Pi 40-pin GPIO layout.
📌Reference: Raspberry Pi GPIO Pinout Diagram
Below is the full pinout of the 40-pin header on the Raspberry Pi.
Make sure to identify the locations of TX0 (GPIO14, Pin 8), RX0 (GPIO15, Pin 10), 3.3V (Pin 1), and GND (Pin 6) accurately.
Use this diagram to ensure your serial connection with the GrowSpace Developer Tag is configured correctly.

Developer Tag Serial Port Voltage Levels
The GrowSpace Developer Tag provides two UART serial ports, and they are not just physically separate — they operate at different voltage levels.
- Port 1: TX, RX, 3.3V, GND → for 3.3V-level UART communication (left-side connector)
- Port 2: TX, RX, 5V, GND → for 5V-level UART communication (right-side connector)

In this tutorial, since the Raspberry Pi’s UART operates at 3.3V, you must connect to Port 1.
Connecting a 5V TX signal directly to the Pi’s GPIO may damage the board, so please ensure correct port selection.
Serial Communication Test Code (Python)
import serial
import threading

uwb = serial.Serial('/dev/serial0', baudrate=115200, timeout=0.5)

def read_from_uwb():
    while True:
        if uwb.in_waiting:
            data = uwb.readline().decode(errors='ignore').strip()
            if data:
                print(f"[UWB Response] {data}")

def write_to_uwb():
    while True:
        try:
            cmd = input(">>> ")
            if cmd.strip():
                uwb.write((cmd + '\r').encode())
        except KeyboardInterrupt:
            print("\nExiting...")
            break

if __name__ == "__main__":
    print("Starting UWB Serial Relay (/dev/serial0)")
    threading.Thread(target=read_from_uwb, daemon=True).start()
    write_to_uwb()
The above code runs two threads simultaneously within the main() function:
read_from_uwb()reads incoming data from the Developer Tag (UWB module) in real-time and prints it to the console.write_to_uwb()sends user-entered commands to the tag via serial communication. (A'\r'carriage return is automatically appended to each command.)

And if you enter the si command directly, the UWB tag will respond, confirming that the communication is successfully established.
Parsing Position Data (lec / lep)
LEP – Parse Position Only
def parse_lep(line):
    print("\n[LEP Position Result]")
    parts = line.strip().split(',')
    if len(parts) >= 5:
        print(f"X: {parts[1]}")
        print(f"Y: {parts[2]}")
        print(f"Z: {parts[3]}")
        print(f"Quality (QF): {parts[4]}")
    else:
        print("Invalid LEP format")
LEC – Parse Distance + Position
def parse_lec(line):
    print("\n[LEC Distance + Position Result]")
    try:
        pos_idx = line.index("POS,")
        dist_part = line[:pos_idx].strip()
        pos_part = line[pos_idx:].strip()

        anchors = []
        tokens = dist_part.split(',')
        i = 2
        while i < len(tokens):
            if tokens[i].startswith("AN"):
                anchor_id = tokens[i+1]
                x = float(tokens[i+2])
                y = float(tokens[i+3])
                z = float(tokens[i+4])
                d = float(tokens[i+5])
                anchors.append((anchor_id, x, y, z, d))
                i += 6
            else:
                i += 1

        for idx, (aid, x, y, z, d) in enumerate(anchors):
            print(f"AN{idx} (ID {aid}): x={x}, y={y}, z={z}, distance={d}m")

        parse_lep(pos_part)

    except Exception as e:
        print(f"Failed to parse LEC: {e}")
Combined Serial Reading Loop
input_buffer = ""

def read_from_uwb():
    global input_buffer
    while True:
        if uwb.in_waiting:
            data = uwb.read().decode(errors='ignore')
            if data == '\n':
                line = input_buffer.strip()
                if line.startswith("POS,"):
                    parse_lep(line)
                elif line.startswith("DIST,"):
                    parse_lec(line)
                else:
                    print(f"[Other Response] {line}")
                input_buffer = ""
            else:
                input_buffer += data
- Example Output


Conclusion: GrowSpace UWB Developer Tag Recap
In this guide, we covered:
- How to connect a GrowSpace UWB Developer Tag to Raspberry Pi
- How to send/receive serial commands
- How to parse and display real-time position data with Python
With this setup, you can build a lightweight RTLS testbed or integrate UWB positioning into your own smart system.
If you need support, feel free to reach out! 😊
PLANNING A DEPLOYMENT?
Which setup fits your site?
GrowSpace designs real-time location tracking (RTLS) around the conditions of your factory, warehouse or construction site — installation, integration with existing systems and ongoing operation handled by one team.