
In This Article
This guide shows how to connect the GrowSpace UWB listener or developer tag to an Arduino Uno and receive real-time position data using the lep command. Since the Uno has only one hardware serial port, we use the AltSoftSerial software-serial library to handle data reliably.
What You’ll Need
- GrowSpace listener or developer tag (GR-LST-1001 or GR-TGD-1001S)
- Arduino Uno board
- Jumper wires
- USB cable (for PC connection)
- Arduino IDE
- AltSoftSerial library (for software serial communication)
Installing the Arduino IDE and Library
Installing the Arduino IDE
- Install the version matching your OS from the official Arduino download page.
Installing AltSoftSerial
- Launch the Arduino IDE
- Top menu → Sketch > Include Library > Manage Libraries
- Search for AltSoftSerial and install the latest version
Why Do You Need AltSoftSerial?
The Arduino Uno has only one hardware serial (Serial) port, which is connected to the USB port. However, the GrowSpace UWB device communicates at a high speed of 115200bps, so the Uno’s default port alone makes it difficult to handle bidirectional communication between the PC and the device at the same time.
Limitations of Regular SoftwareSerial
- High error rate at high-speed communication (115200bps)
- Conflicts with timers, limiting the use of functions such as
millis()anddelay()
Advantages of AltSoftSerial
- Provides more accurate and stable communication based on an internal timer
- Reliable reception even at high speeds of 115200bps and above
- Usage is similar to Serial, making it easy to implement
- On the Uno, RX: D8 and TX: D9 are fixed, minimizing conflicts
For this reason, using AltSoftSerial is recommended for reliably integrating a GrowSpace device with the Uno board.
Serial Pin Connection (AltSoftSerial)
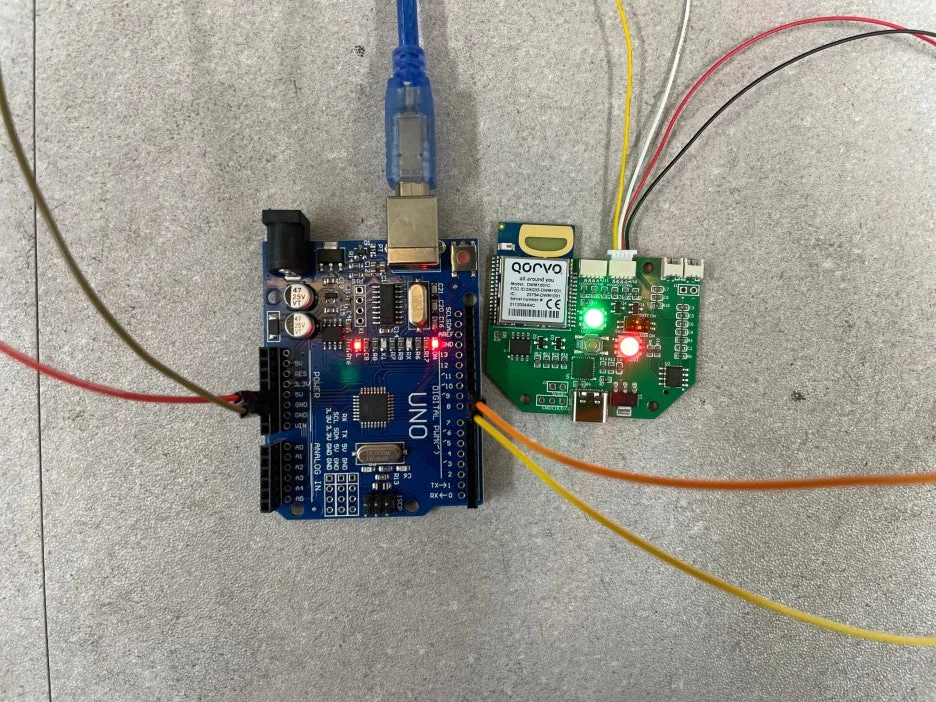
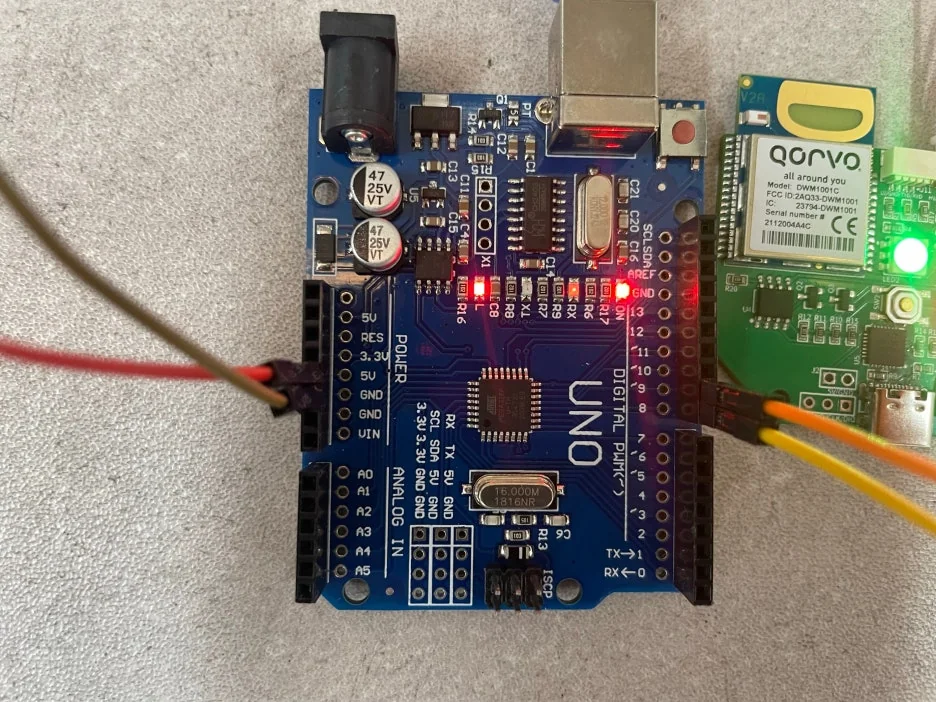
Connect the GrowSpace device and Arduino Uno as follows. Since the Uno can connect to 5V devices, use the right connector (5V-based).
| GrowSpace Device Pin | Arduino Uno Pin |
|---|---|
| HV (5V) | 5V |
| GND | GND |
| TXD | D8 |
| RXD | D9 |
⚠️ TX ↔ RX must be cross-connected. Device’s TX → Uno’s D8 (AltSoftSerial’s RX). Device’s RX → Uno’s D9 (AltSoftSerial’s TX).
AltSoftSerial-Based Data Reception Example Code
#include

AltSoftSerial altSerial;  // RX: D8, TX: D9

void setup() {
  Serial.begin(115200);     // USB serial
  altSerial.begin(115200);  // GrowSpace device serial
  delay(100);

  // Reset device
  altSerial.print("reset\r");
  delay(1000);

  // Clear buffer
  while (altSerial.available()) {
    altSerial.read();
  }

  // Start position request
  altSerial.print("lep\r");
}

void loop() {
  while (altSerial.available()) {
    char c = altSerial.read();
    Serial.write(c);  // Output to PC
  }
}
Serial Monitor Setup and Testing
- After uploading the code, connect the Arduino Uno to your PC.
- In the Arduino IDE, open Tools > Serial Monitor
- Baud rate: 115200, Newline: enabled
Example Output (Common to Developer Tag / Listener)
POS,0,0104,12.34,56.78,9.01,95,BC
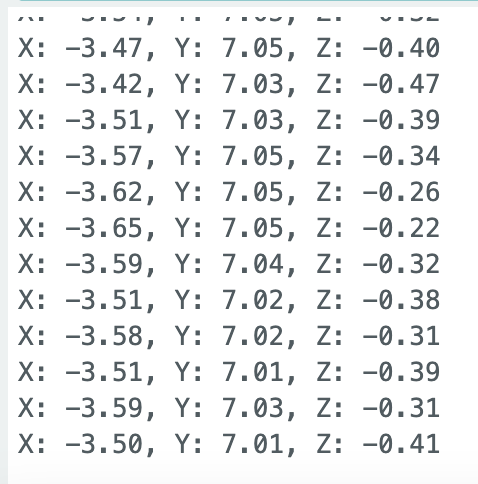
Or
X: 12.34, Y: 56.78, Z: 9.01
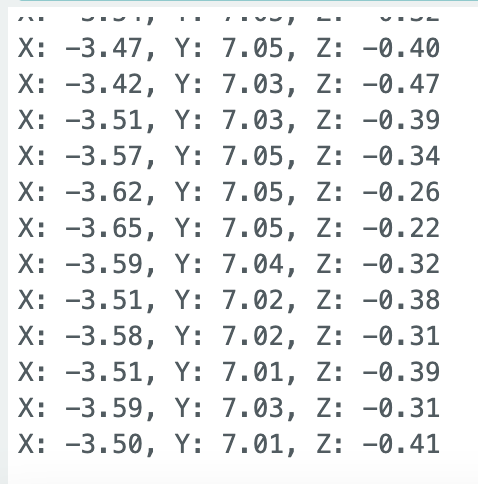
When you correctly receive position data from the GrowSpace device, values like the above are printed.
Troubleshooting Guide
- If there’s no output
- Double-check the jumper wire connections.
- Make sure the AltSoftSerial library is installed correctly.
- Reselect the Uno board’s port and retry after rebooting the board.
- If you need more reliable communication
- We recommend using an Arduino Mega 2560 board. The Mega supports four hardware serial ports.
Wrap-Up
This manual covered connecting a GrowSpace UWB listener or developer tag to an Arduino Uno and receiving real-time position data. Position data received via the lep command can be applied to a variety of indoor positioning projects and RTLS systems.