
In This Guide
This guide explains how to use the GrowSpace UWB Web Console to configure an anchor’s PAN ID, coordinates, and role,
then physically install it to complete your indoor RTLS (Real-Time Location System) setup.
Before You Start
Hardware
| Item | Description |
|---|---|
| UWB Anchor | UWB Anchor |
| Windows PC | Windows 10 or later recommended |
| USB cable | USB Type-A to Type-C |
Software
| Item | Description |
|---|---|
| Web Console | https://grow-space.io/software/ |
| USB to UART driver | CP210x VCP Driver Installation Guide |
Connecting the Anchor and Confirming Detection
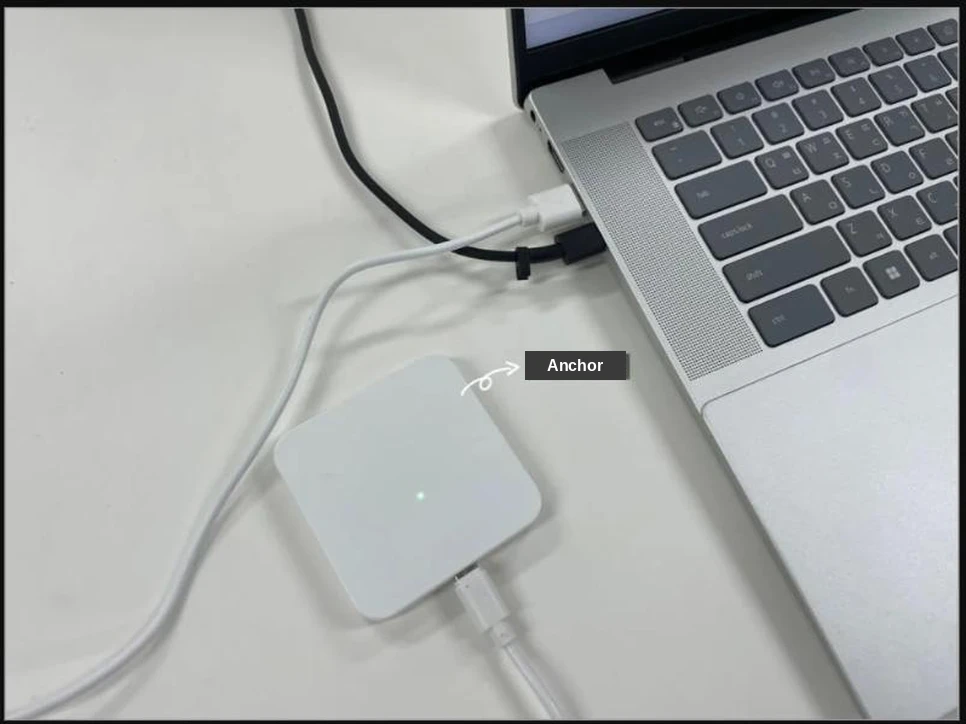
- Connect the UWB anchor to your PC with a USB cable.
- Go to the Web Console.
You must use the Chrome browser. Other browsers may limit device connection or serial port detection.
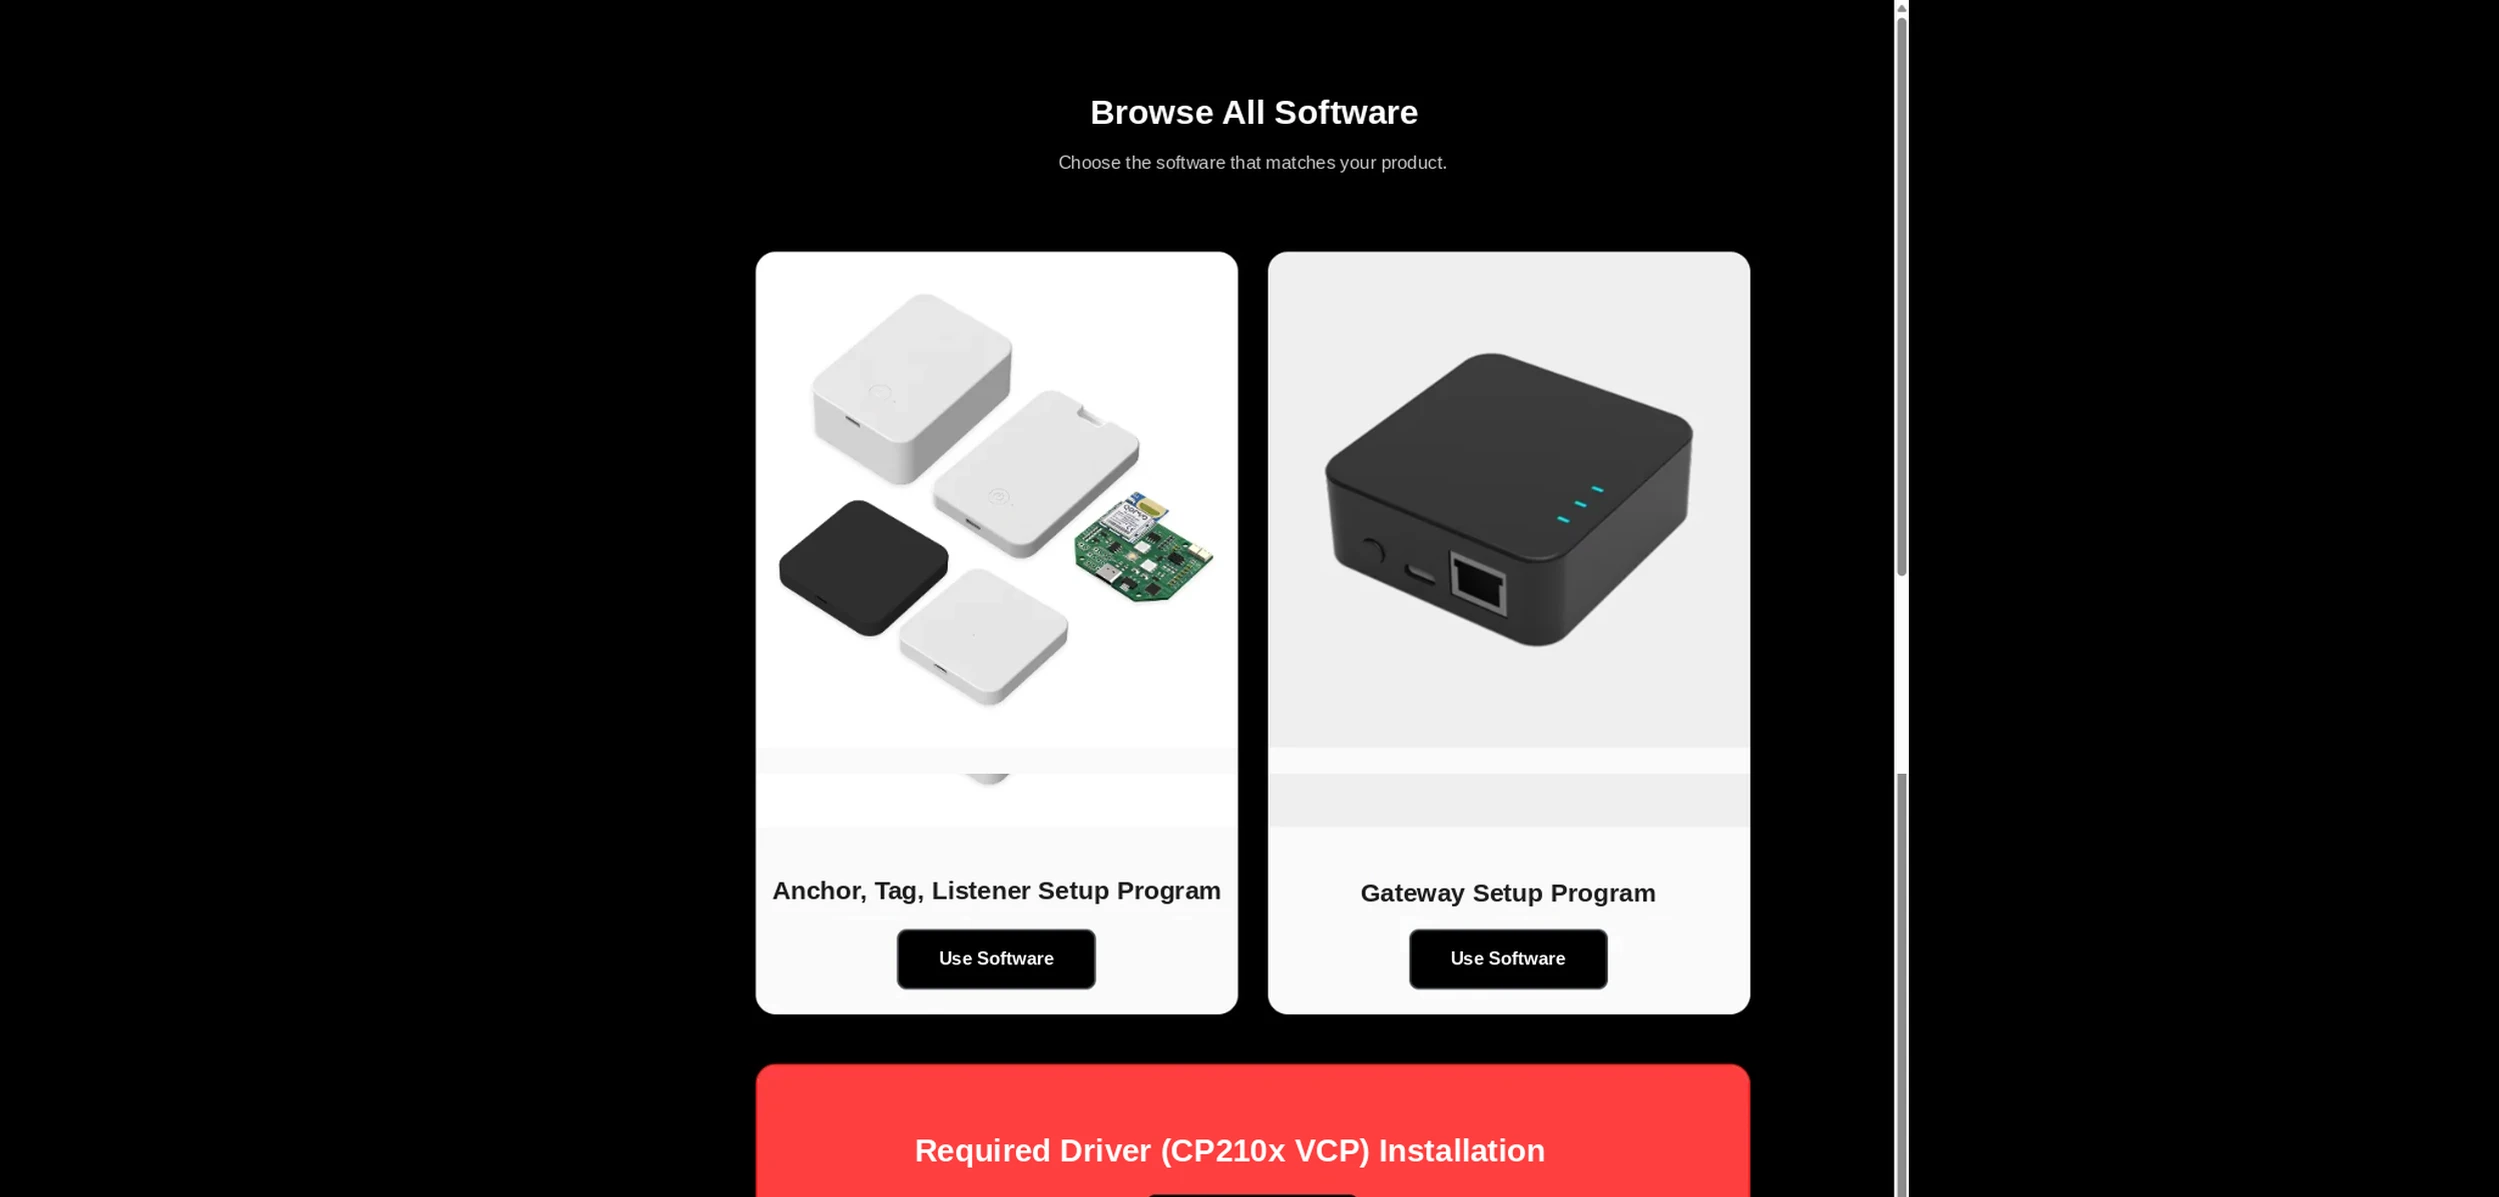
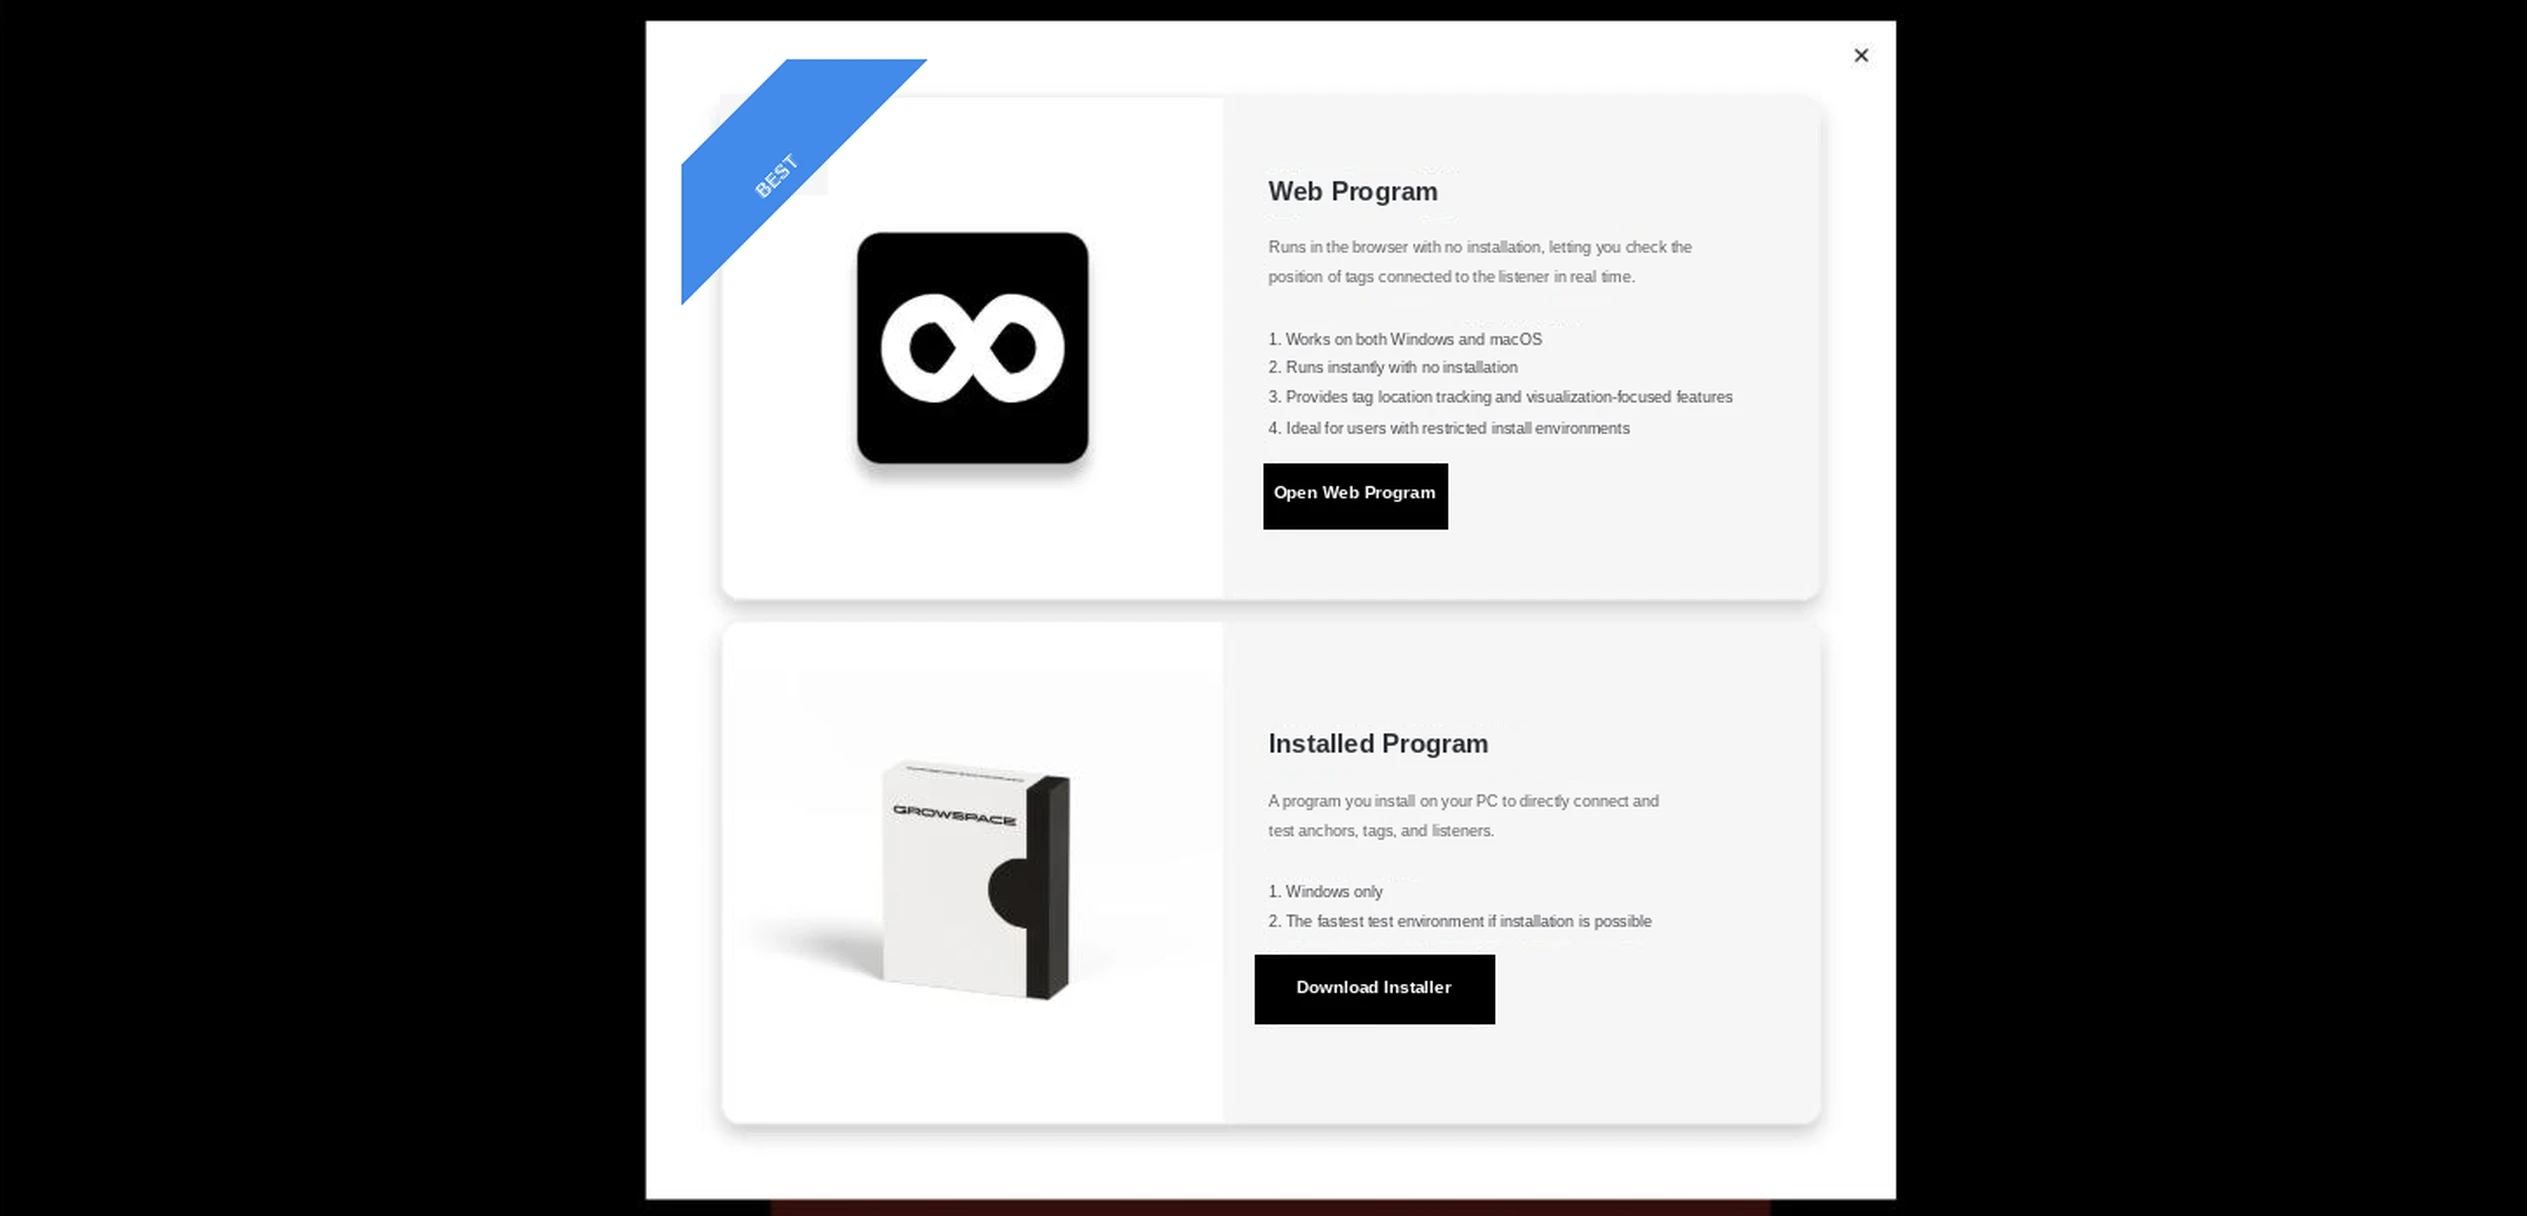
- In the left sidebar, click “Anchor / Tag / Listener Setup Program” → “Web Program.”
- The following setup screen appears.
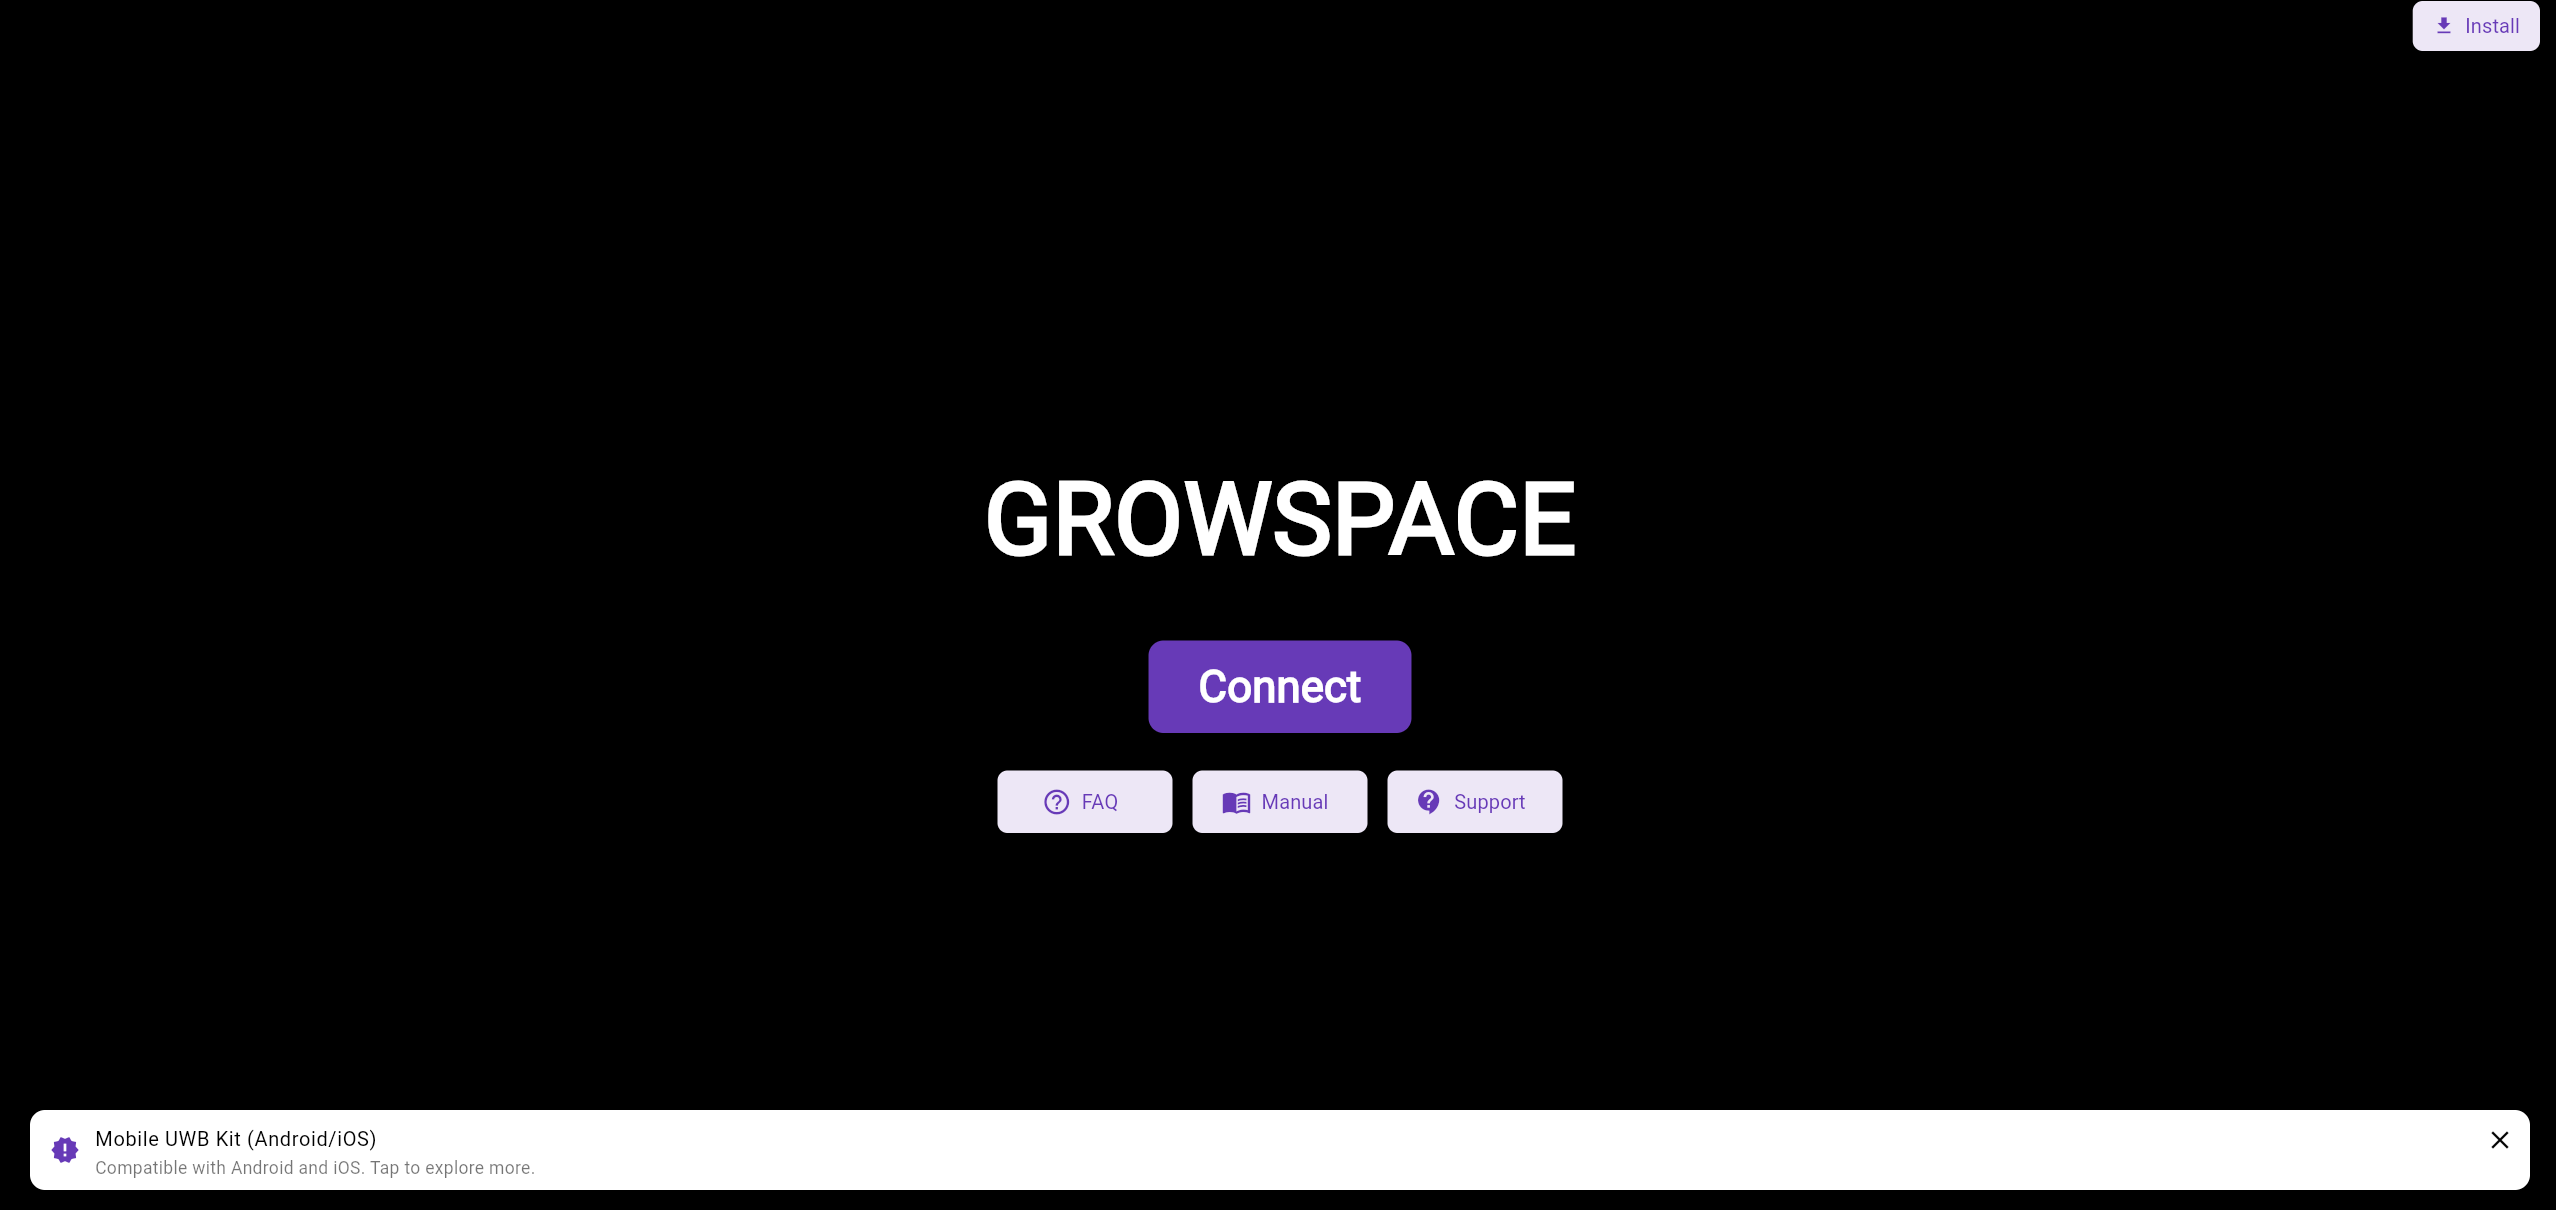
- Click the [Connect] button.
- Select the UWB device from the list of available ports (COM ports).
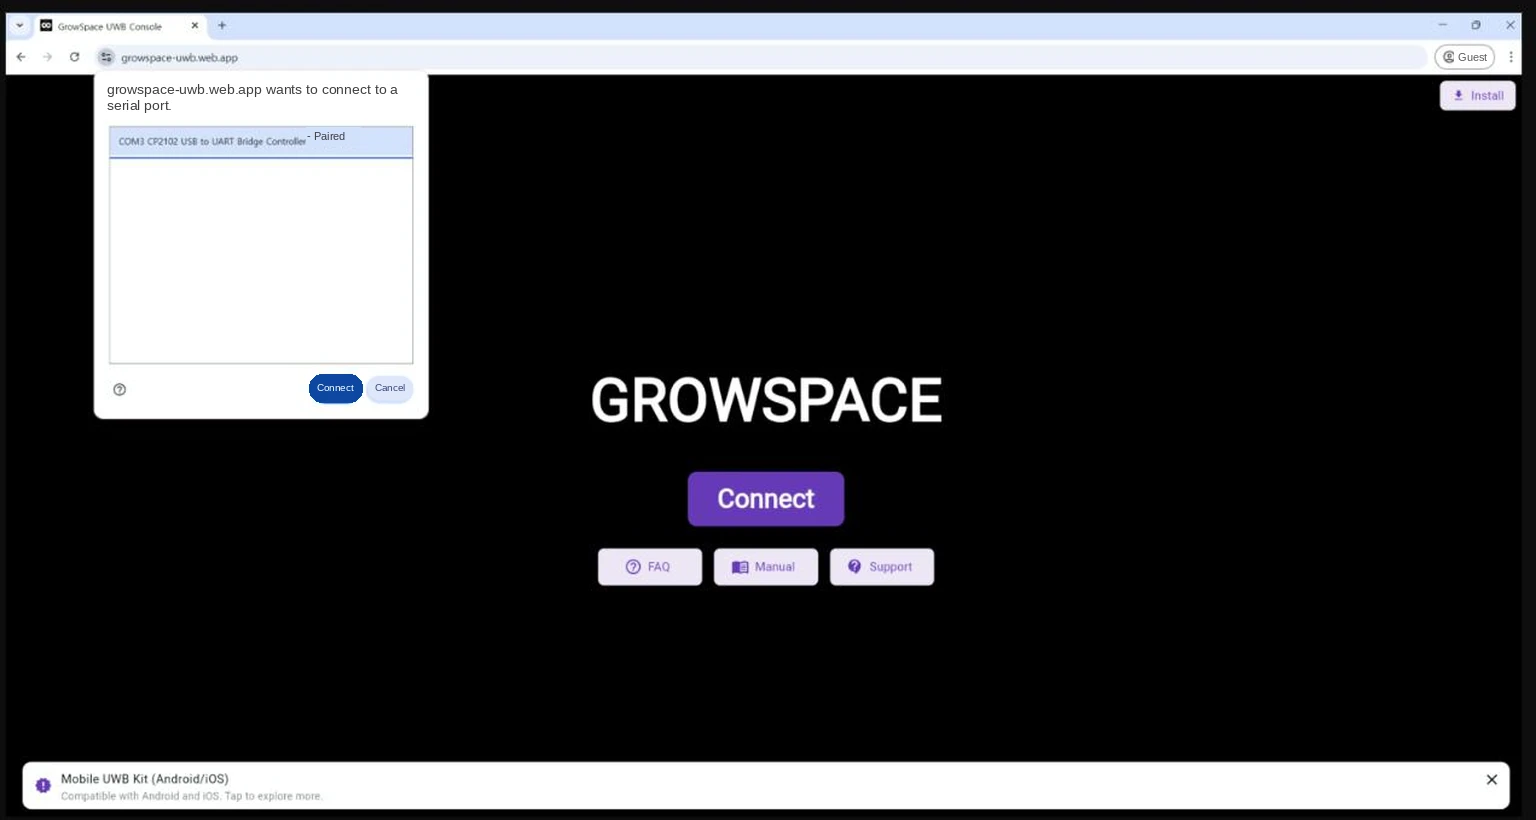
- Once the device information appears on screen, the connection is complete.
Be sure to use Google Chrome.
The connection may not work correctly in other browsers.
If the Device Isn’t Detected
If the device doesn’t connect to your PC, or doesn’t appear in the port list, check the following in order.
- Try a different USB cable and reconnect. A faulty cable can sometimes prevent the device from being detected properly.
- Try a different USB port. Detection can fail depending on the port used, so try switching to another available port.
- Check that the CP210x VCP driver is installed. Listener devices in particular need this driver installed for the port to be detected correctly.
- If the driver isn’t installed yet, see the guide below. → View the CP210x VCP Driver Installation Guide
Setting the PAN ID
- After connecting, enter a value in the PAN ID field on screen.
Example:0x0000
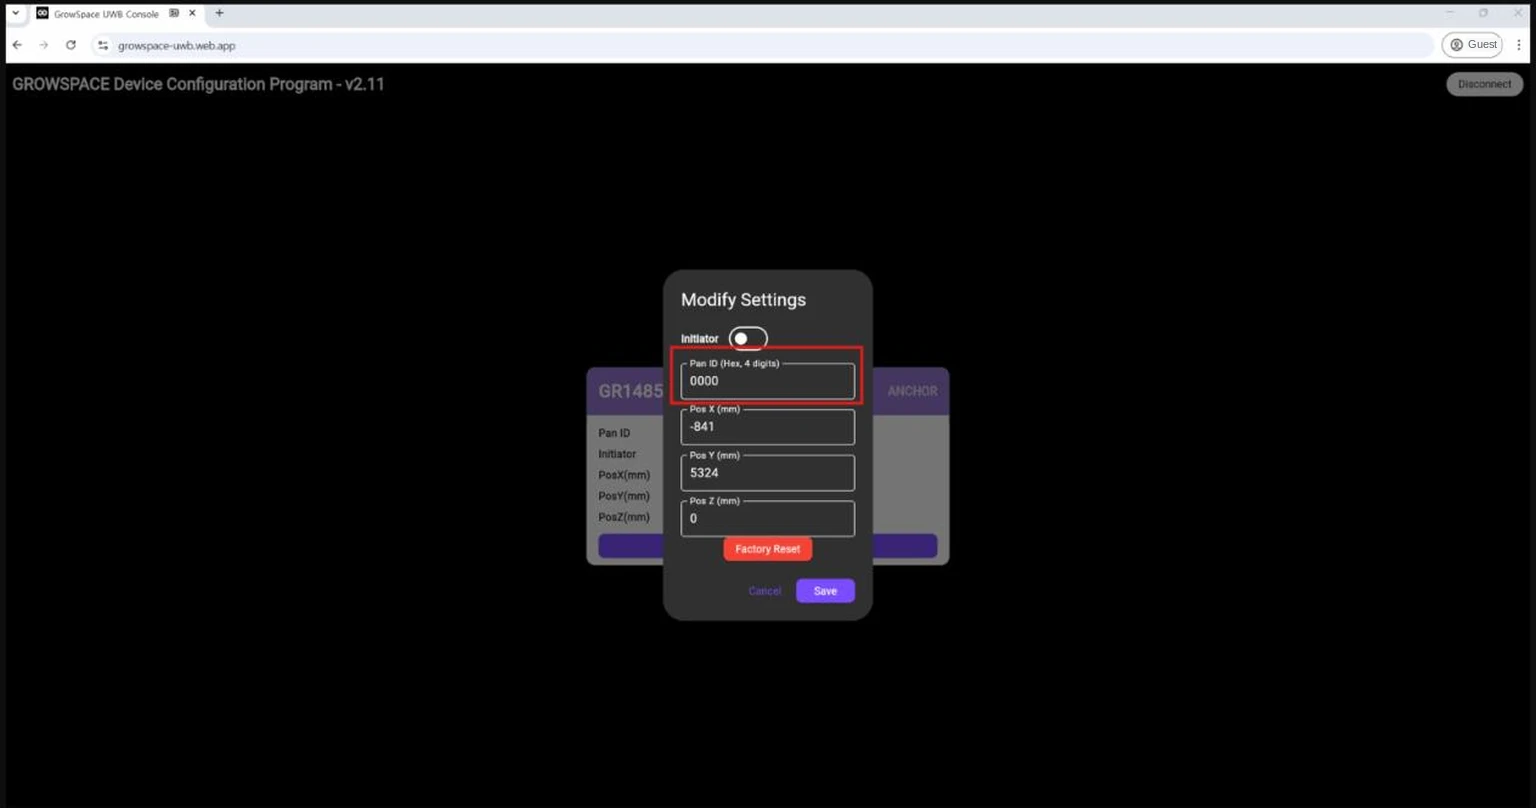
- Every anchor in the same system must use the same PAN ID.
What Is a PAN ID?
- A unique ID that distinguishes one RTLS network from another.
- Only devices sharing the same PAN ID can communicate over UWB.
- Used to define a single RTLS group within one space.
Setting Coordinates and Roles
Reference Anchor (Initiator)
- The anchor that serves as the reference point for RTLS calculations.
- Exactly one must be set as Initiator; it acts as the trigger signal source for the system.
How to configure it:
- With the target device connected, enable the Initiator checkbox.
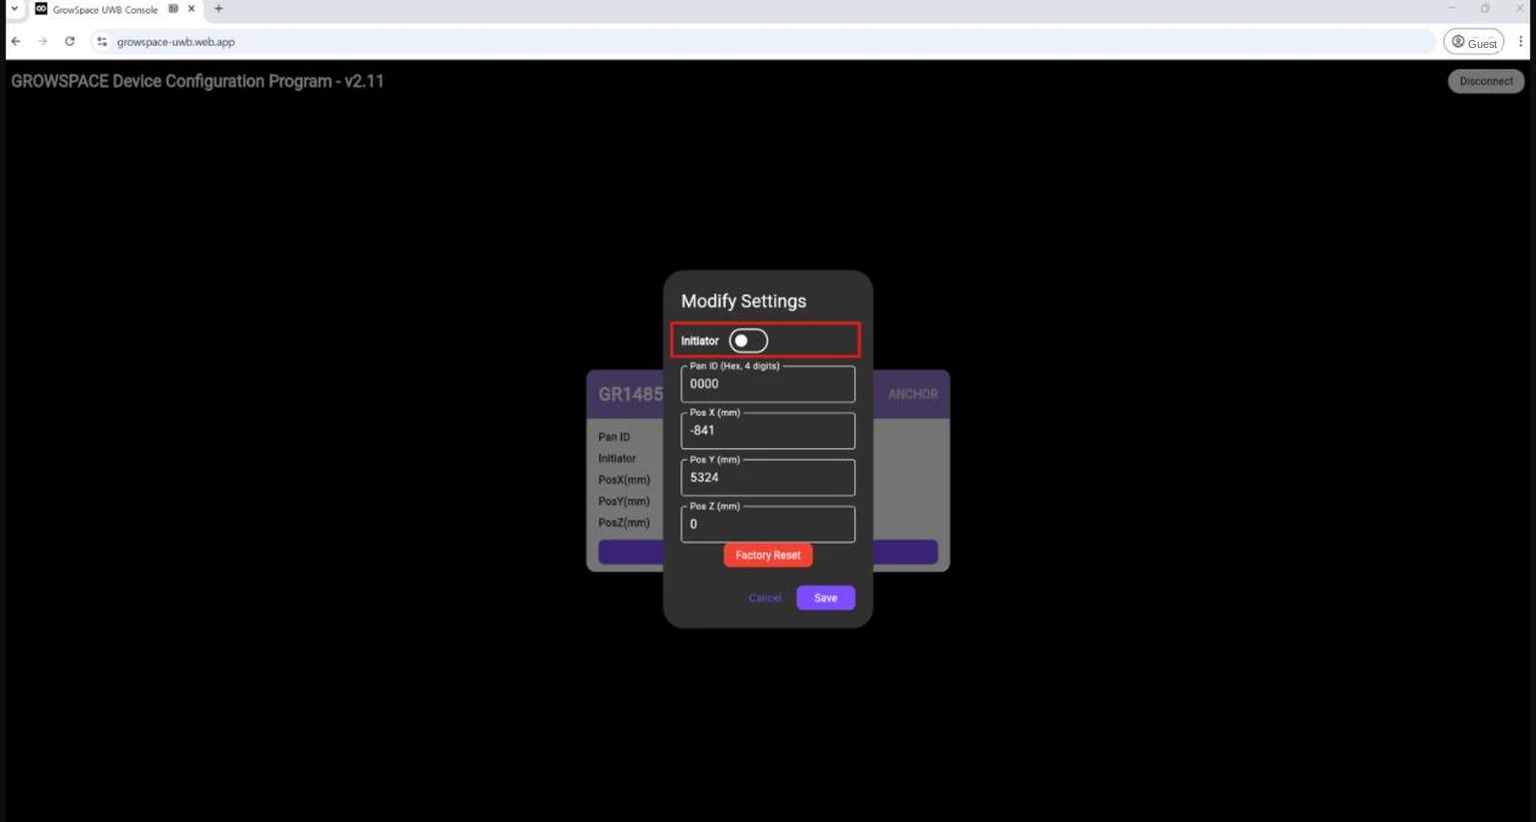
- Enter the X, Y, Z coordinates (in mm) below, based on measured distances.
- Example: X:
15000, Y:0, Z:3000
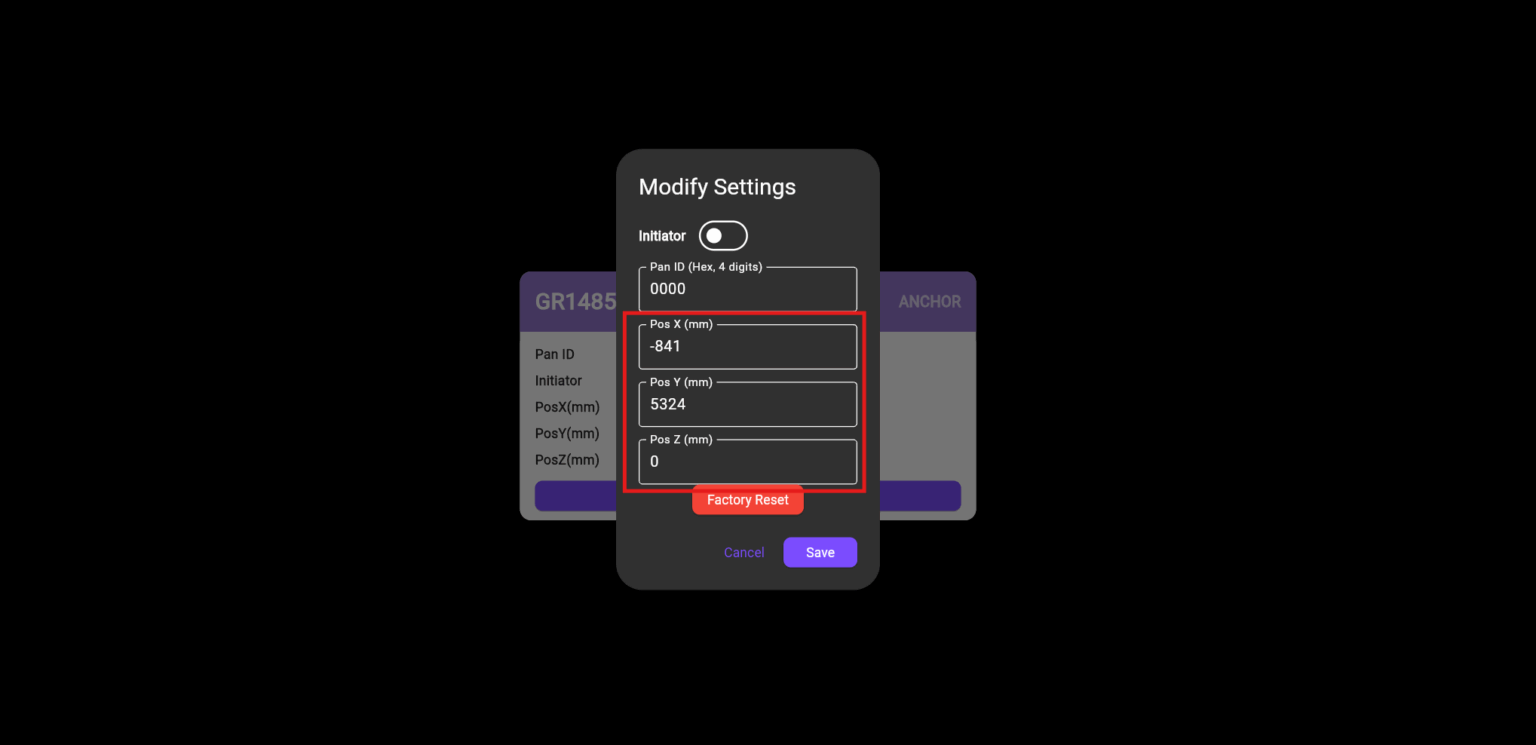
- Once entered, click [Save] to save the settings.
- Connect the next anchor and repeat the same procedure.
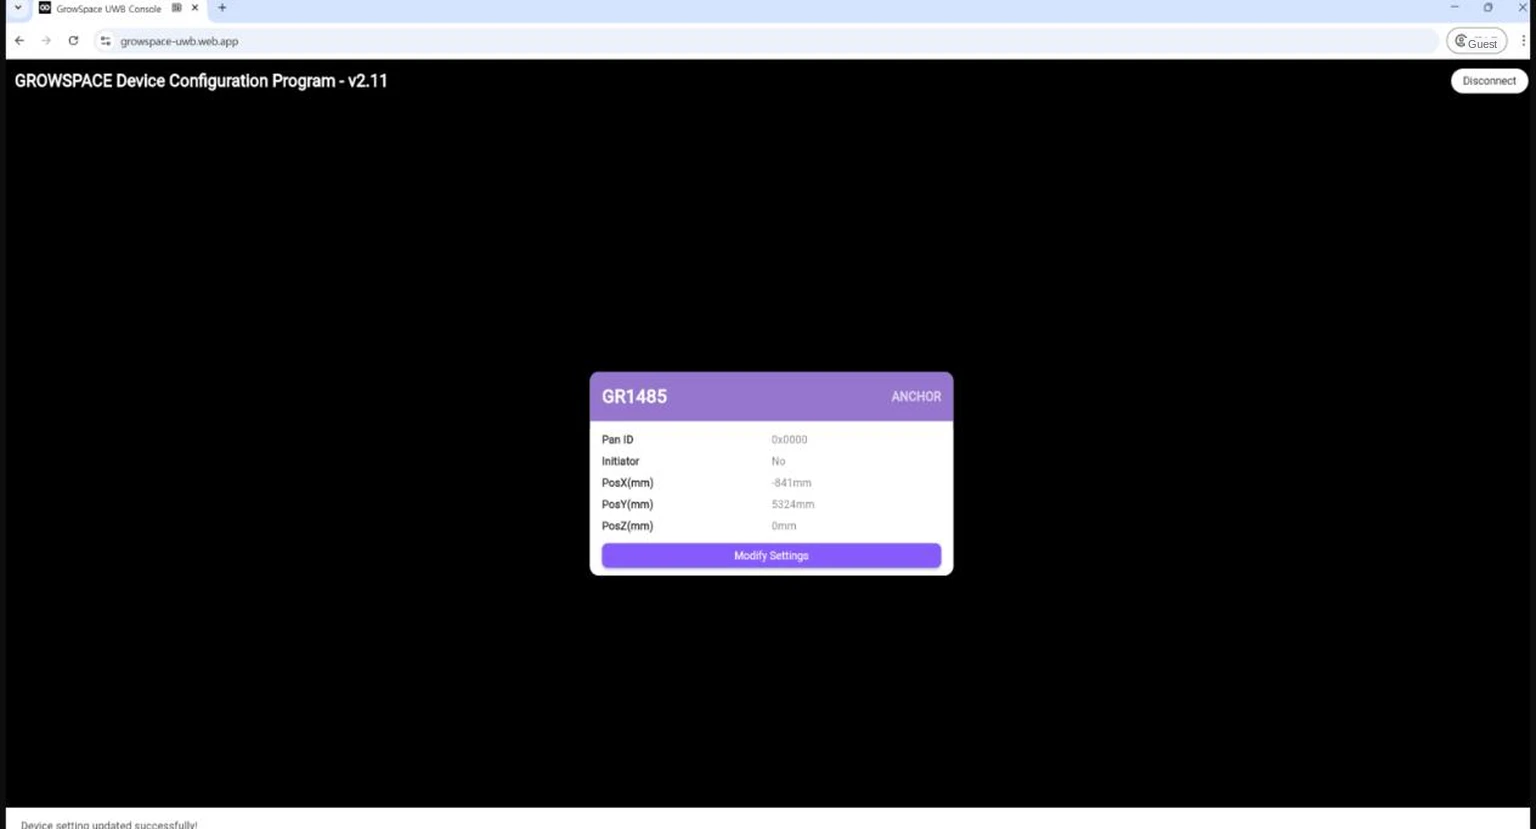
If you need to clear previous settings, use [Factory Reset] to restore factory defaults.
Physically Installing the Anchor
Installation Method Examples
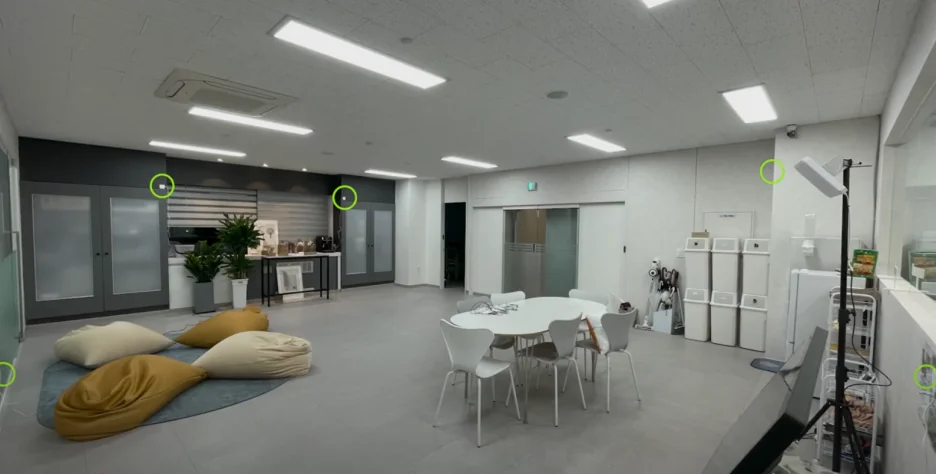
| Method | Environment | Approach |
|---|---|---|
| Wall mount | General office space | Secure with screws, keep level, tidy the cabling |
| Ceiling mount | Factory, warehouse | Use a bracket or cable ties |
| Column/pillar mount | Tight spaces | Attach with double-sided tape or hook-and-loop fastener |
Installation Precautions
- Mount the device securely so it doesn’t shake or tilt.
- Avoid signal-interfering materials such as metal, glass, or pillars where possible.
- Keep power and signal cables tidy to make future maintenance easier.
- After installation, always confirm signal reception and LED status.
Connecting Power and Checking Operation
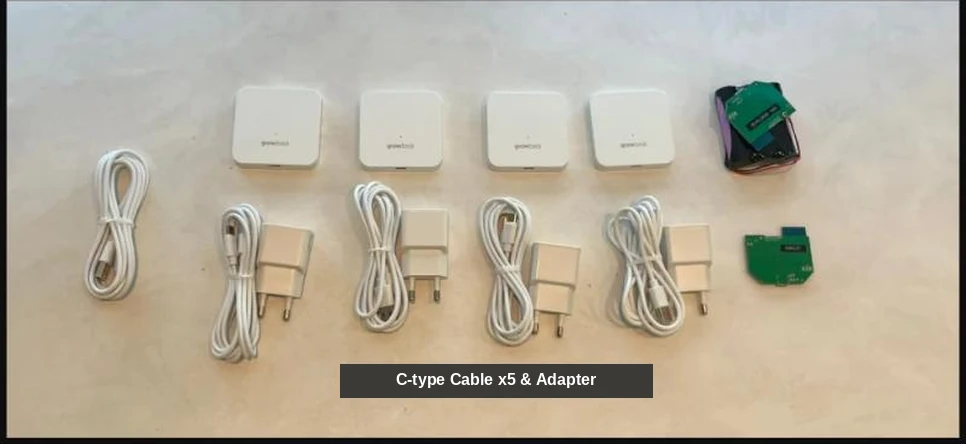
- Prepare a USB Type-C adapter that supports the recommended voltage/current.
- Connect it to the anchor’s power port.
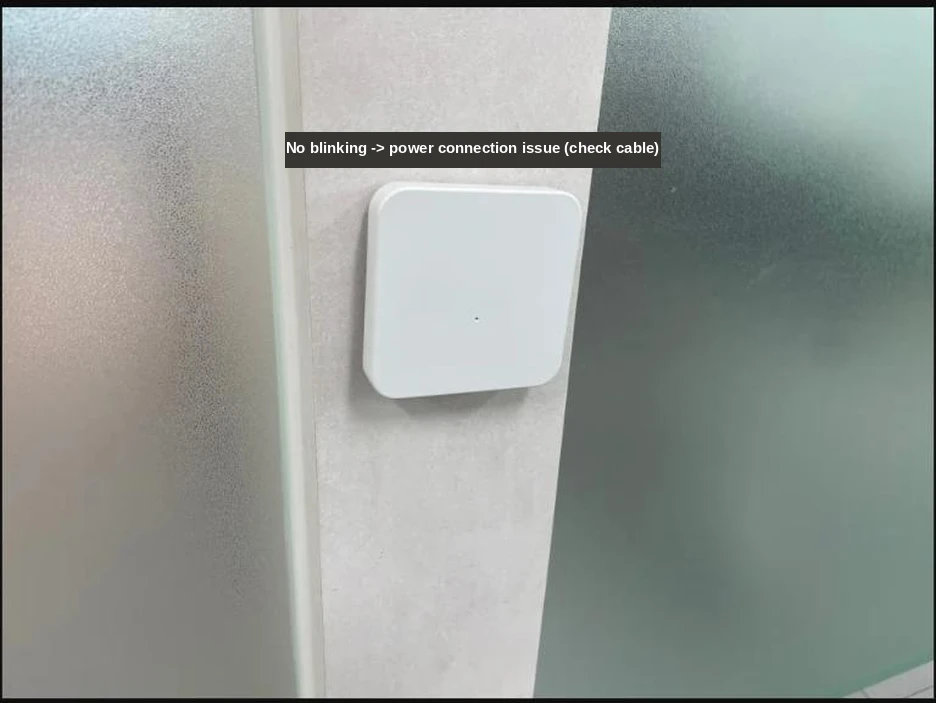
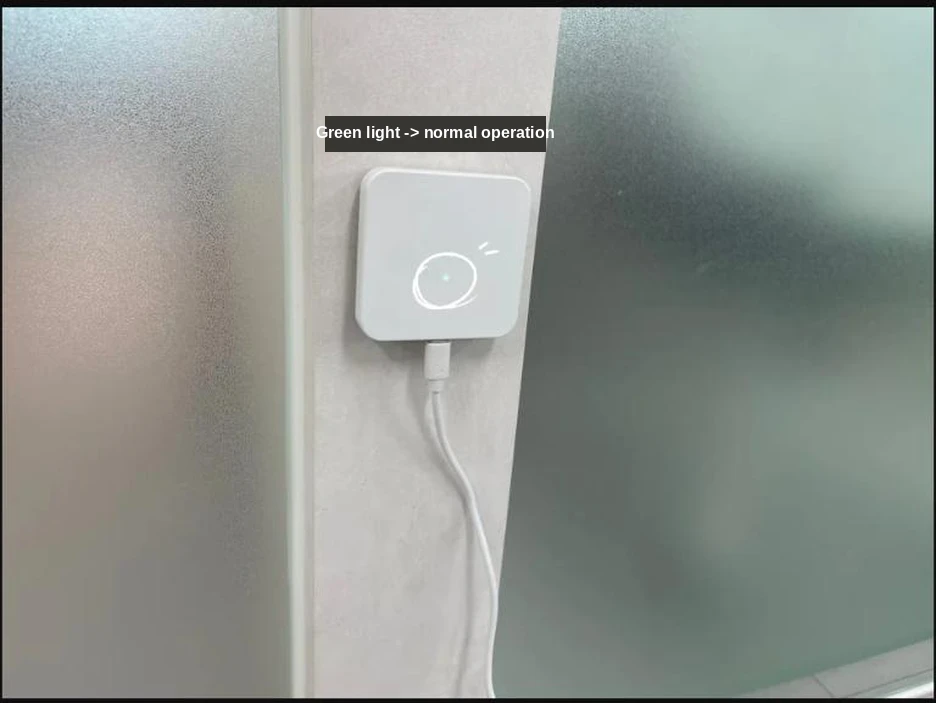
- Check the LED indicator.
Using an adapter with lower output than the recommended spec may cause unstable power or a dropped connection.
LED Status Table
| Status | Meaning | What to Check |
|---|---|---|
| ● Green | Normal operation | Connected and configured correctly |
| ● Red | Network error | Check the PAN ID or Initiator setting |
| No light | No power | Check the cable or adapter |
Post-Installation Checklist
| Item | What to Check |
|---|---|
| Device detection | Confirm every anchor is detected correctly in the Web Console |
| Coordinate entry | Confirm the X, Y, Z coordinates were entered accurately |
| Initiator setting | Confirm only one Initiator exists |
| LED status | Confirm every device is operating normally (green light) |
| Position response | Move a tag and confirm position data is being reported |
💻 A Desktop Installer Is Also Available
In addition to the Web Console, GrowSpace anchors can also be configured through a dedicated setup program (the GrowSpace configuration app). We recommend the installer for finer adjustments or for offline setup.
Installing the Setup Program
On your PC, go to https://drive.google.com/file/d/1L76hj_xsFe_flzxv6n_Svr73HJntvUxe/view?pli=1
Installer file:
uwb_settings.exe
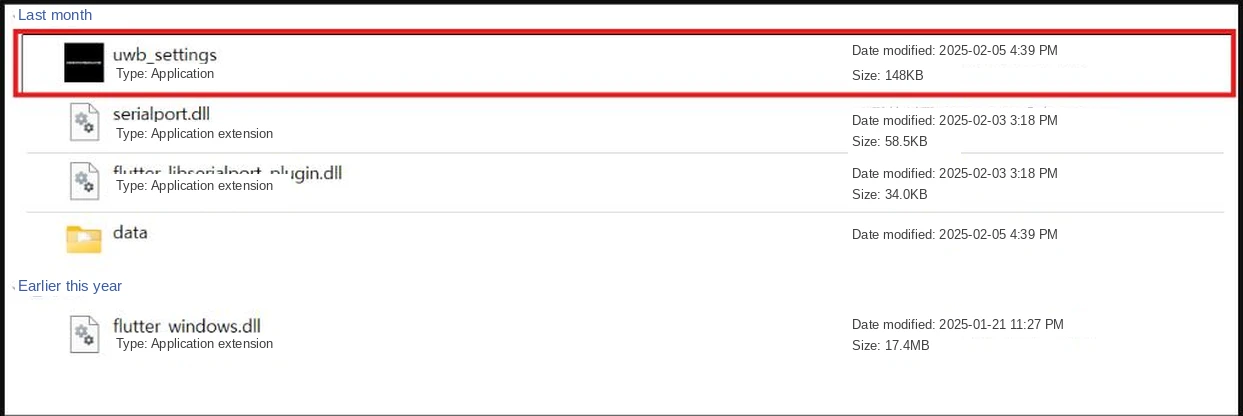
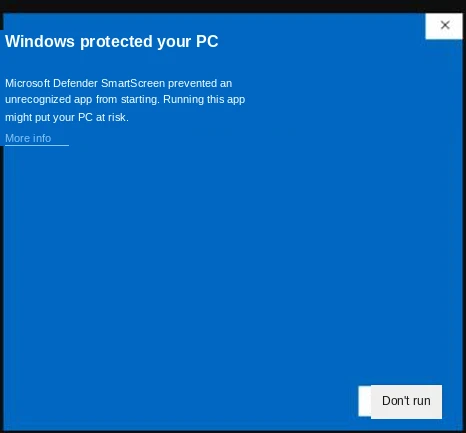
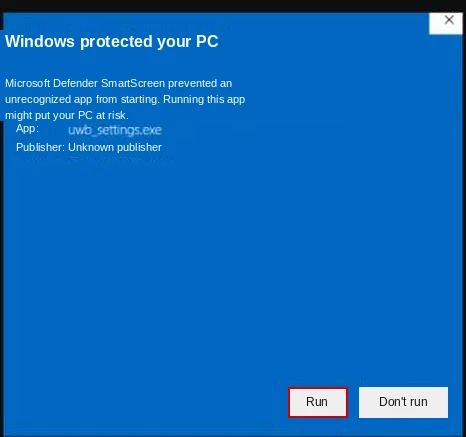
- If a security warning appears when running it, click [More info → Run anyway] to continue installation.
- After installation, launch the program → connect and configure the anchor.
- GrowSpace anchors can be configured the same way in either the Web Console or the dedicated installer.
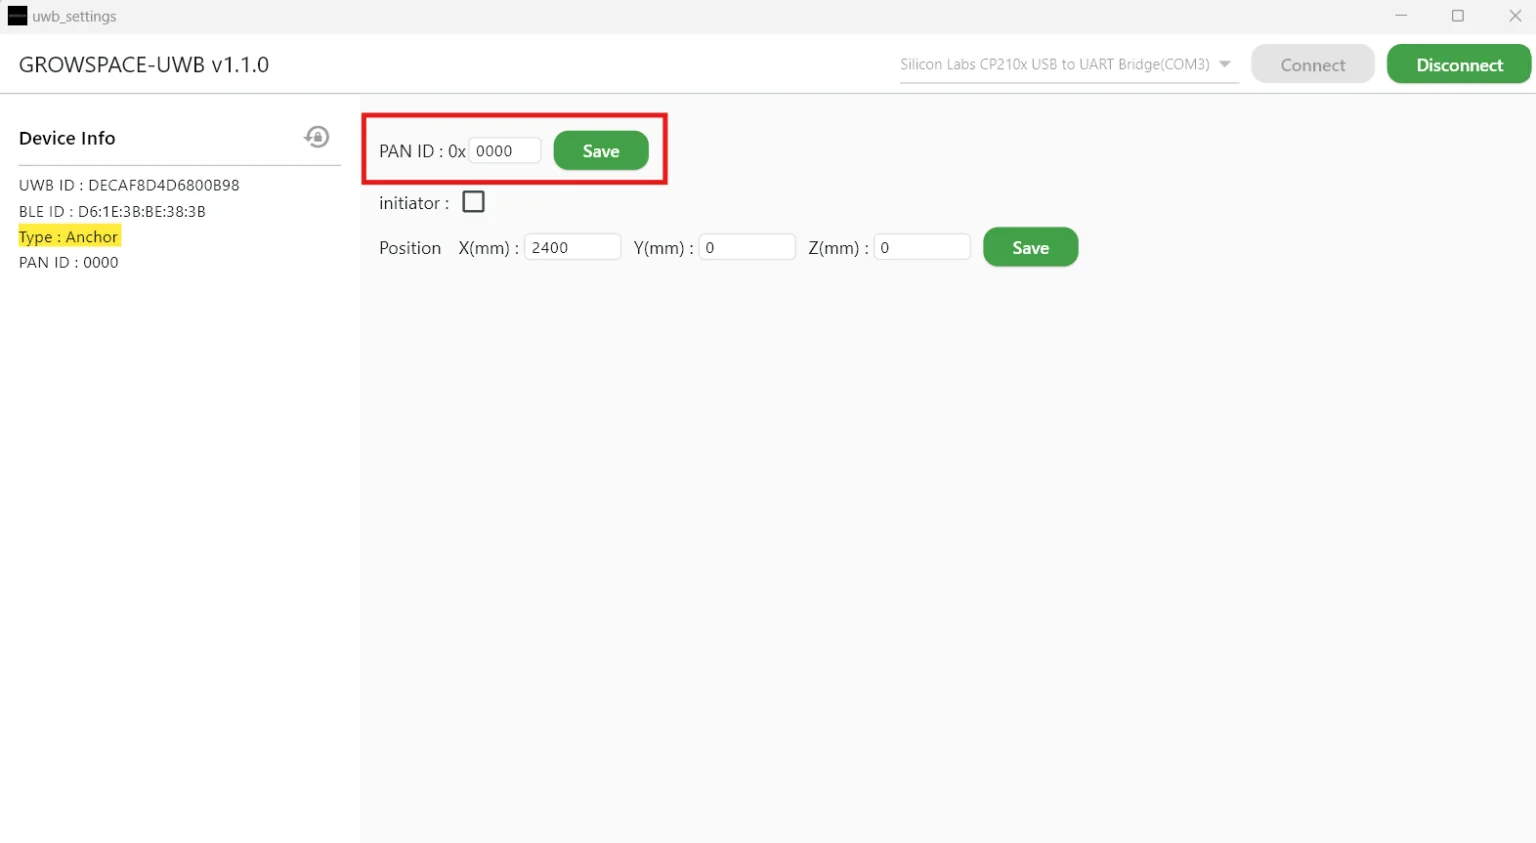
In the installer, you’ll configure settings on a screen like the one below.
📜 Key Fields Explained
- Type: Anchor
→ Confirms the connected device is correctly recognized as an Anchor. - PAN ID setting (top left)
→ Every anchor in the system must use the same PAN ID; click [Save] after setting it. - Initiator setting (center)
→ Enable the checkbox if this anchor will serve as the reference anchor. A system must have exactly one Initiator. - Position coordinates (X/Y/Z)
→ Enter the anchor’s actual installed position, in mm.
Example:X: 2400, Y: 0, Z: 0
💡 Entering accurate position data improves the accuracy of tag coordinate calculations later on.