
In This Guide
This guide covers the basic setup procedure and key feature configuration for connecting a GrowSpace UWB tag to your indoor real-time location system (RTLS).
What Is a Tag?
A GrowSpace UWB tag is a device that broadcasts the real-time indoor position of a person or an object.
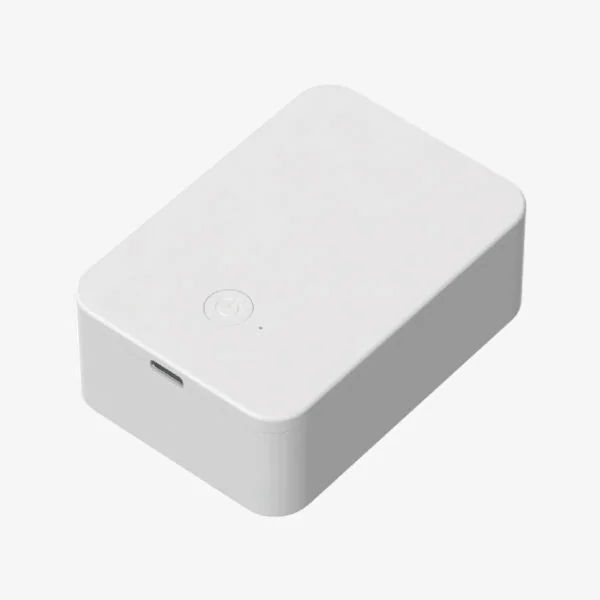
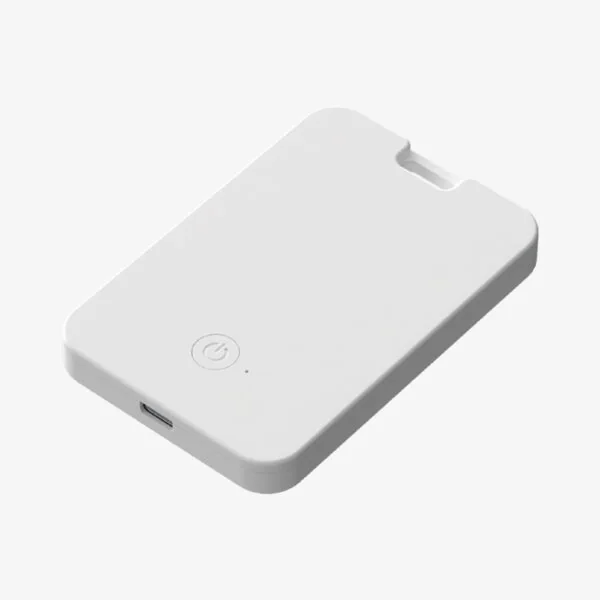
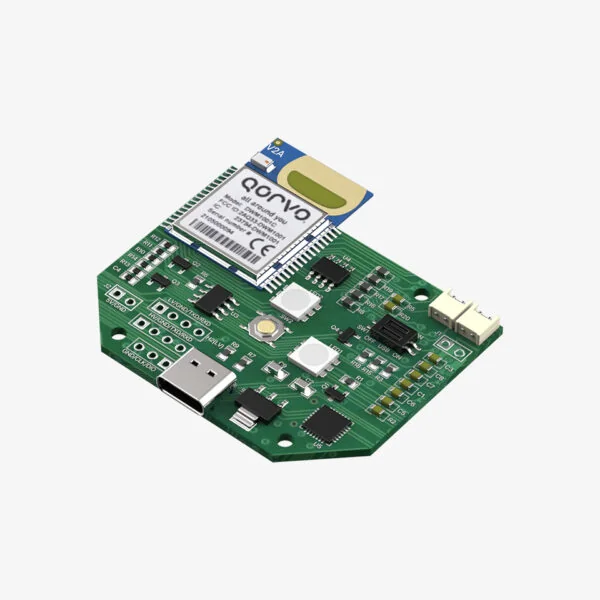
Depending on the use case, GrowSpace offers three tag types: Developer Tag, Personnel Tag, and Asset Tag.
- Developer Tag
Optimized for firmware debugging and experimental testing, designed for system developers and researchers running a range of positioning experiments. - Personnel Tag
Used to track a person’s indoor position. Designed for comfortable wear, with the same functionality as the developer tag. - Asset Tag
Used to track the position of equipment, goods, or other assets. Built with reinforced durability and mounting options.
Note
Personnel and asset tags are functionally almost identical to the developer tag, and use the same basic setup and connection process.
The main difference is whether a battery is built in.
- Personnel/Asset tags: built-in battery, usable without a separate power connection
- Developer tag: no battery, operates only when connected to USB power
Tag Types and Features
| Asset Tag | Personnel Tag | Developer Tag |
|---|---|---|
| For tracking equipment, assets, goods, etc. | For tracking people only | For firmware debugging and experimental testing |
| Reinforced durability and mounting | Designed for comfortable wear | USB connection and advanced configuration support |
| Low-power mode disabled by default | Low-power mode disabled by default | Low-power mode configuration and enhanced debugging features |
 |  |  |
Example Uses
- Research and testing of UWB-based positioning technology
- Simulating integration with external sensors
- Verifying position data in conjunction with a listener
Before You Start
Hardware
| Item | Description |
|---|---|
| GrowSpace UWB tag | SpaceTag-DT1 |
| Windows PC | Windows 10 or later recommended |
| USB cable | USB Type-A to Type-C |
Software
| Item | Description |
|---|---|
| Web Console | https://grow-space.io/software/ |
| USB to UART driver | CP210x VCP Driver Installation Guide |
Connecting the Tag and Confirming Detection
- Connect the UWB tag to your PC with a USB cable.
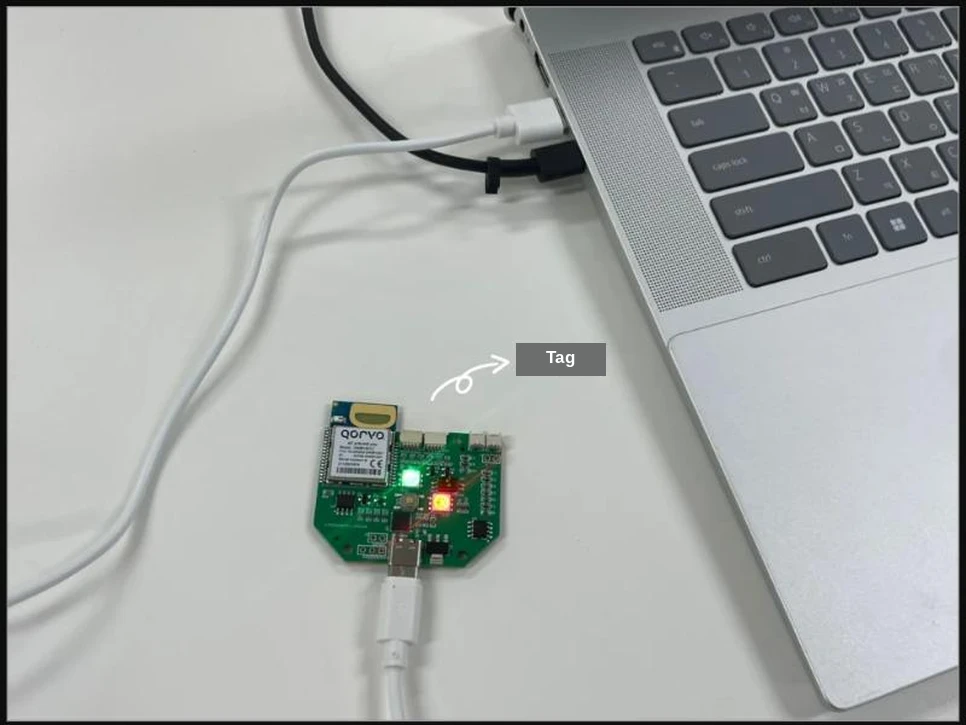
- Go to the Web Console.
You must use the Chrome browser. Other browsers may limit device connection or serial port detection.
- In the left sidebar, click “Anchor / Tag / Listener Setup Program” → “Web Program.”
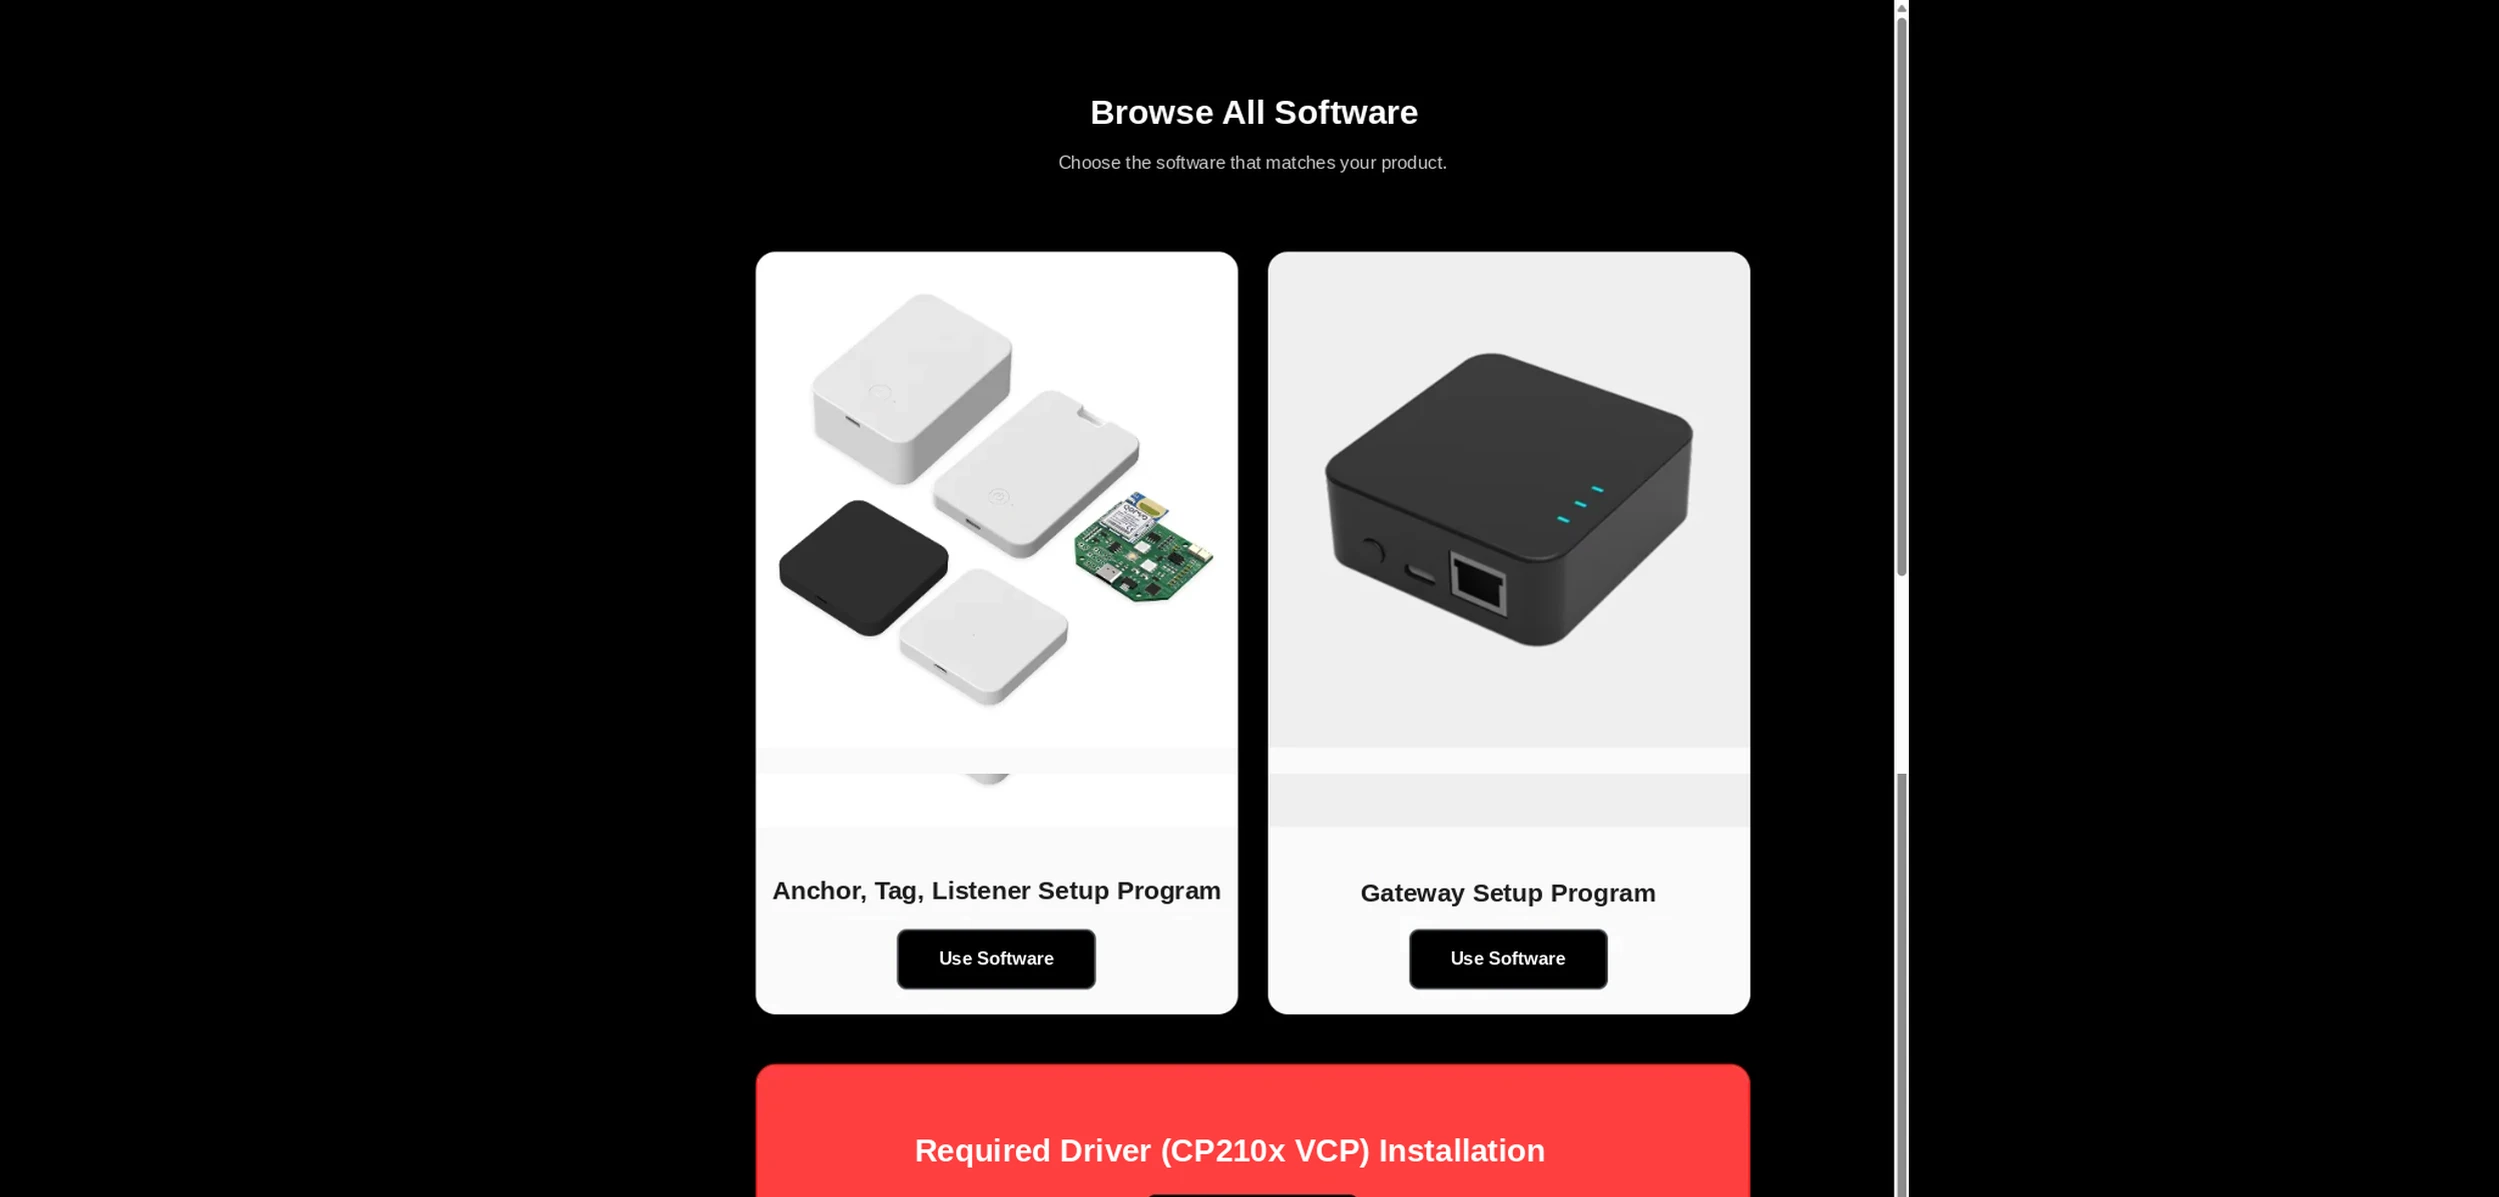
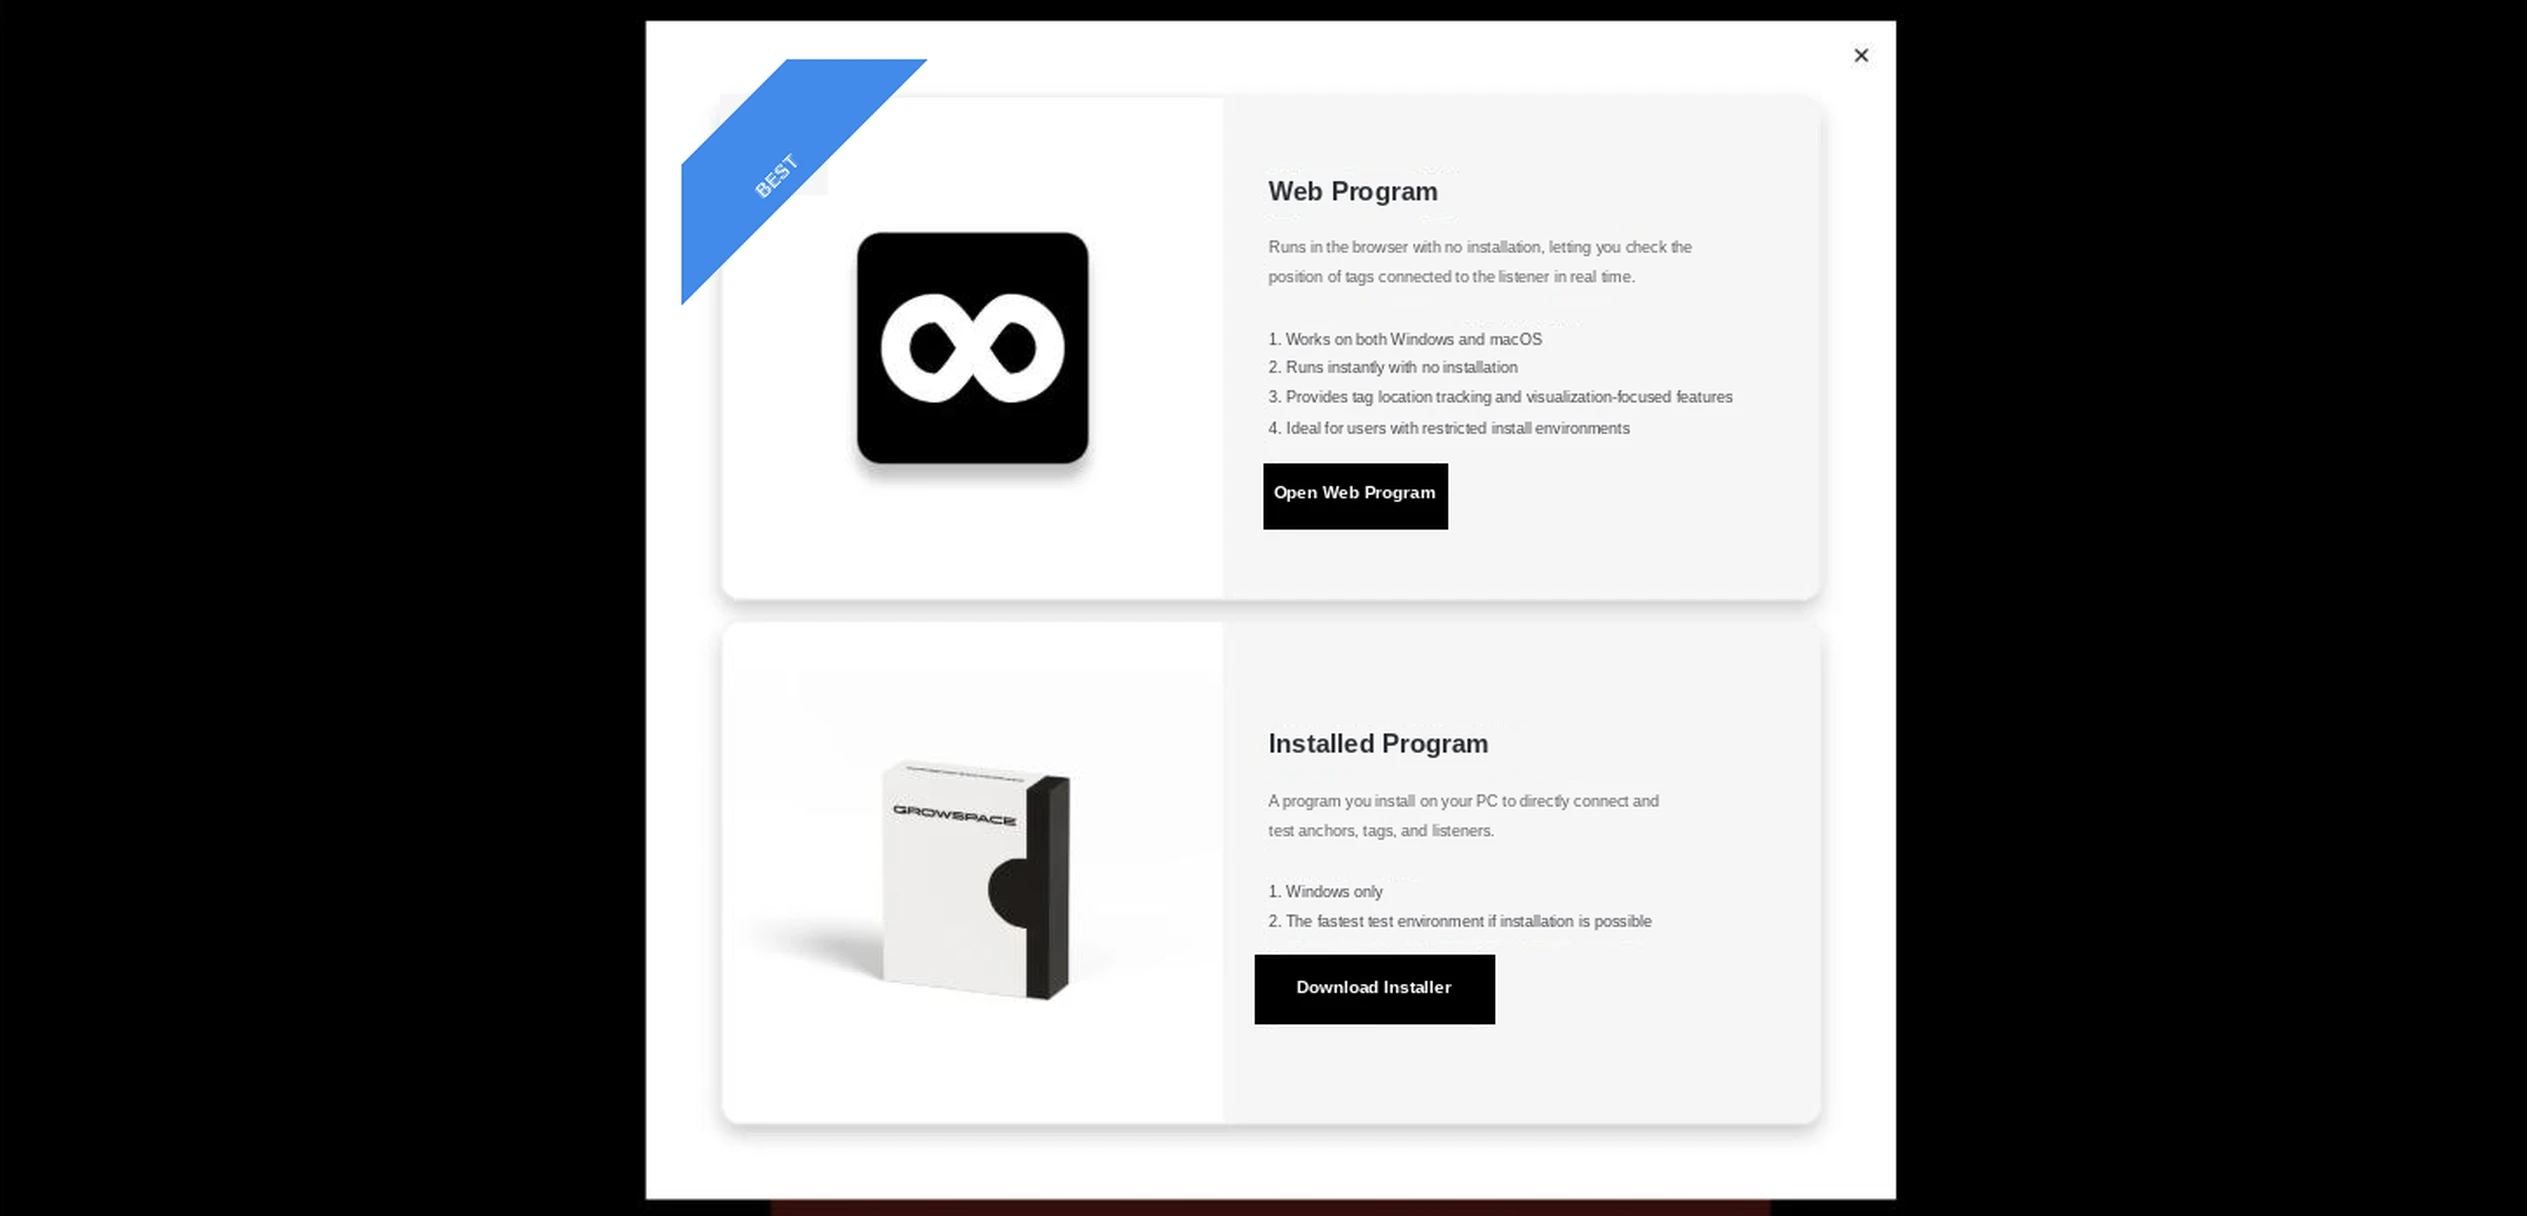
- The following setup screen appears.
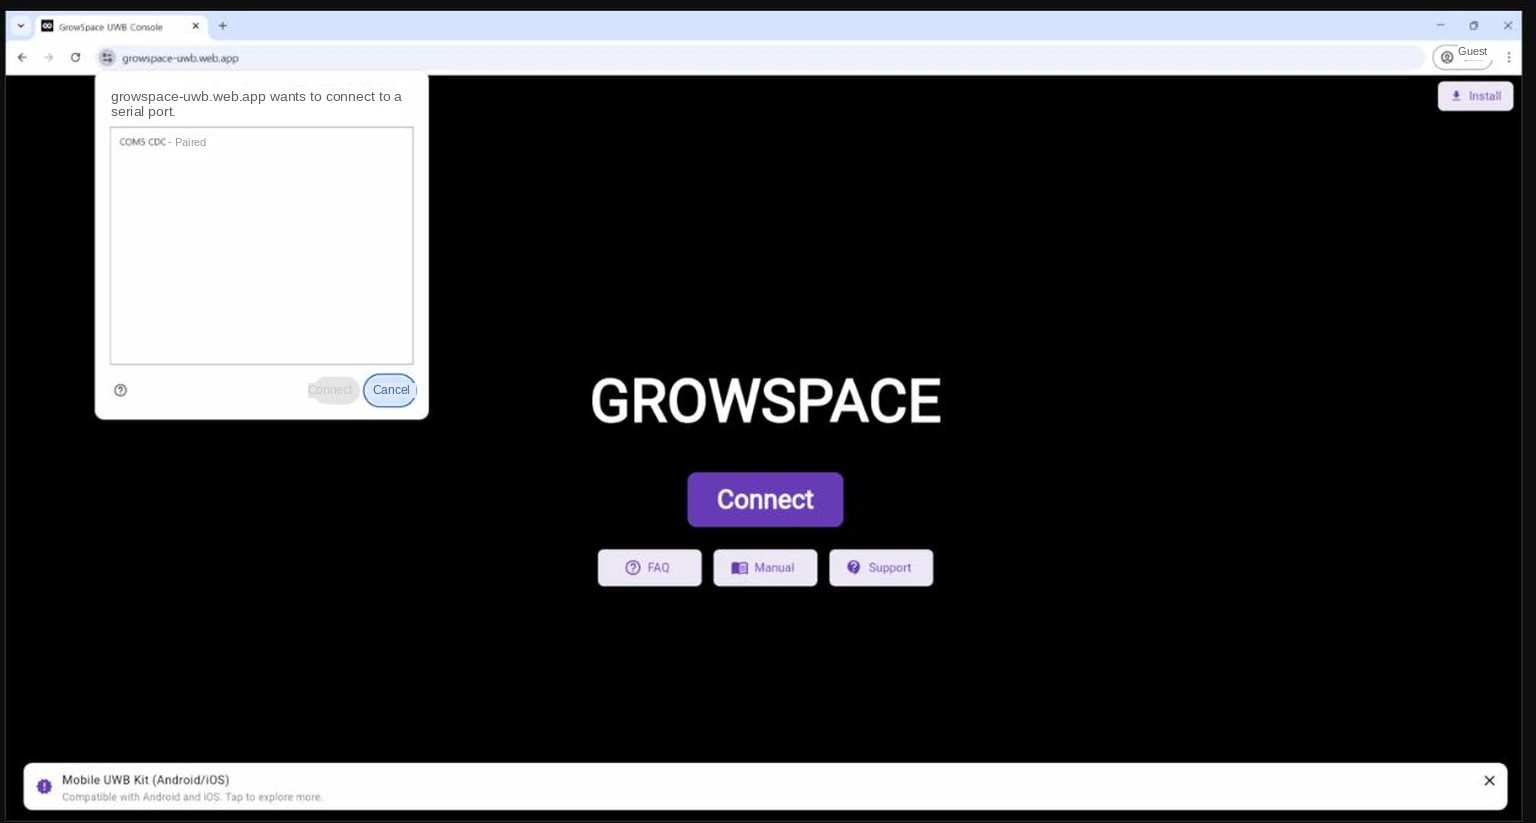
- Click the [Connect] button.
- Select the UWB tag from the list of available ports (COM ports).
- Once connected, the following information appears on screen.
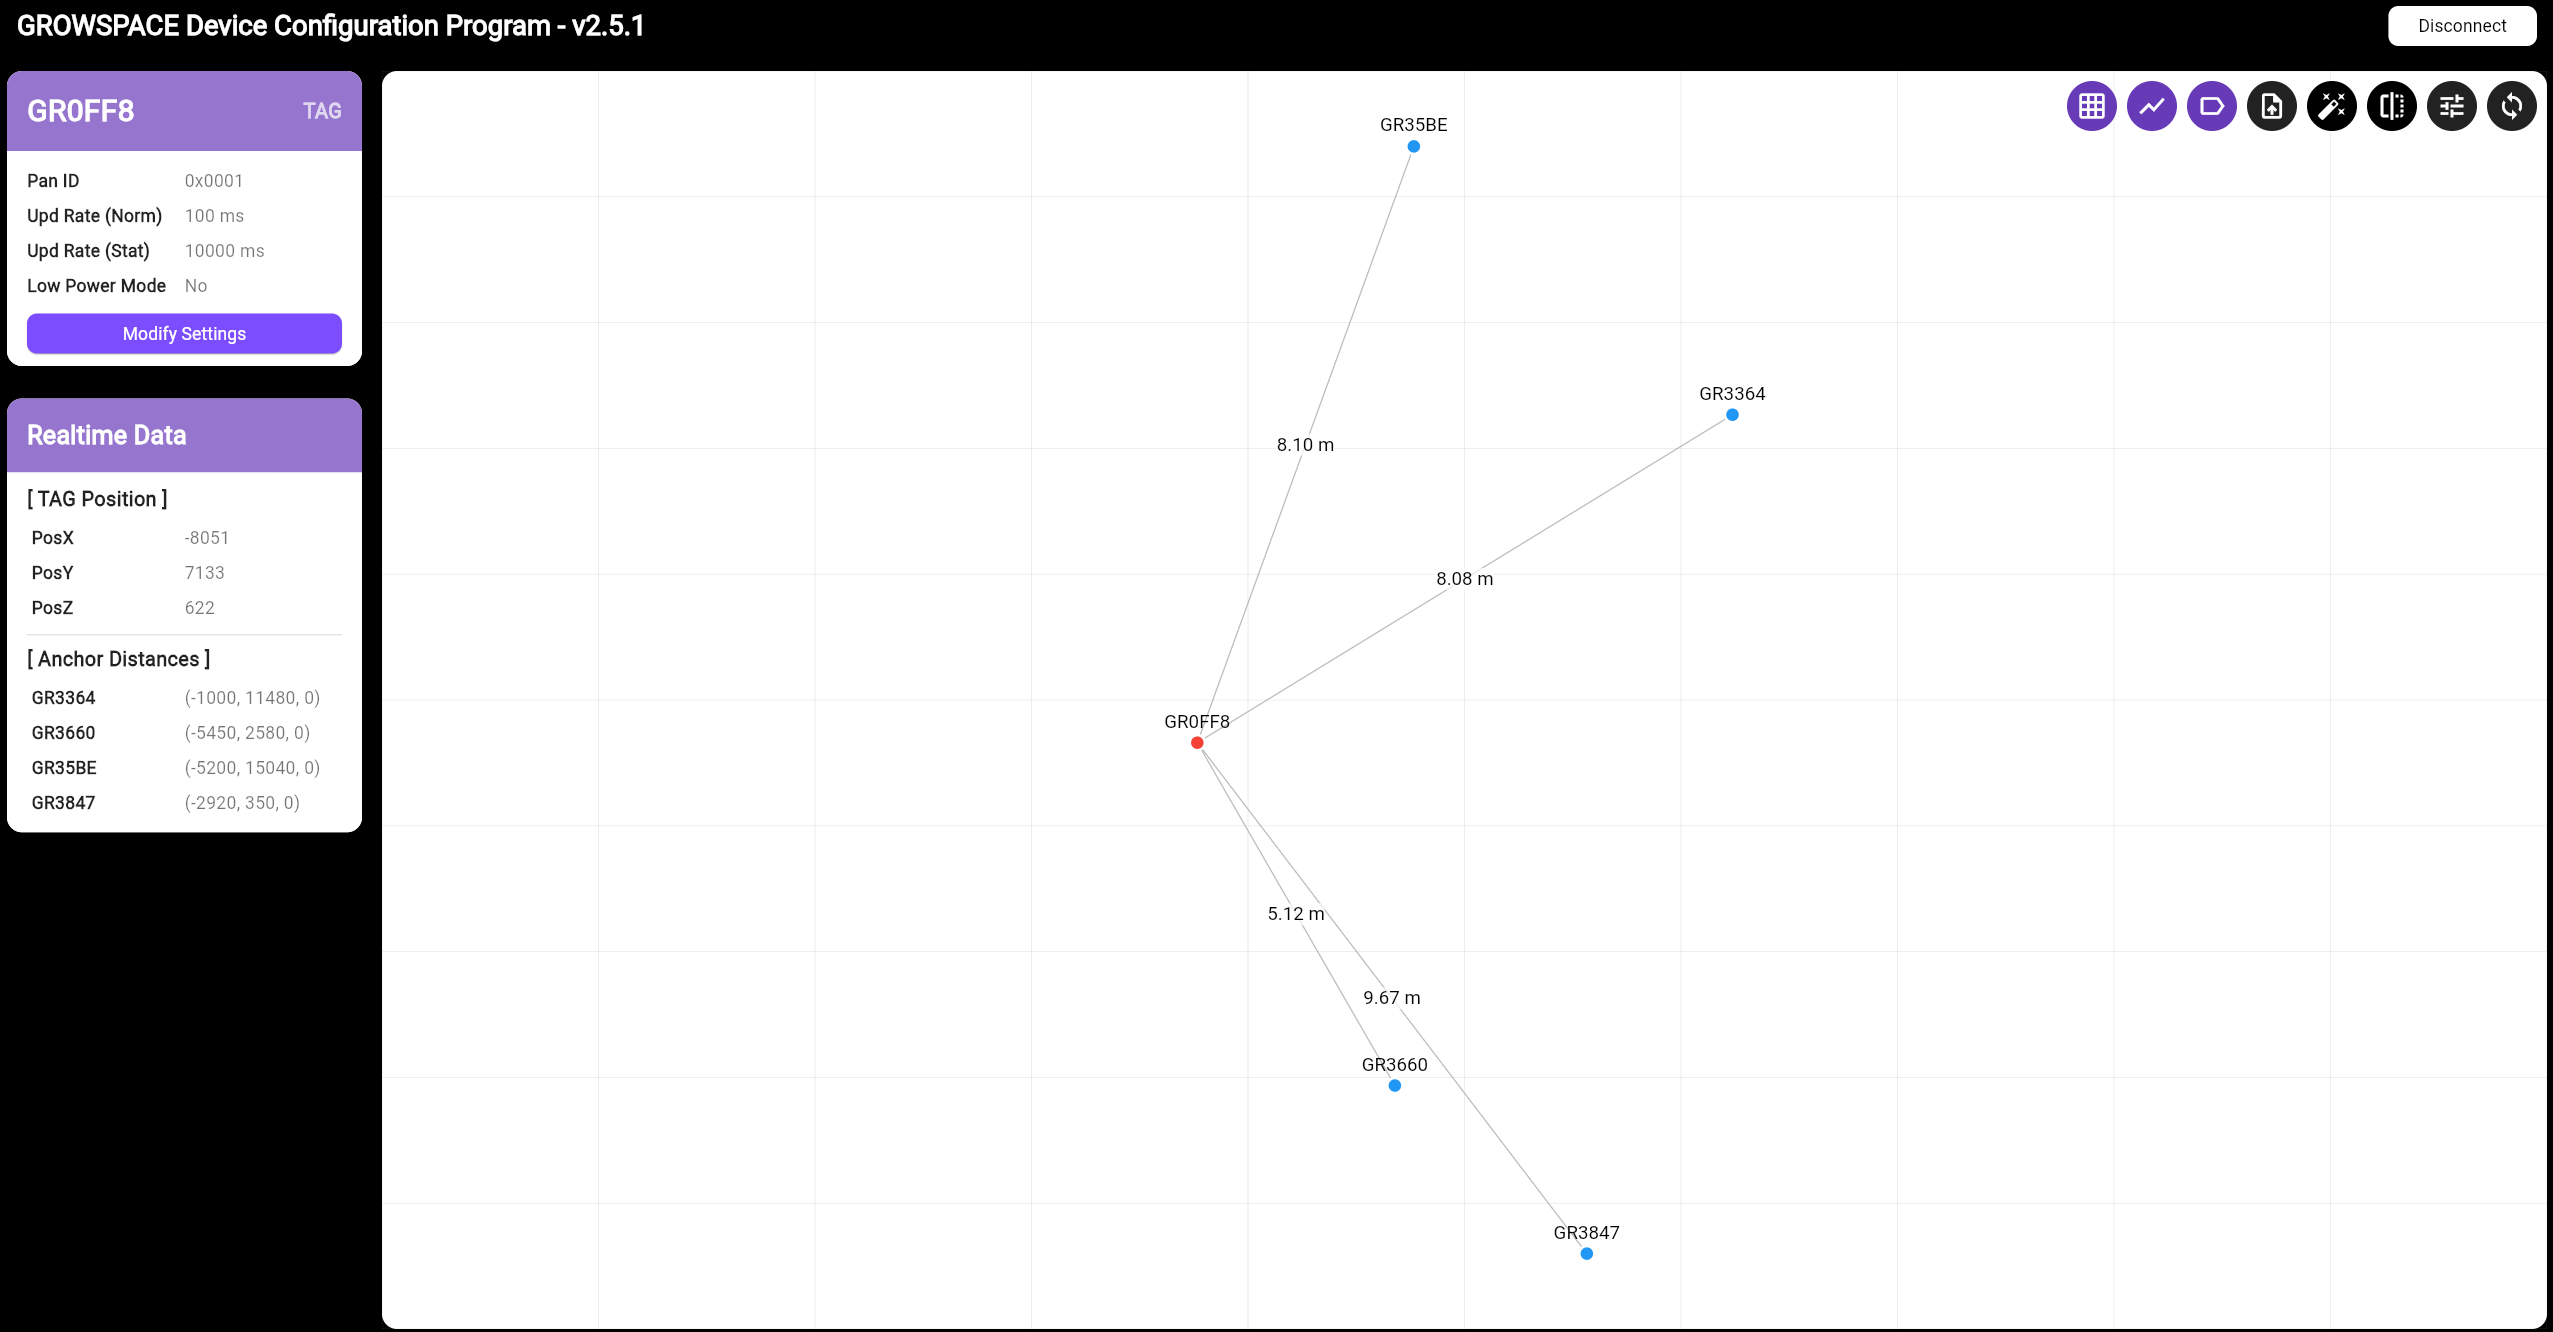
Top-left area:
- Device name (e.g., GR550D)
- Device type (e.g.,
TAG) - PAN ID, Update Rate, and Low Power Mode settings
- The [Modify Settings] button lets you change these settings
Bottom-left area [Realtime Data]:
- TAG Position: the tag’s current estimated position (X, Y, Z coordinates, in mm)
- Anchor Distances: distance to nearby anchors
(including anchor ID, distance, and each anchor’s fixed coordinates)
If the Device Isn’t Detected
If the device doesn’t connect to your PC, or doesn’t appear in the port list, check the following in order.
- Try a different USB cable and reconnect.
A faulty cable can sometimes prevent the device from being detected properly. - Try a different USB port.
Detection can fail depending on the port used, so try switching to another available port. - Check that the CP210x VCP driver is installed.
Listener devices in particular need this driver installed for the port to be detected correctly. - If the driver isn’t installed yet, see the guide below.
→ View the CP210x VCP Driver Installation Guide - Check the power button on personnel/asset tags
- Personnel and asset tags must have their power button pressed after connecting via USB to be detected correctly.
- After pressing the power button, confirm the LED shows yellow (O) rather than red (X).
- If the LED doesn’t turn yellow, the device hasn’t activated and won’t be detected.
Setting the PAN ID
The PAN ID (Personal Area Network ID) identifies which network group an RTLS device belongs to.
A tag must use the same PAN ID as the anchors and listeners to communicate with them.
How to Set It
- Enter a value in the PAN ID field in the Web Console.
Example:0x0000
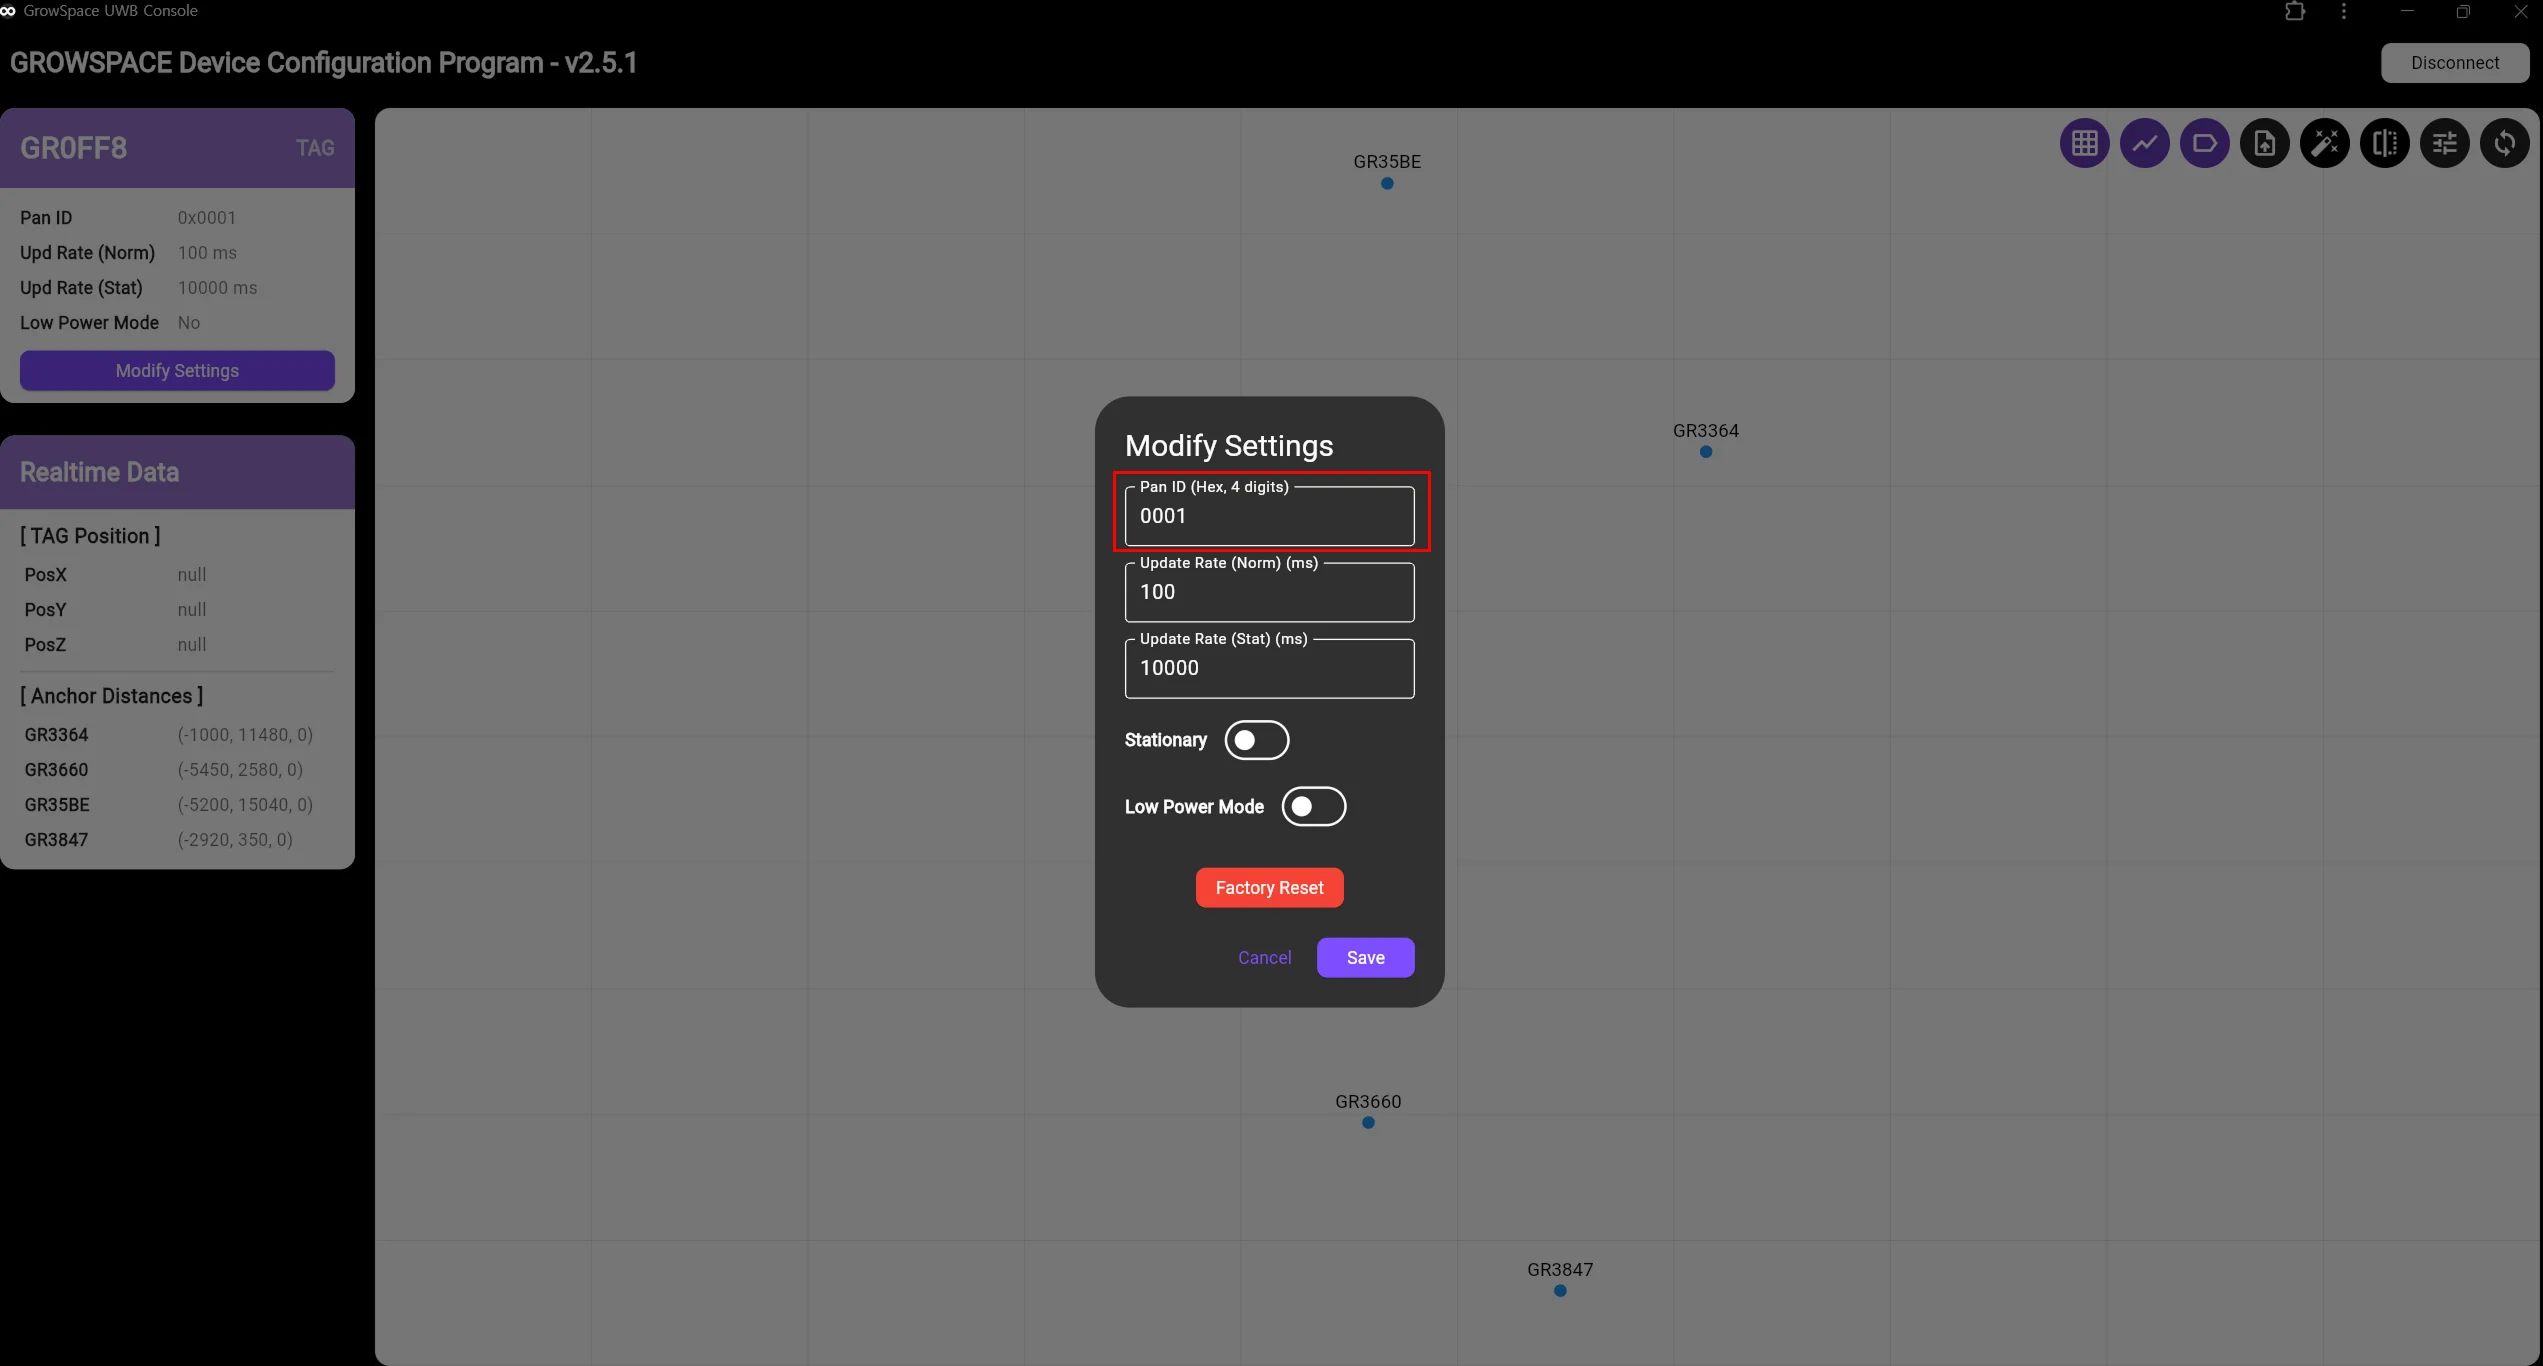
- Click [Save] to save it.
If the PAN ID doesn’t match, the tag will not connect to the network.
Setting the Update Rate
A tag broadcasts position data in real time, and you can set separate update rates for when it’s moving and when it’s stationary.
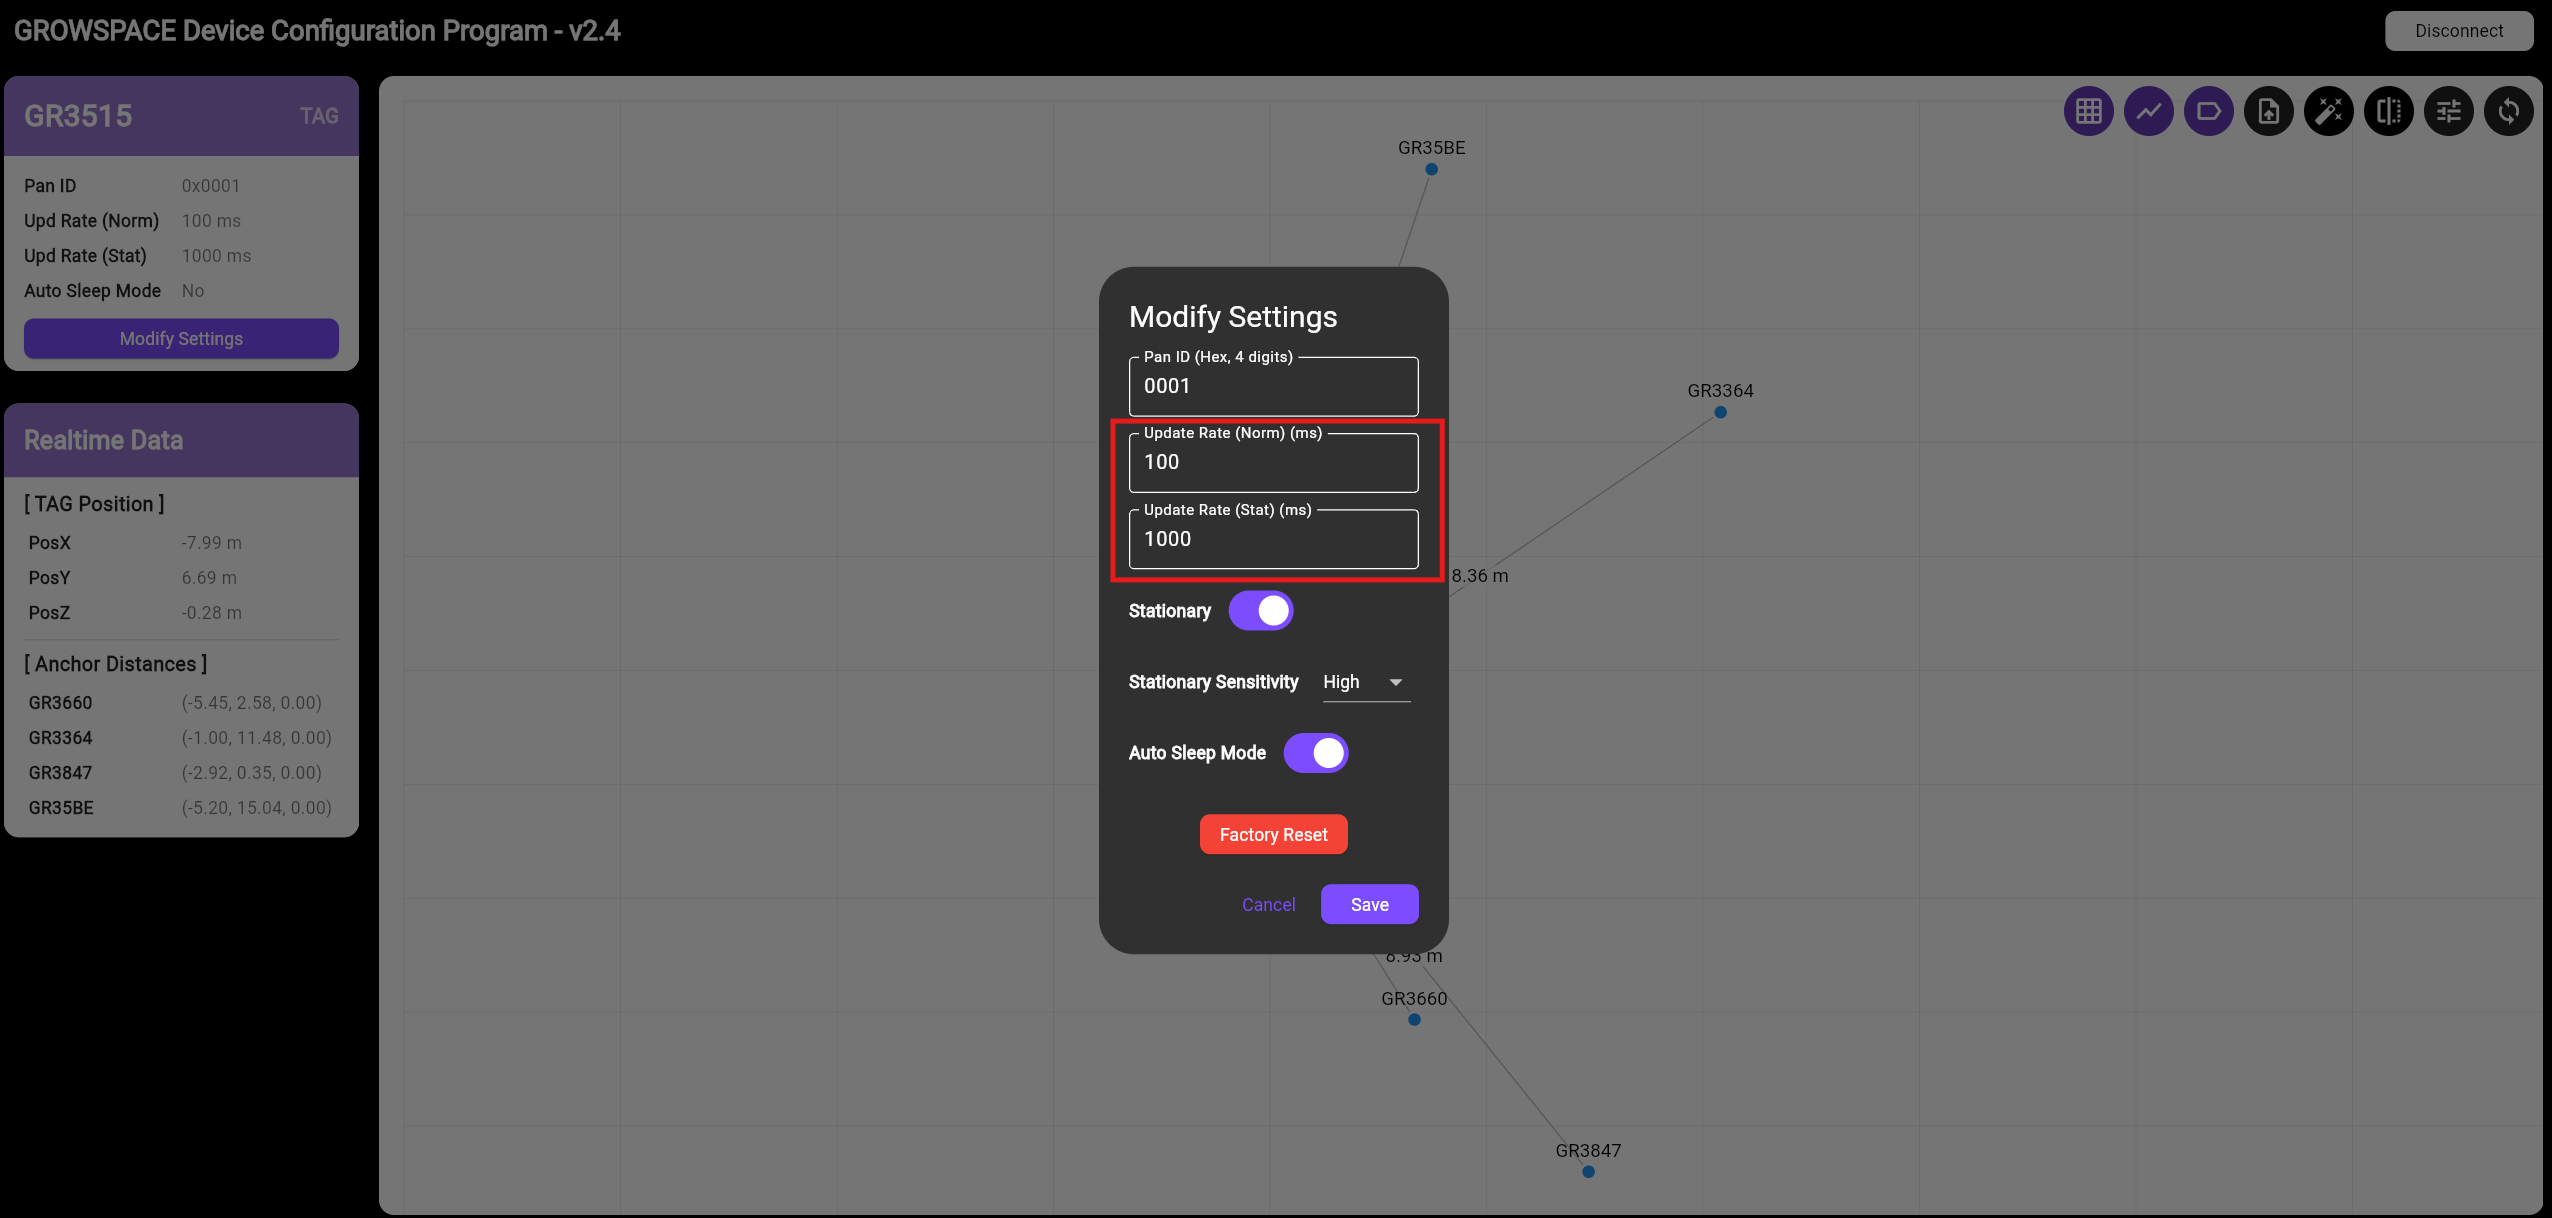
| Item | Description | Default |
|---|---|---|
| Update Rate (Norm) | Update interval while moving (in ms) | 100 ms |
| Update Rate (Stat) | Update interval while stationary (in ms) | 100 ms |
Example Settings
| Value | Meaning | Recommended for |
|---|---|---|
| 100 ms | Updates every 0.1 s | Fast tracking, prioritizing responsiveness |
| 500 ms | Updates every 0.5 s | General position checks |
| 1000 ms | Updates every 1 s | Saving battery |
| 5000 ms | Updates every 5 s | Extended stationary periods |
A shorter
Normvalue gives faster position response but consumes more battery.
A longerStatvalue saves battery while the tag is stationary.
Configuring the Stationary Feature
The Stationary feature automatically detects whether the UWB tag is stationary or moving and applies a different transmission rate for each.
This reduces unnecessary transmissions and minimizes battery use.
- Motion is detected using the built-in accelerometer.
- When stationary state is detected, transmission frequency is reduced.
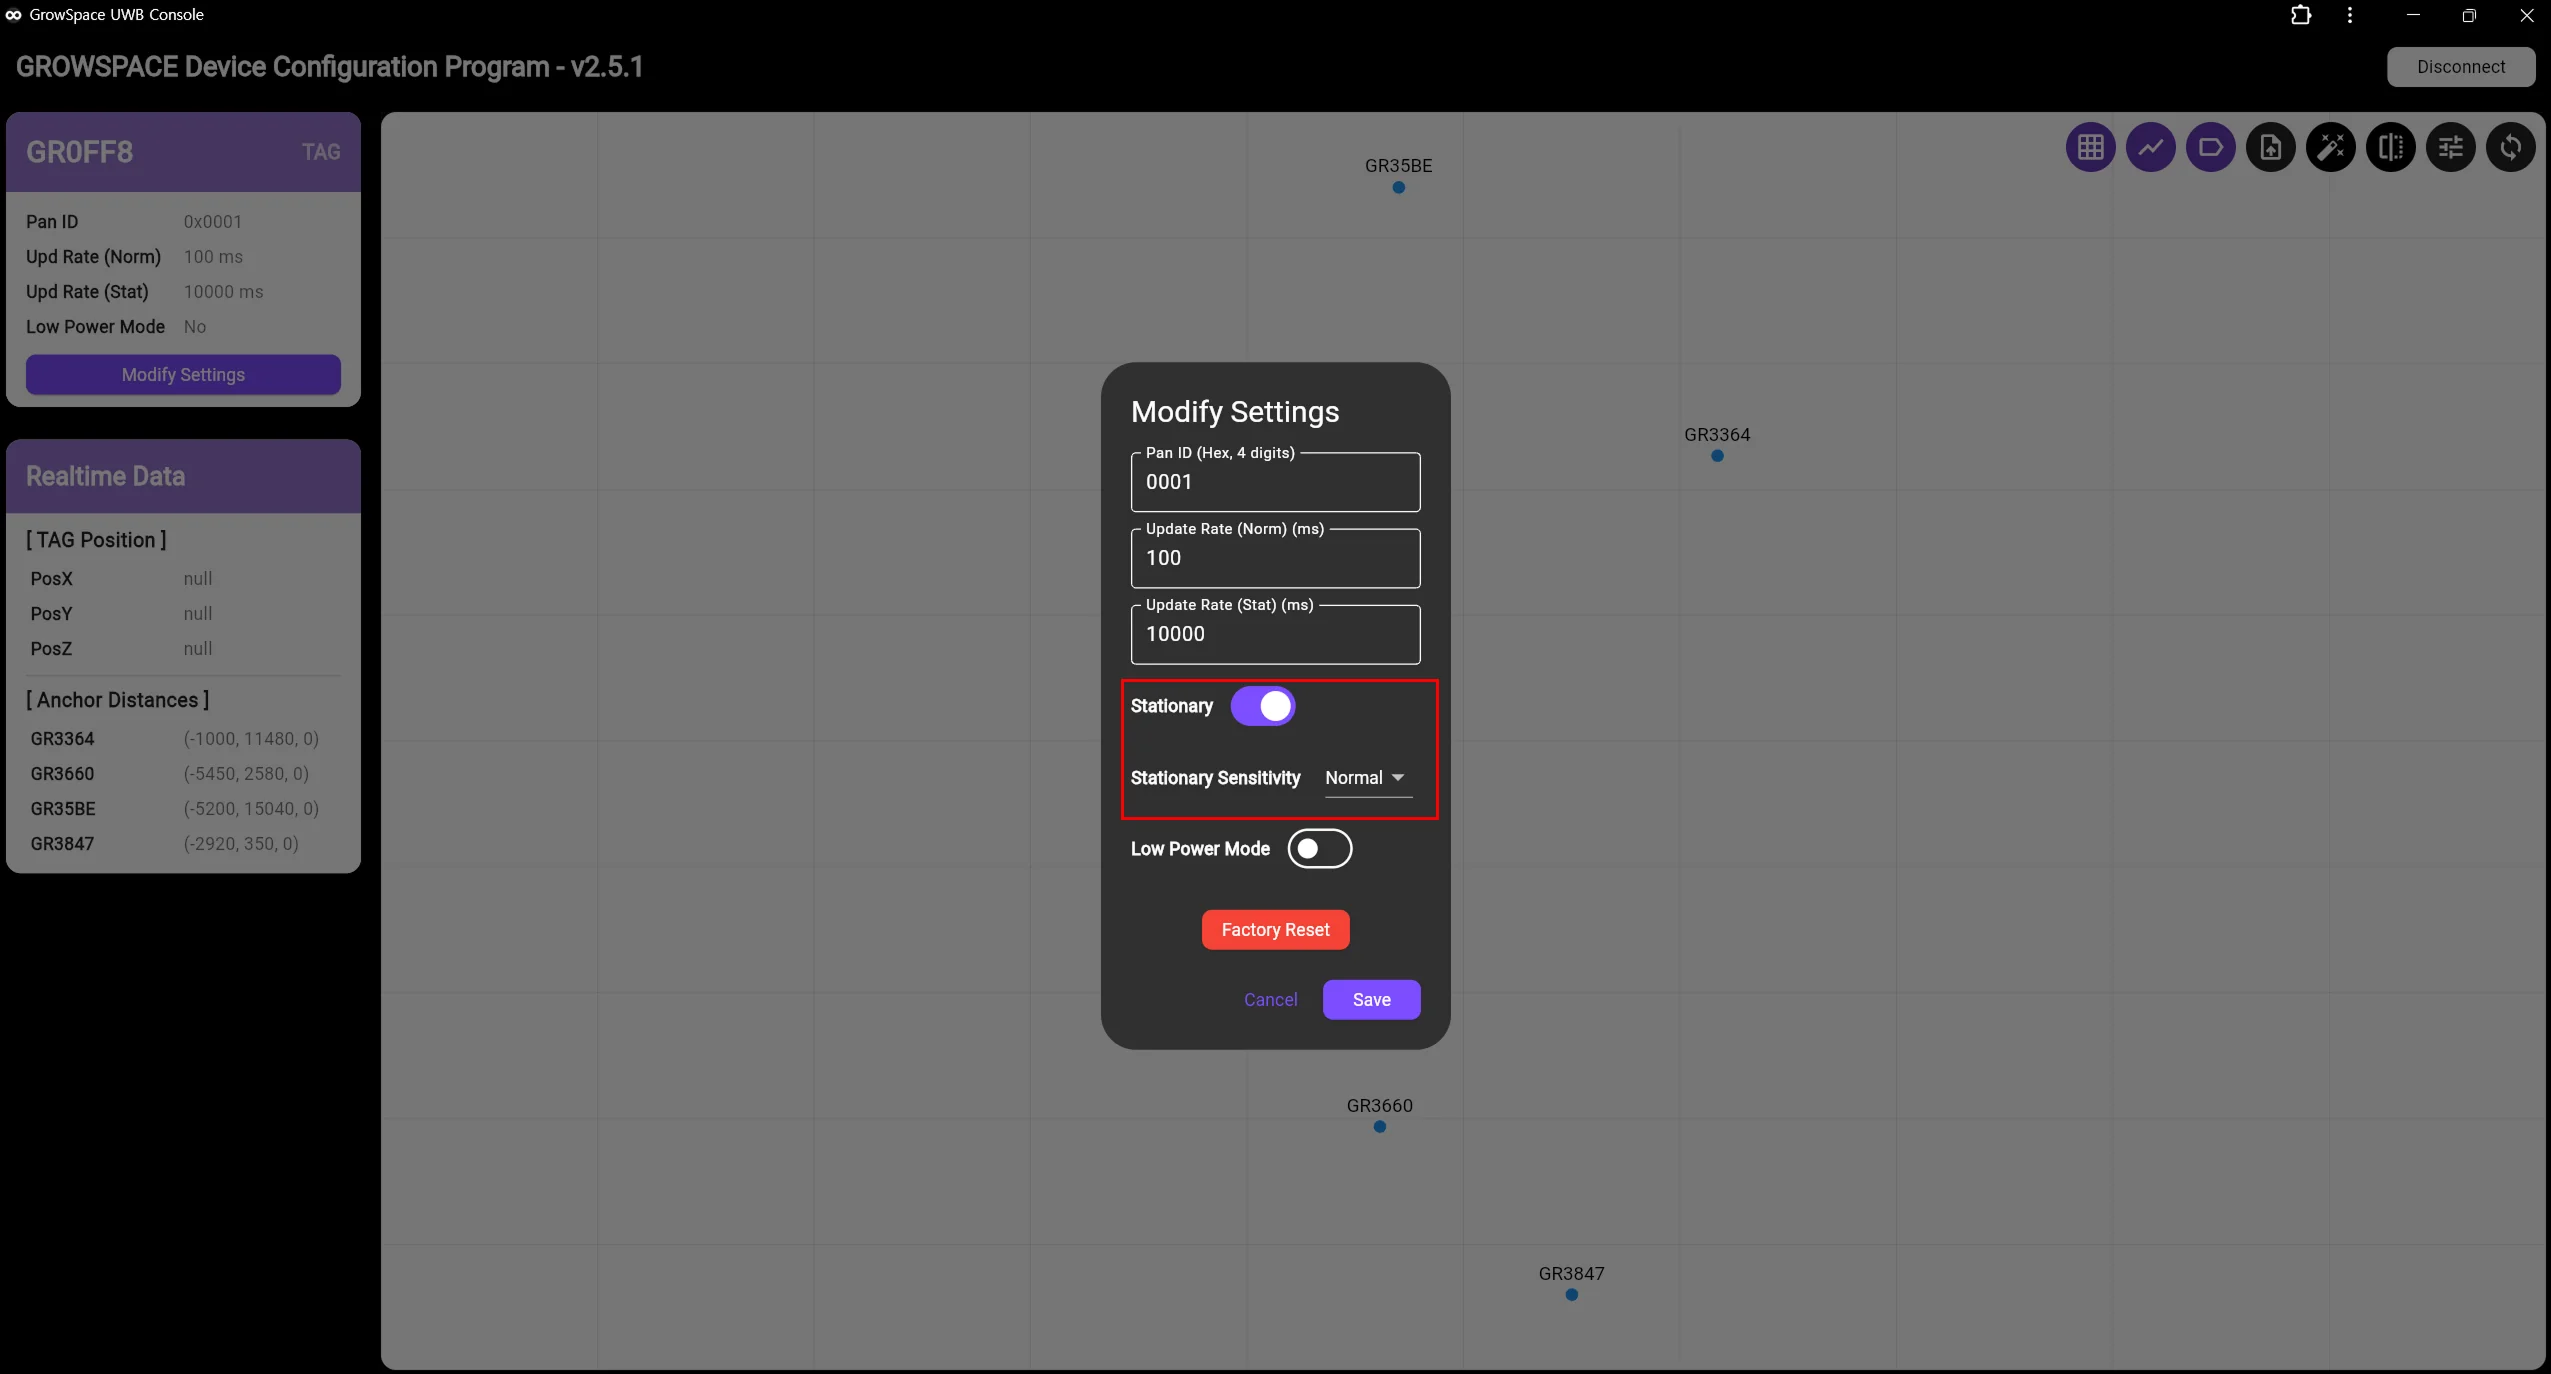
- Low: ignores small movements, detects only large movements
- Normal: default sensitivity
- High: detects even minor movements
Setting Low Power Mode
Low Power Mode saves battery by disabling BLE (Bluetooth Low Energy) signals to improve power efficiency.
It doesn’t affect actual positioning, so in most cases you can enable it without any issue.
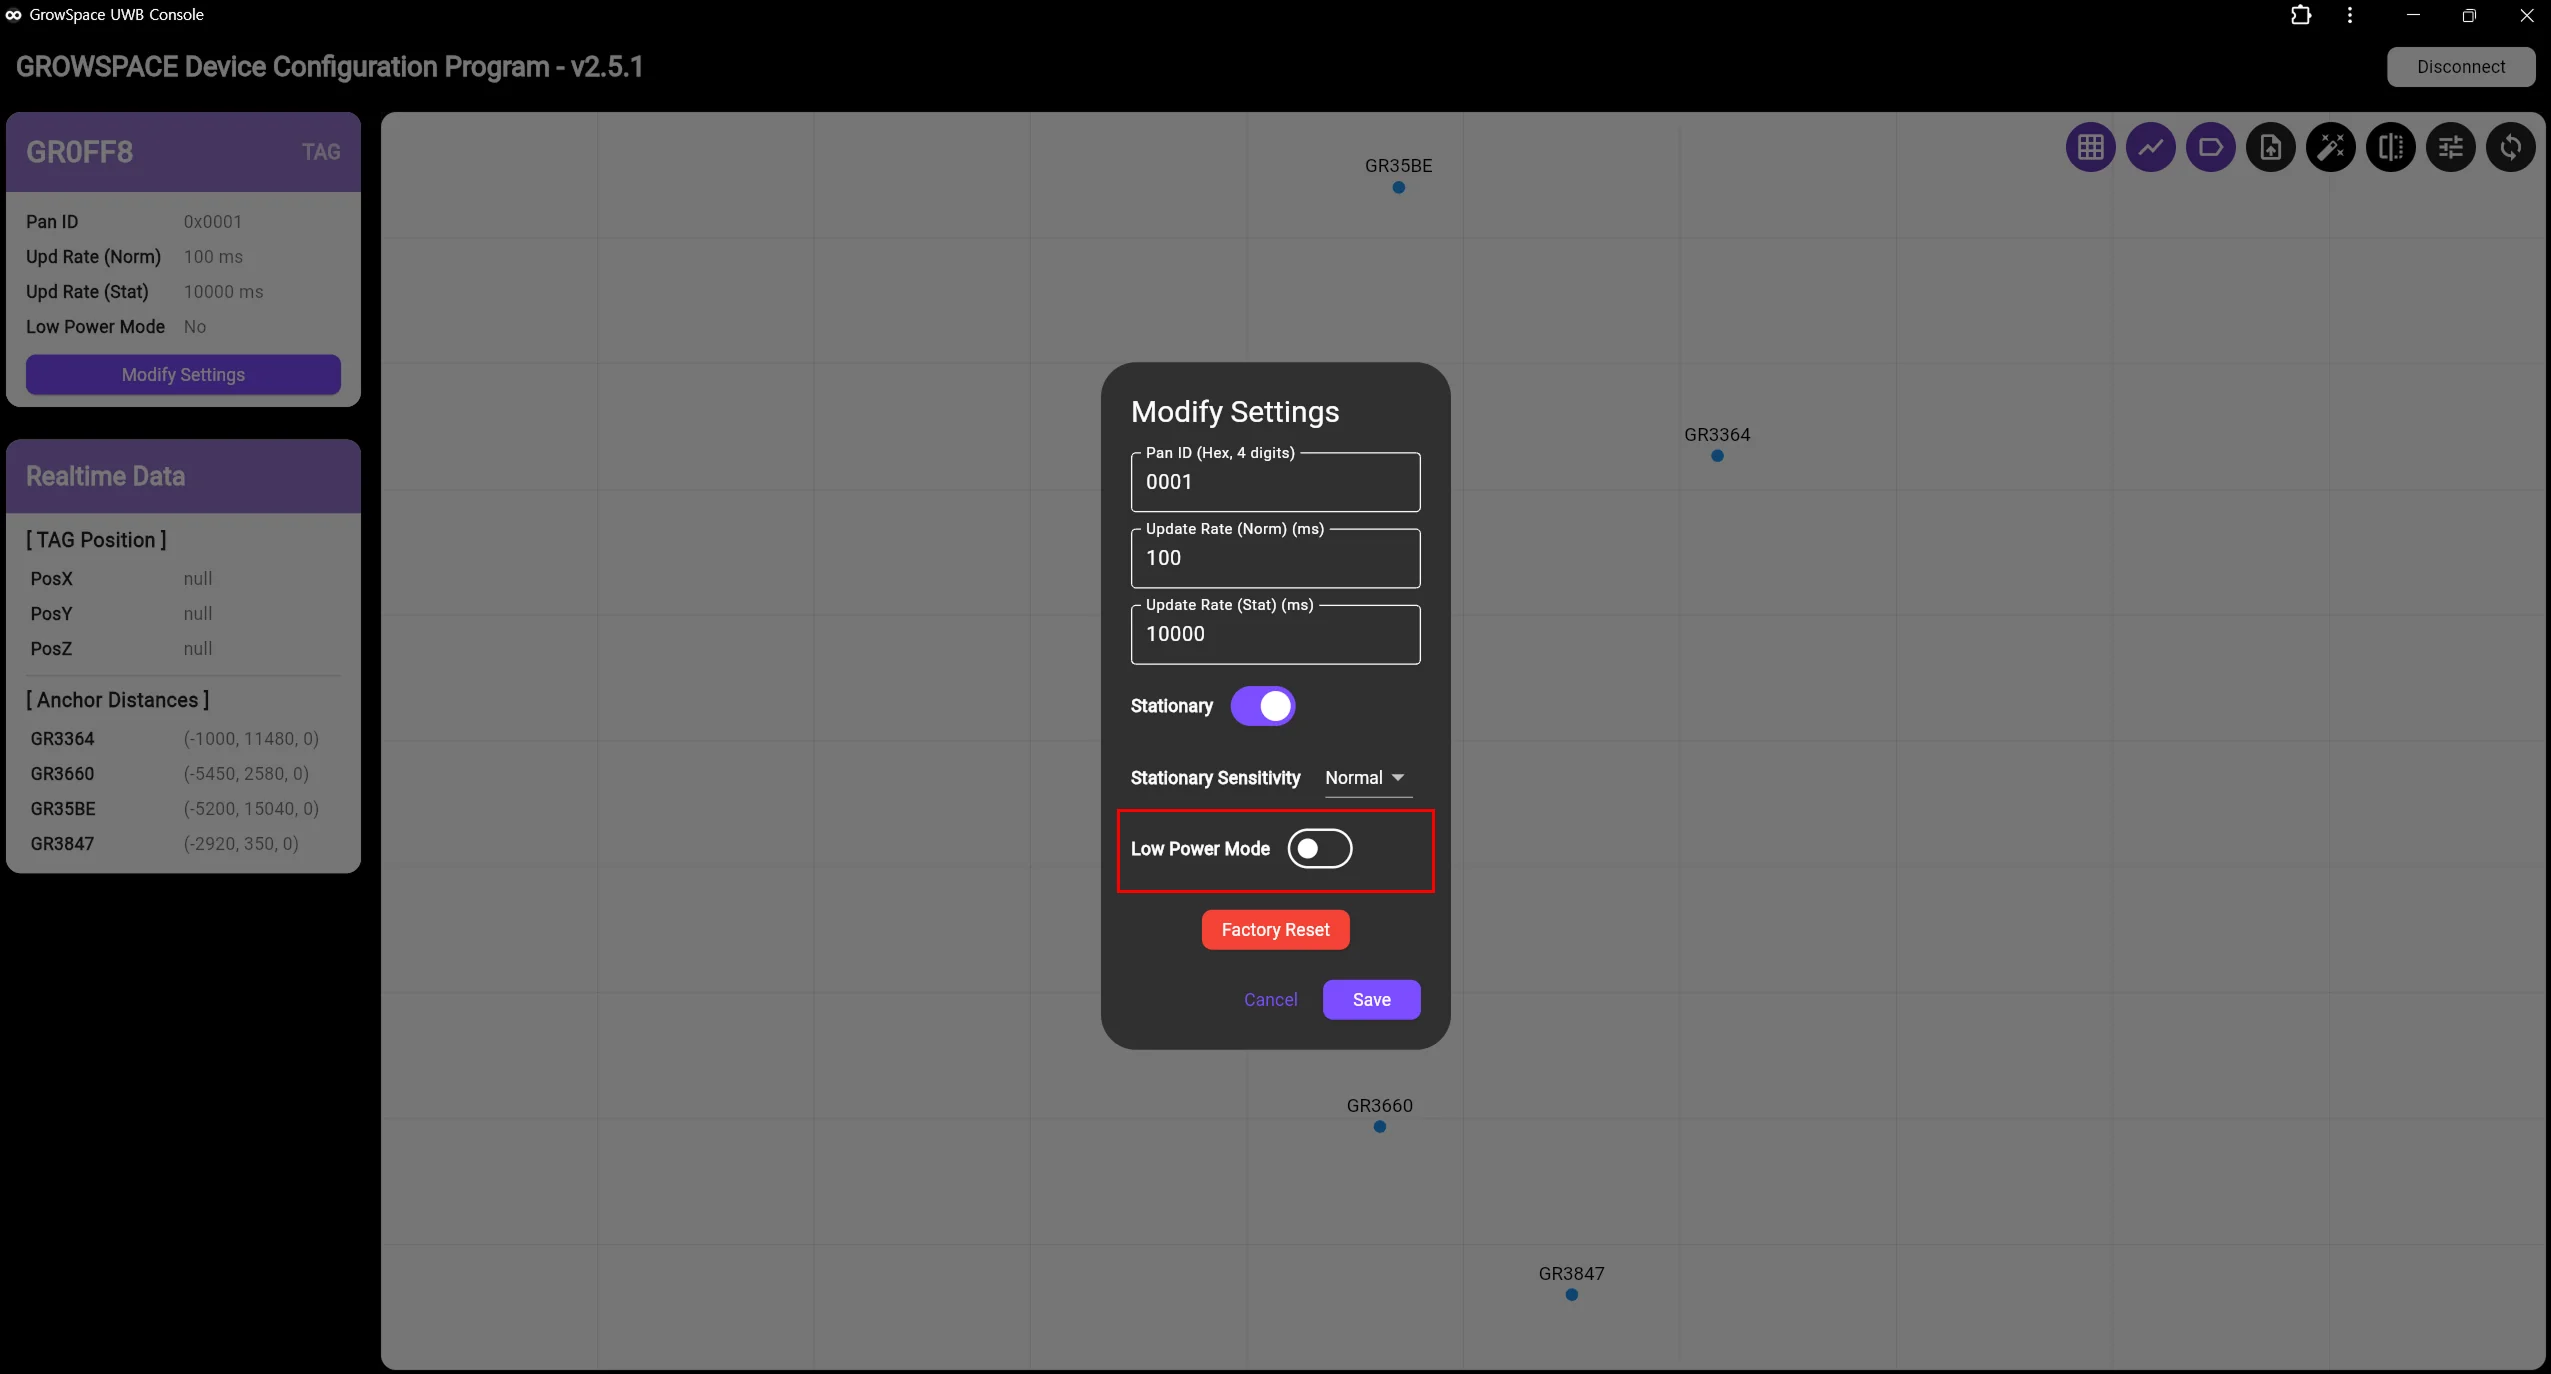
Recommended Scenarios
| Situation | Recommended Setting | Description |
|---|---|---|
| General positioning use | Enabled | The current system doesn’t use BLE signals, so enabling Low Power Mode has no effect on positioning performance. |
| BLE signal needed | Disabled | If you need to use BLE signals later, Low Power Mode must be turned off for normal operation. |
| While changing settings | Disabled | Changing settings while Low Power Mode is on can occasionally fail to apply, so we recommend turning it off while configuring. You can turn it back on afterward to improve battery efficiency. |
Important Note
Changing settings while Low Power Mode is on can occasionally fail to apply correctly.
We strongly recommend turning off Low Power Mode whenever you change settings.
Once configuration is complete, you can turn Low Power Mode back on as needed to improve battery efficiency.
Default Tag Settings
- The GrowSpace UWB tag (SpaceTag-DT1) ships with Low Power Mode disabled by default.
- Whether to enable Low Power Mode is up to you, based on your environment and purpose.
Real-Time Distance Check
The GrowSpace Web Console can visualize, in real time, which anchors a tag’s signal is reaching and the distance (in meters) to each.
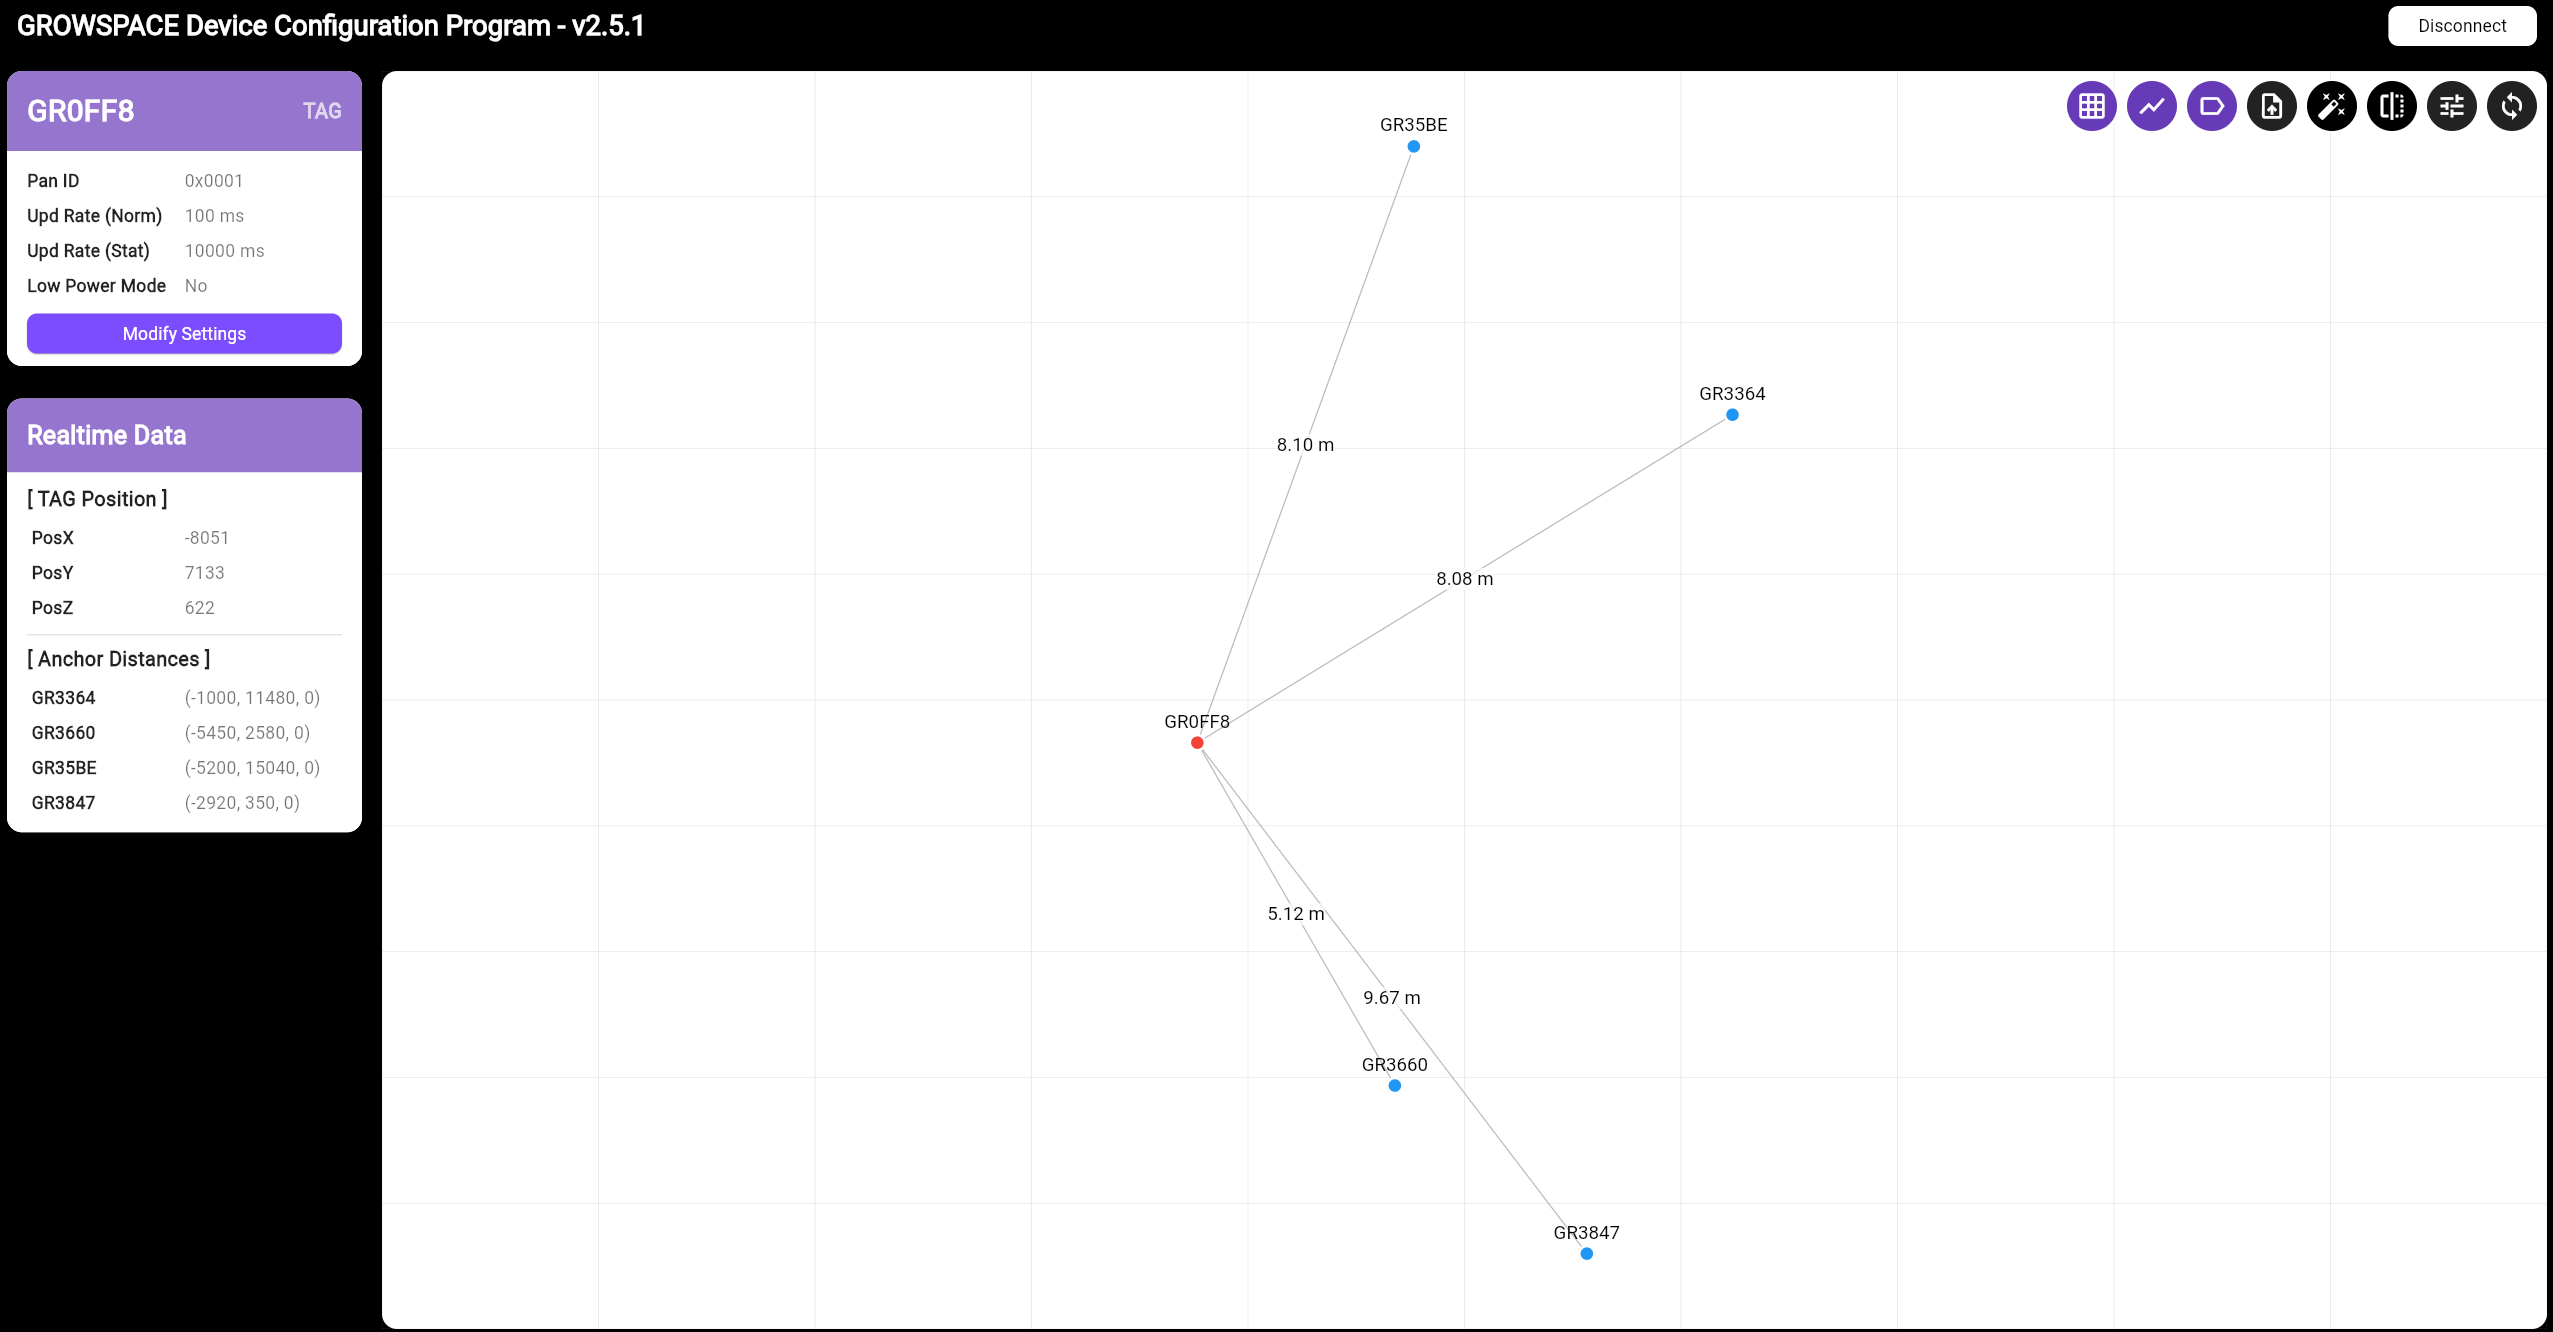
- Red dot: the currently connected tag
- Blue dots: anchors receiving the signal
- Lines: distance between the tag and each anchor
This feature is useful for checking network status and anchor detection range.
💻 A Desktop Installer Is Also Available
In addition to the Web Console, GrowSpace listeners can also be configured through a dedicated setup program (the GrowSpace configuration app). We recommend the installer for finer adjustments or for offline setup.
Installing the Setup Program
On your PC, go to https://drive.google.com/file/d/1L76hj_xsFe_flzxv6n_Svr73HJntvUxe/view?pli=1
Installer file:
uwb_settings.exe
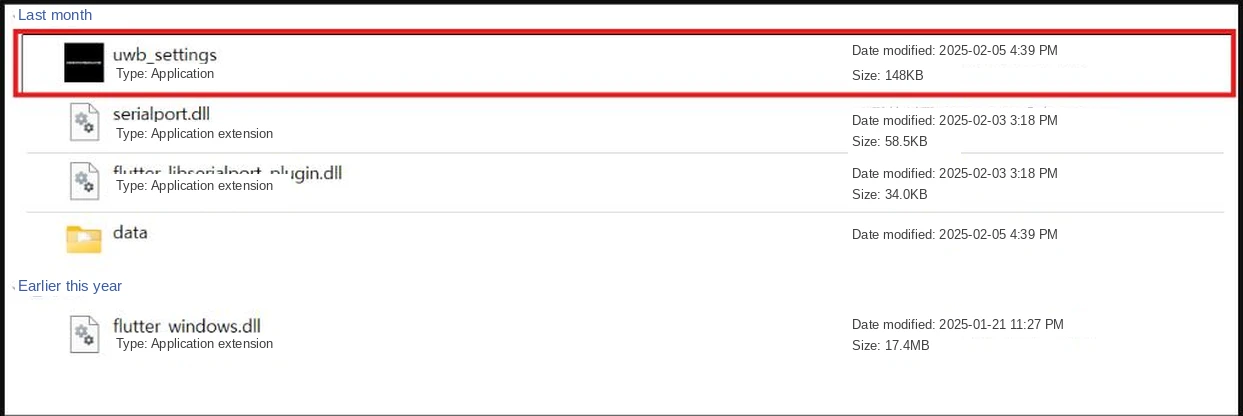
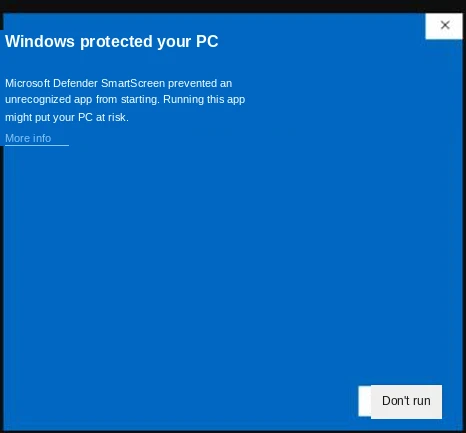
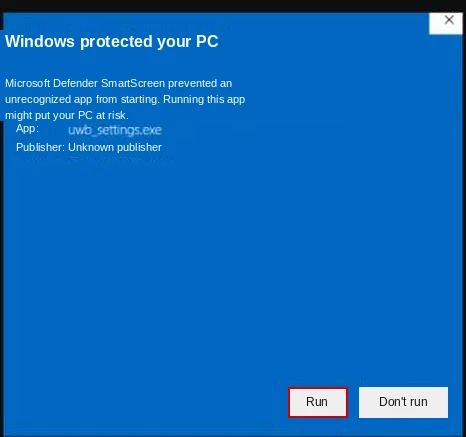
- If a security warning appears when running it, click [More info → Run anyway] to continue installation.
- After installation, launch the program → connect and configure the listener.
Connecting the Tag and Confirming Detection
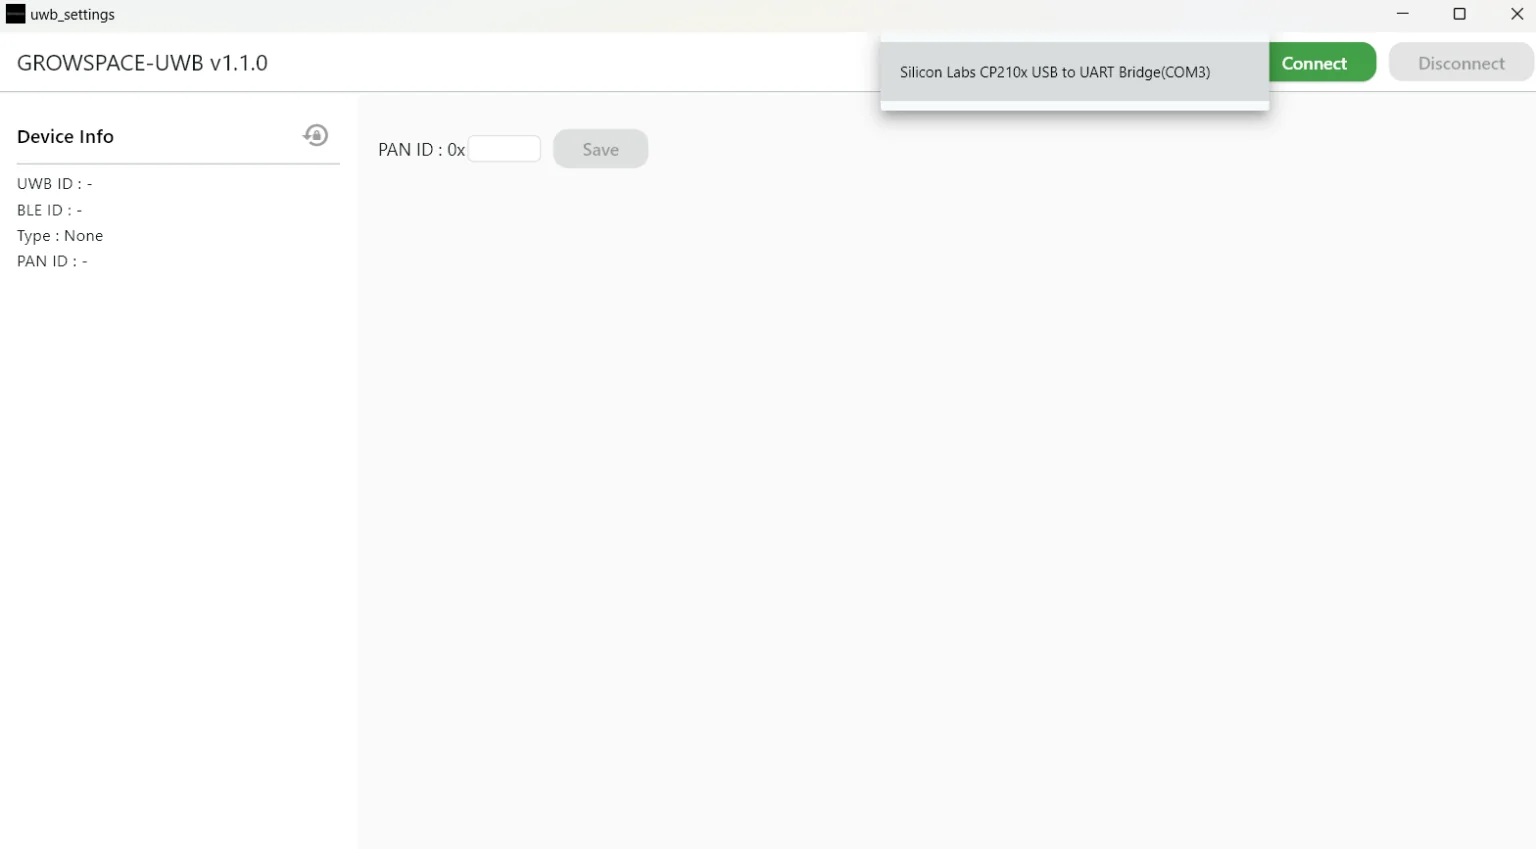
- Click [Connect], then select the COM port for the tag you want to connect.
- On the settings screen, enter the PAN ID, Positioning Rate, Wake Rate, etc., then click [Save].
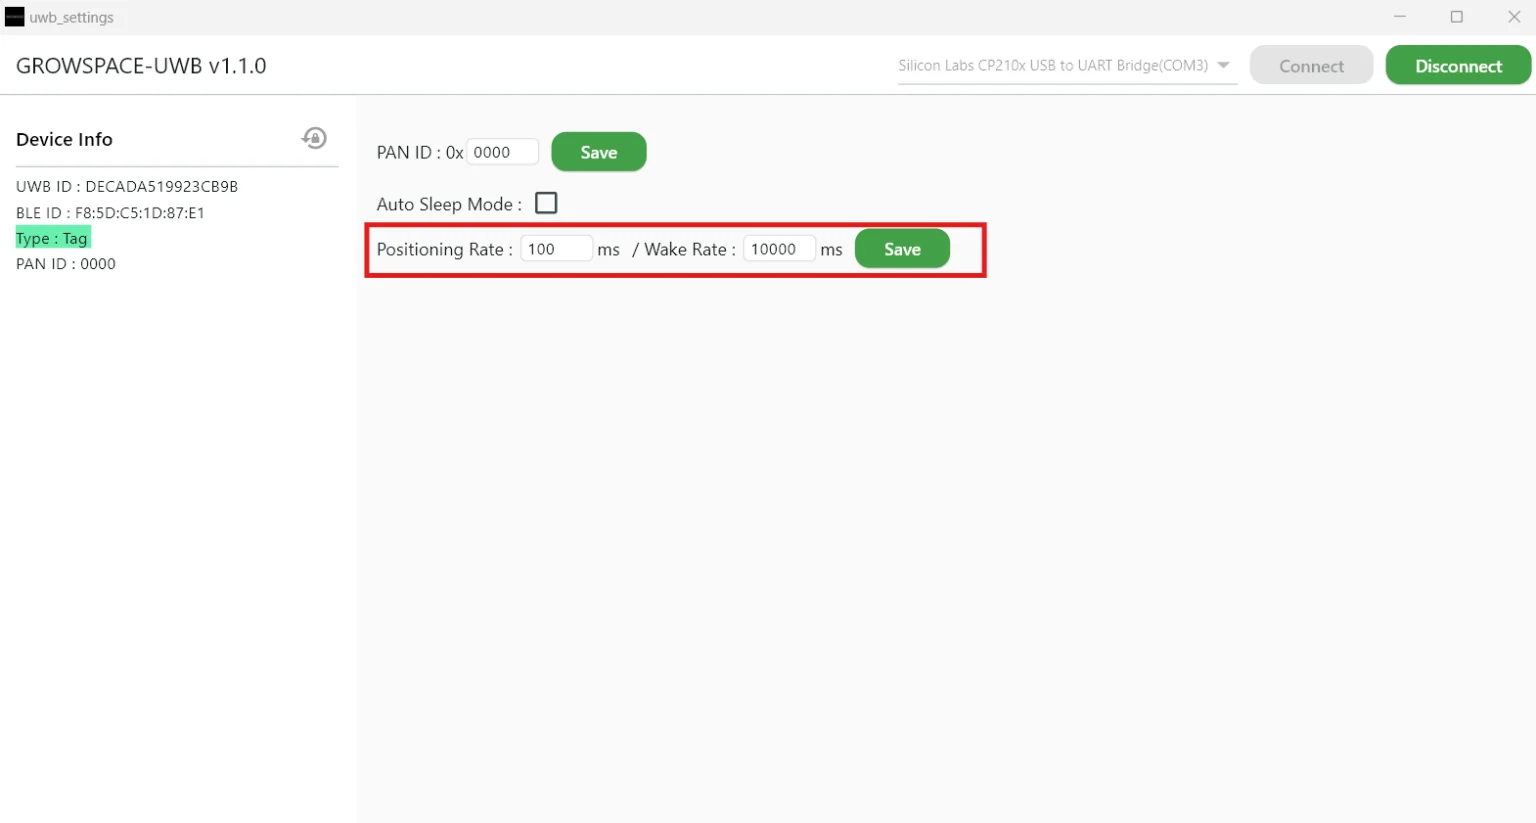
Tag configuration in GrowSpace is nearly identical whether you use the Web Console or the dedicated program.
The following settings work the same way conceptually in both:
- ✅ PAN ID setting
- ✅ Low Power Mode (Auto Sleep Mode) setting
The UI may differ, but the functionality and purpose are the same.
However! The way you set the update rate (Positioning Rate & Wake Rate) differs between the two tools.
| Item | Web Console | Setup Program |
|---|---|---|
| Rate while moving | Norm value (e.g., 100ms) | Positioning Rate (e.g., 100ms) |
| Rate while stationary | Stat value (e.g., 2000ms) | Wake Rate (e.g., 2000ms) |
- These two settings mean the same thing but use different names and locations, so don’t confuse them.
- For example,
Web Console: Norm = 100, Stat = 2000
→ is equivalent toSetup Program: Positioning Rate = 100, Wake Rate = 2000.