Most people hit the same wall right after their UWB kit arrives. The coordinates are streaming in. Now what do you build?
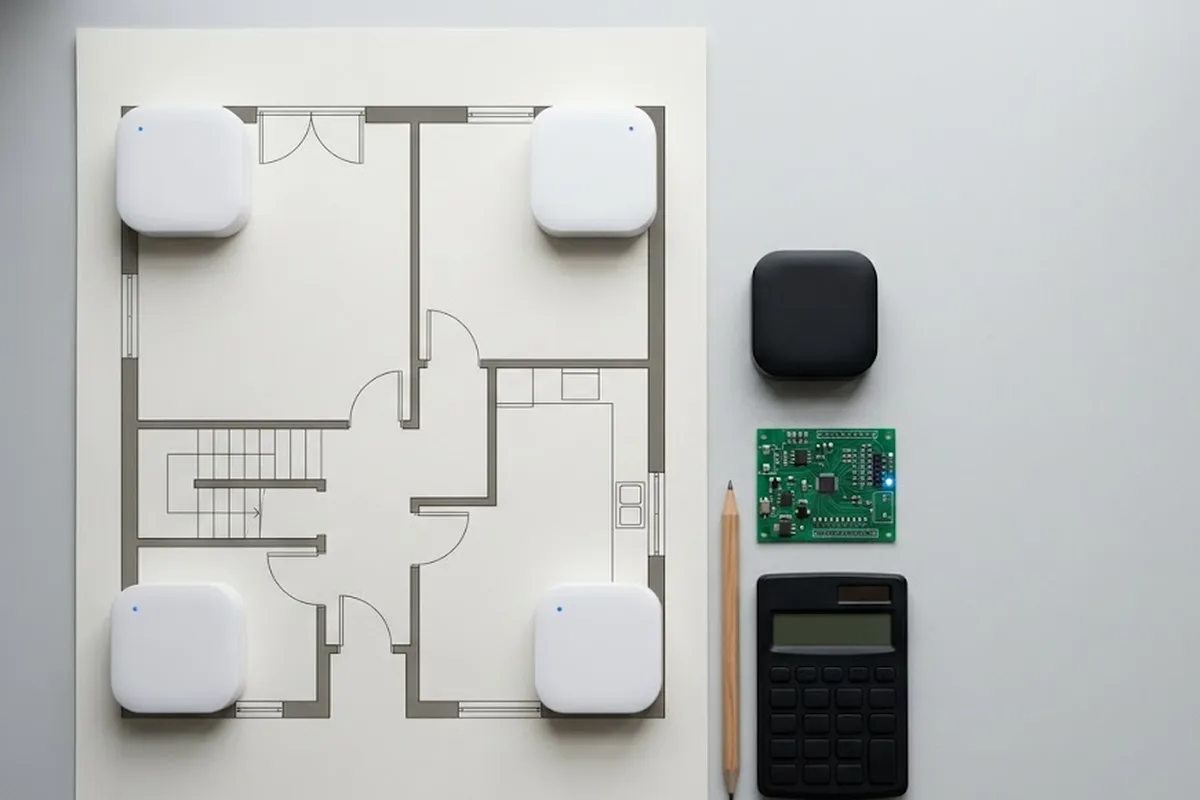
The GrowSpace UWB Creator Kit Q1 is a development kit that gives you indoor coordinates with 10–30 cm accuracy from three anchors, a tag and a listener. Positions come out as plain serial text. That means a Raspberry Pi, an Arduino or an ESP32 can read them with a few lines of code.
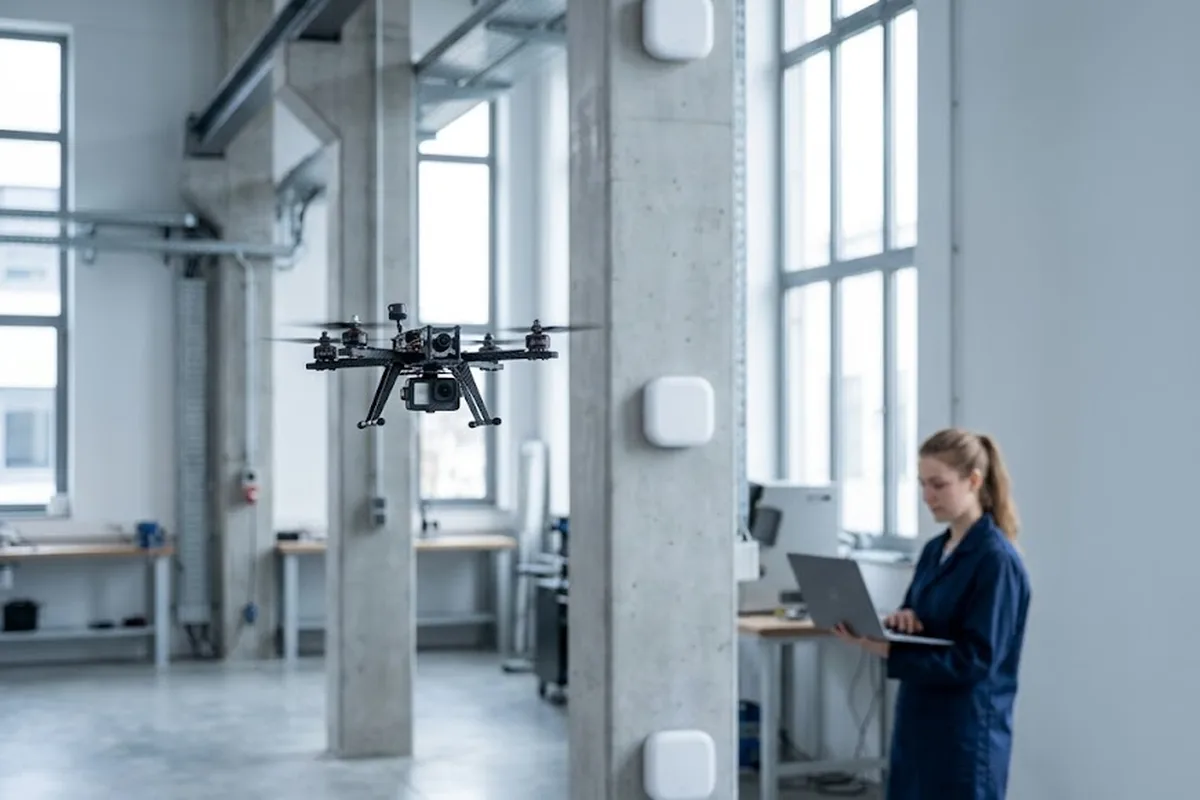
Four projects stand out among what people have built with Q1: robot position and heading control, indoor drone control, a follow-me robot, and a safety geofence. Here is what each one needs and where it usually gets stuck.
How do the four projects differ?
| Project | Tags | Core math | Watch out for |
|---|---|---|---|
| Robot heading | 2 tags on one robot | Heading from two points | Tag spacing |
| Indoor drone | 1 tag on the drone | Full X, Y, Z | 4 anchors at mixed heights |
| Follow-me robot | 1 on the robot, 1 on the person | Distance and bearing | Update rate |
| Safety geofence | 1 per worker or vehicle | Point-in-polygon test | Margin at the boundary |
How do you get a robot’s heading from two tags?
One tag tells you where the robot is. It does not tell you which way it faces.
So mount one tag at the front and one at the rear. The line between them is the heading. In code it is a single call: atan2(front_y − rear_y, front_x − rear_x). The basic setup for putting a tag on a robot is covered in our Raspberry Pi guide.
Spacing matters here. Every position carries some centimeter-level error. When the two tags sit close together, that error turns into a large angle error. Put them as far apart as the chassis allows.
Heading also jitters when the robot stands still. Average a few readings and drop any point with a low quality factor (QF) before you trust the angle.
What changes when you track an indoor drone?
A drone does not stay on the floor. You need height, not just a flat position.
Three anchors give you X and Y. For Z you need four. Mounting every anchor at the same ceiling height makes Z unstable, so place some high and some low.
Drones also move fast. Run the tags at 10 Hz and filter out spikes before the values reach flight control. Start in a large room at low altitude.
How does a follow-me robot work?
A person walks, and the robot follows. University students have built this exact term project with Q1.
The setup is simple. Put one tag on the robot and one on the person. When the distance between the two grows past a threshold, the robot drives toward the person’s bearing. When it gets close, it stops. Add the two-tag heading method on the robot if you want it to turn smoothly.
The hard part is reaction time. People stop and turn without warning. A slow update rate makes the robot lag a step behind. Raise the rate and leave a generous stopping distance.
How do you build a safety geofence?
Attach a tag to each worker or forklift. Then draw the danger zones on a floor plan as polygons.
Every time a position arrives, check whether that point sits inside a polygon. If it does, raise an alert. One point-in-polygon function does the job.
Near the edge, alerts tend to flicker on and off. Use separate entry and exit thresholds to stop that. With many people to track, switch from the listener to the gateway. It publishes positions over MQTT and handles 15 tags at 10 Hz.
FAQ
Can one basic kit cover all four projects?
Robot heading and follow-me need two or three tags, so add tags as needed. The drone project needs four anchors for height, which matches the Expansion Kit.
What format do the coordinates come in?
Send the lep command and you get POS,x,y,z,qf. The first three values are meters, the last is a 0–100 quality factor.
Does it work with Arduino as well as Raspberry Pi?
Yes. Use the 5 V connector for Arduino and the 3.3 V connector for Raspberry Pi and ESP32. Wiring and code are in our Arduino guide.
Where to start
Every one of these projects starts the same way. Get three anchors and one tag streaming coordinates. Once that is stable, add tags or anchors and grow it into the project you want.